Fermented Apples with Cinnamon
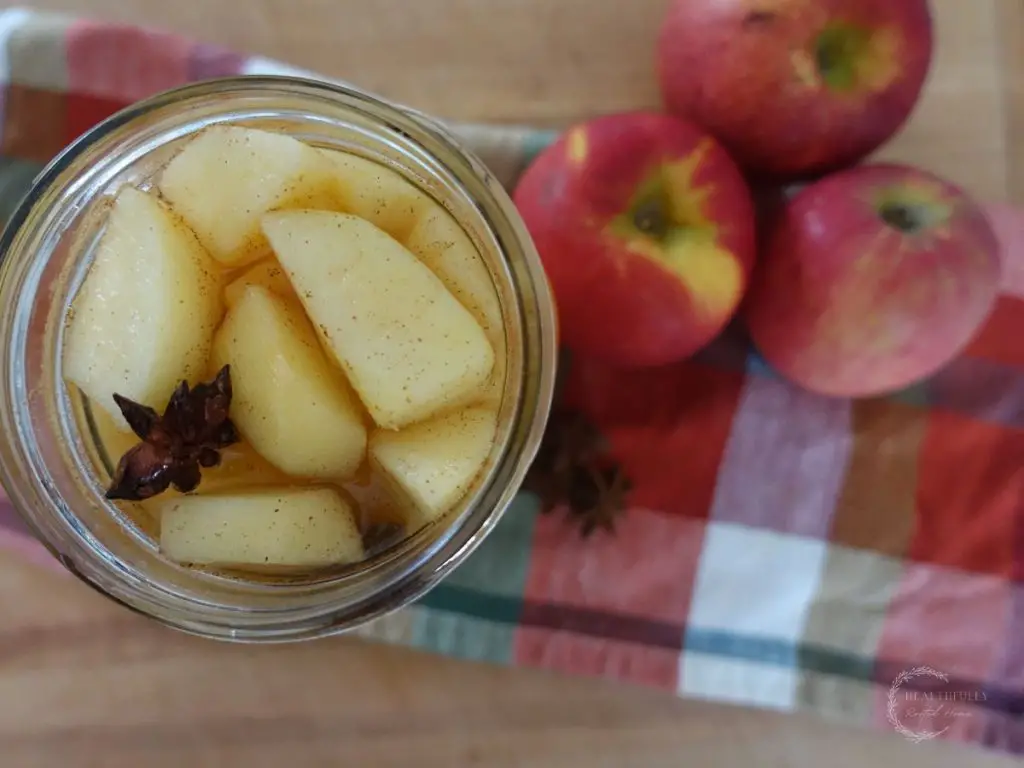
Fermented apples are a wonderful way to add more probiotic-rich food into your diet. This easy ferment will help you to preserve apples and offers tons of serving options. You’ll have this recipe on repeat after this!
Related: Fermented mangos
Related: Homemade sauerkraut
This post contains affiliate links, which means I make a small commission at no extra cost to you. See my full disclosure here.
- What are Fermented Apples
- Equipment You'll Need
- Recipe Highlights
- How to Make Fermented Apples
- How to Store Fermented Apples
- Fermented Apple Tips
- What to Expect when Fermenting Apples
- How to Eat Fermented Apples
- Benefits of Fermented Apples
- Fermented Apples Types
- Shop This Post
- More Fermented Food Recipes
- Shop my Six Month Meal Plans
- Fermented Apples FAQ
- Pin it For Later – Fermented Apples
- Print the Fermented Apples Recipe
- Fermented Apples
- How to Store Fermented Apples
- Fermented Apple Tips
- What to Expect when Fermenting Apples
- About Me
What are Fermented Apples
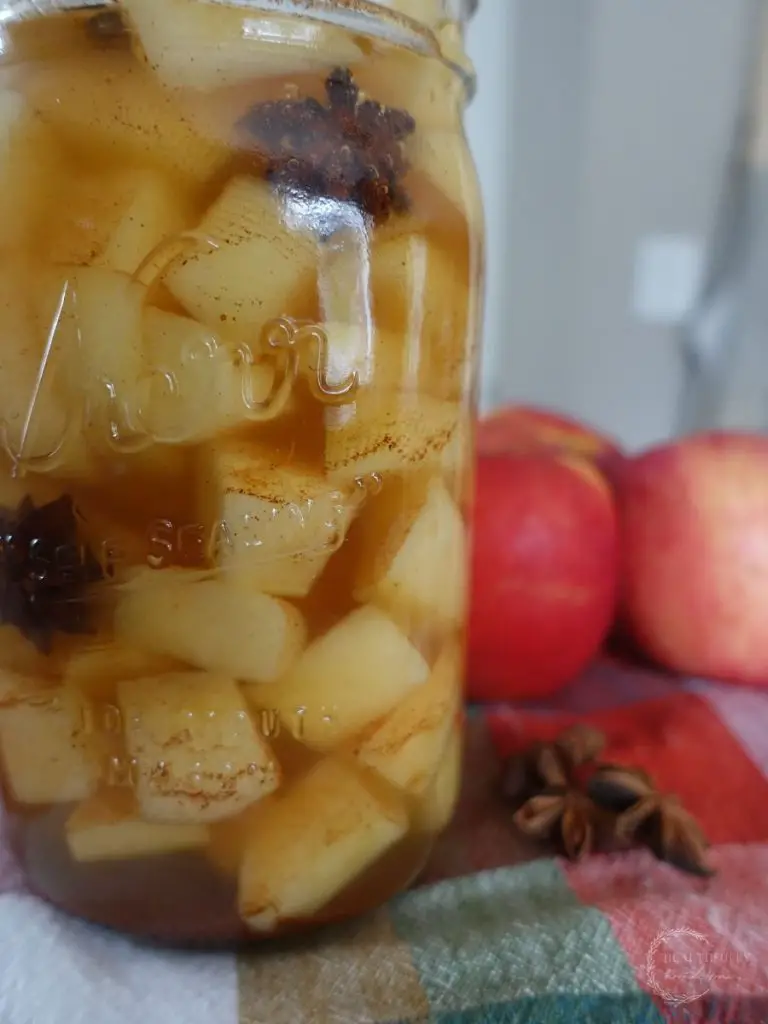
Fermented apples are apples that have been left at room temperature for a couple of days and safely stored prior to becoming alcohol.
When apples are intentionally fermented, they contain gut-healthy probiotics, make the nutrients in the apple more absorbable by your body, and become slightly less sweet.
Equipment You’ll Need
This ferment uses all the basic fermentation equipment. Listed below are links to my favorites.
- Jar with a lid that keeps air out but releases CO2 (I use this fermentation kit)
- Fermenting weight
- Knife
- Peeler
- Water filter (we use a Berkey)
Recipe Highlights
- Great way to preserve apples
- Get more probiotic foods in your diet
- Delicious!
- Tastes like apple pie
- The easiest ferment you’ll ever make
- Tons of serving options
How to Make Fermented Apples
This is one of the easiest ferments you’ll ever make – and takes only a couple of days! Fermented apples are the perfect ferment for someone new to fermentation, or not a fan of the sour taste of fermented foods since fermented apples don’t have a sour taste.
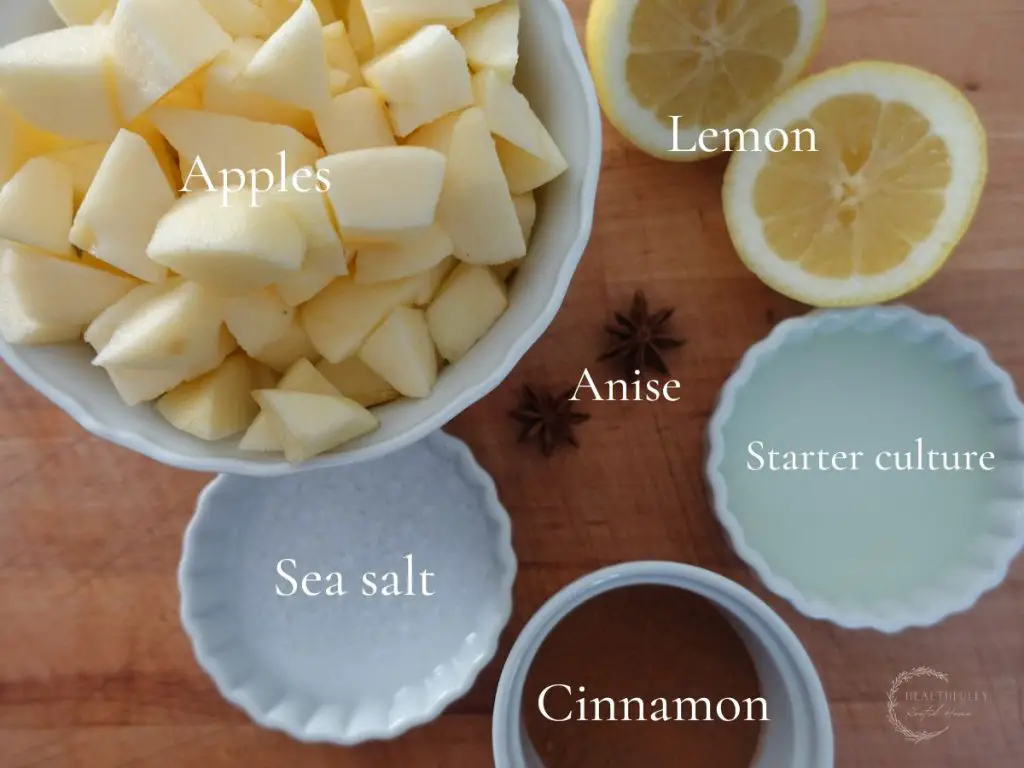
Fermented Apples Ingredients
- 4 cups peeled and chopped apples (about 3-4 apples) – Organic apples are best for ferments.
- 1 tsp sea salt – be sure to use unrefined sea salt – I use Maldon’s.
- Juice from 1 large lemon – lemon juice is essential for this ferment since it helps provide the necessary acidity for the fermentation process, but it also prevents oxidation of the apples.
- 1 cup filtered water (plus more to fill) – please use filtered water so no contaminants affect your ferment.
Optional ingredients
- 2 tbs starter culture* (optional) – not necessary, but does help create a successful ferment. I used brine from my homemade sauerkraut. You could also use kombucha, water kefir, whey from yogurt, etc.
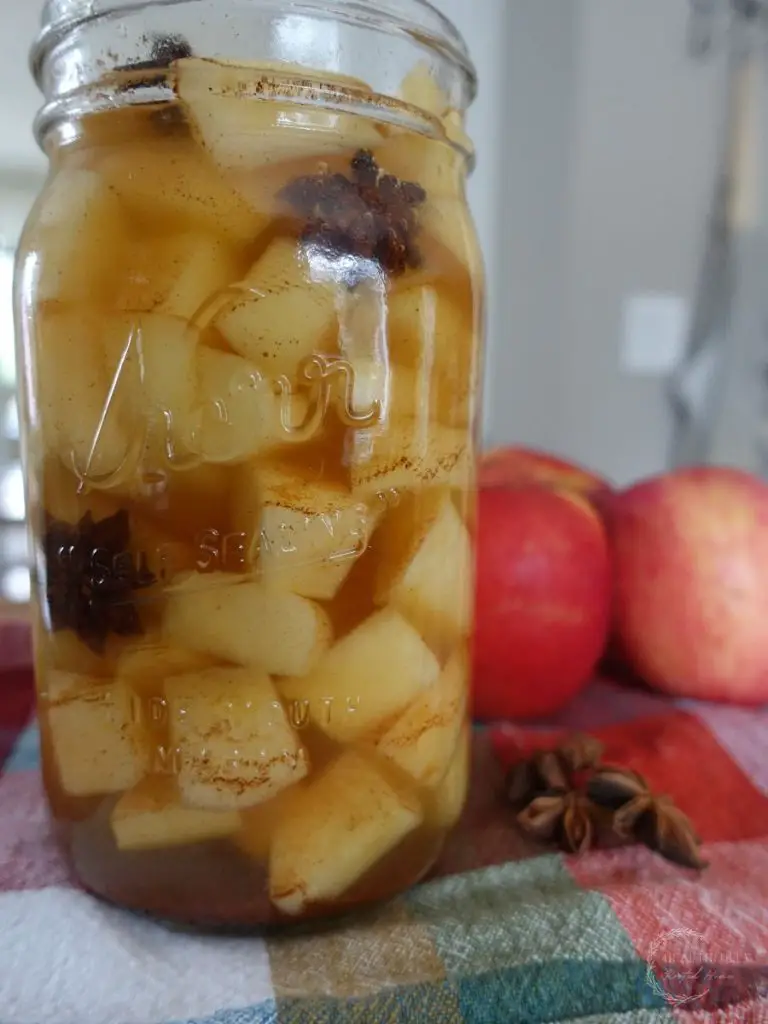
- 1 tbs ground cinnamon and star anise – optional, but if you want spiced fermented apples, add some cinnamon, nutmeg, star anise, etc. These add great flavor and make it beautiful which is an added bonus.
Step by Step Instructions (with photos)
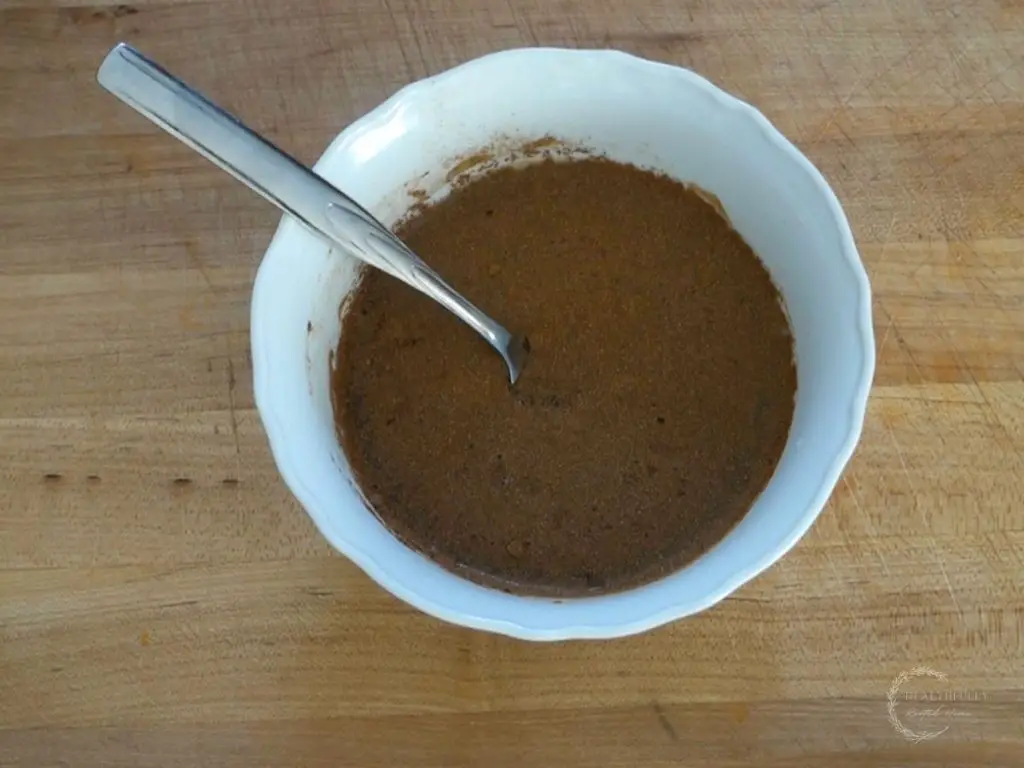
- Add your starter culture (optional), salt, lemon, cinnamon and 1 cup of water to a bowl then whisk to combine.
- Add your apples to your jar then place your star anise (if using).
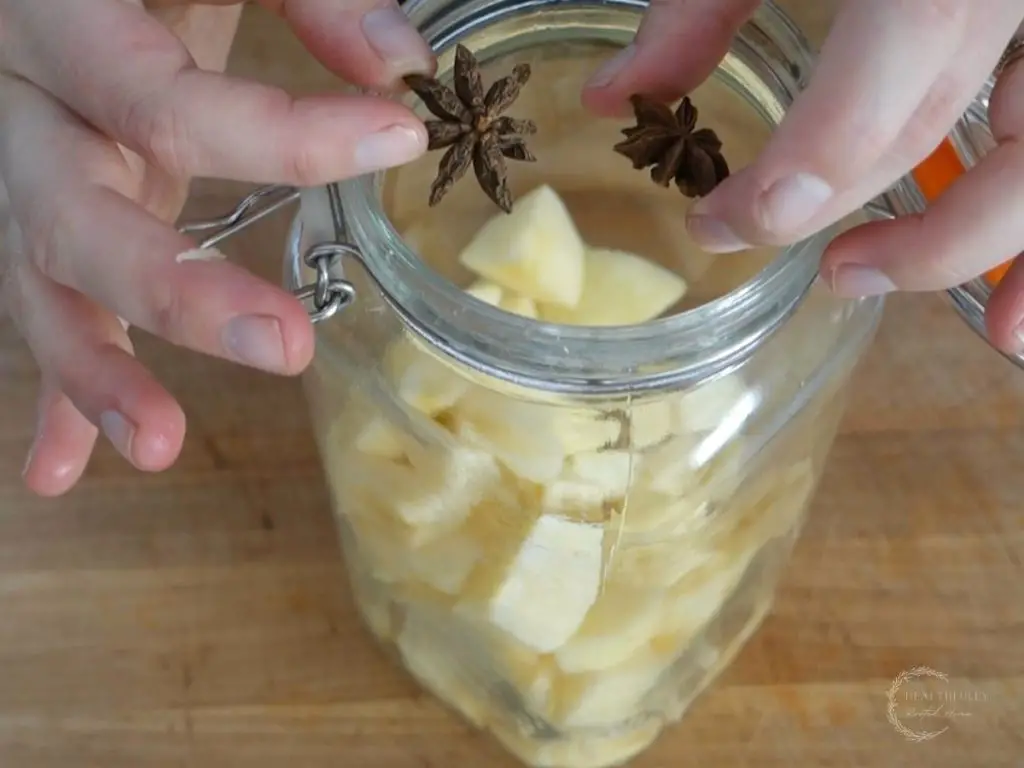
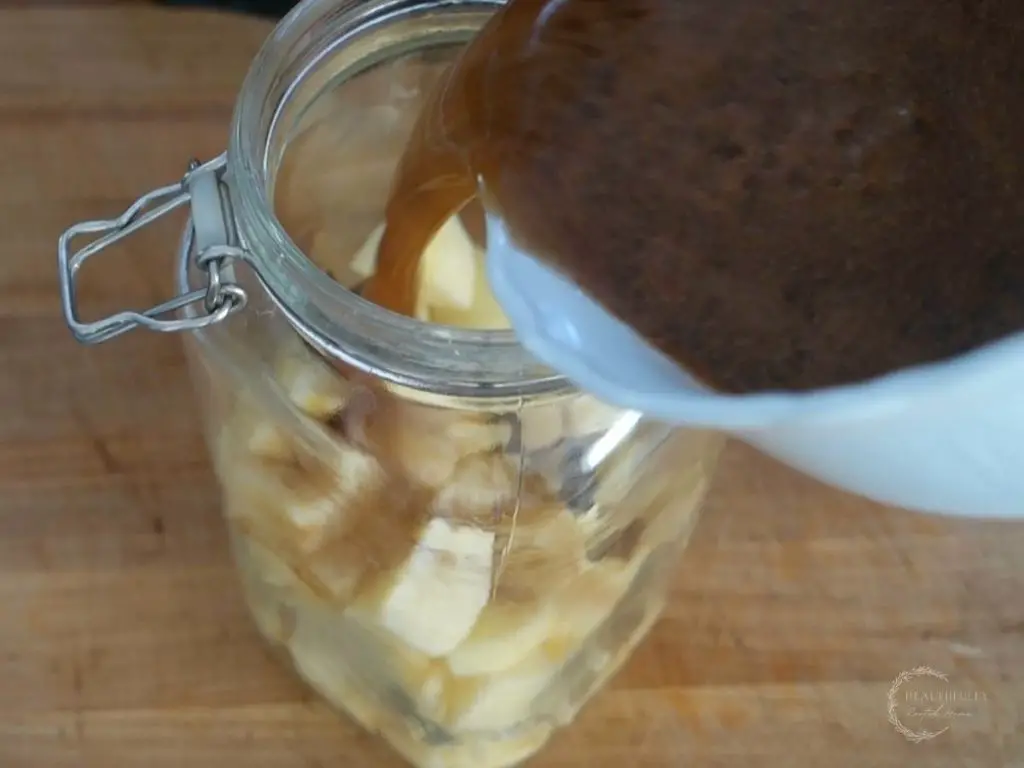
- Pour the liquid mixture over your apples. Add more filtered water (enough to cover the apples once the weight is in the jar).
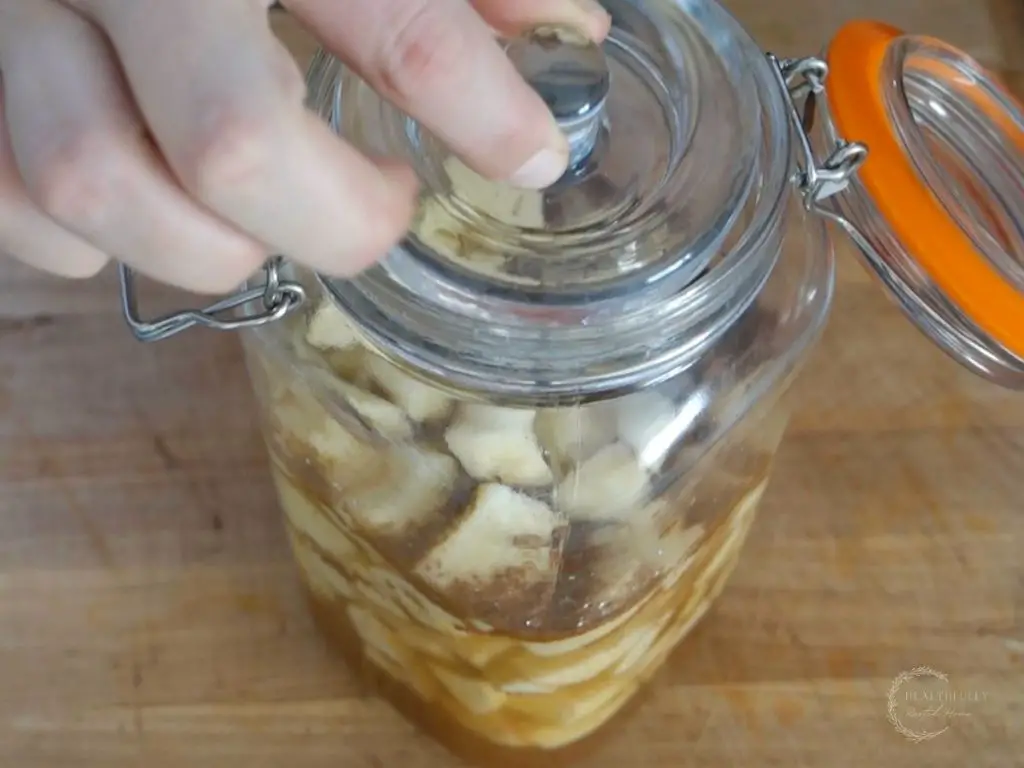
- Add a fermentation weight or something to keep the apples below the brine.
- Fit the jar with your lid.
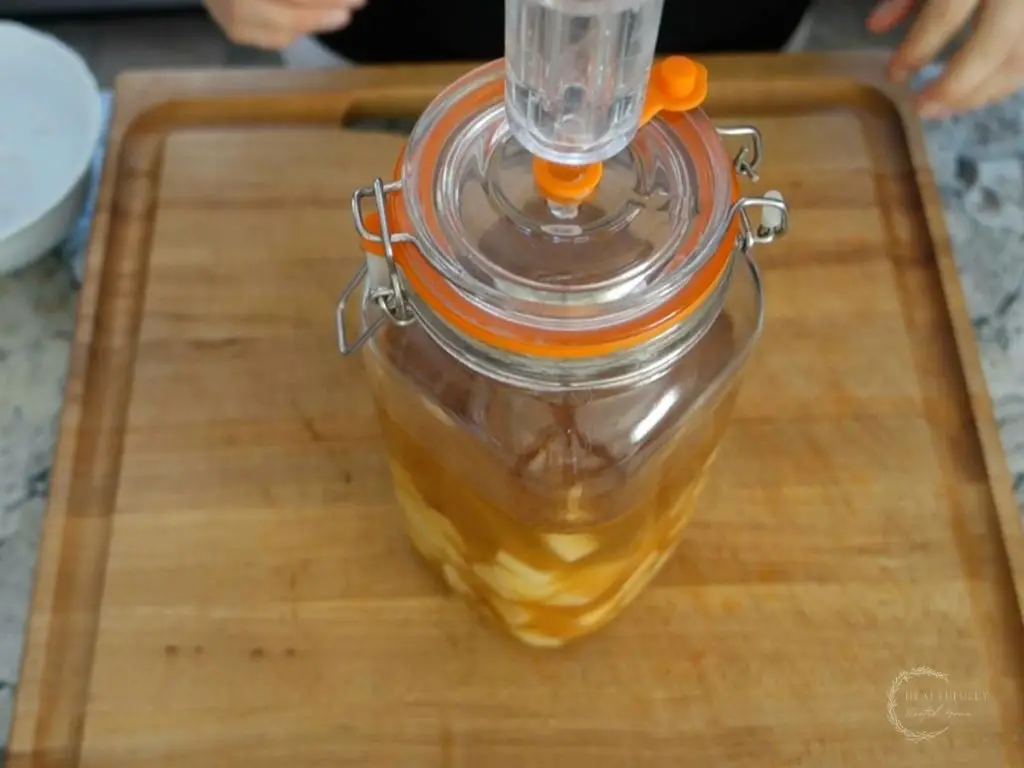
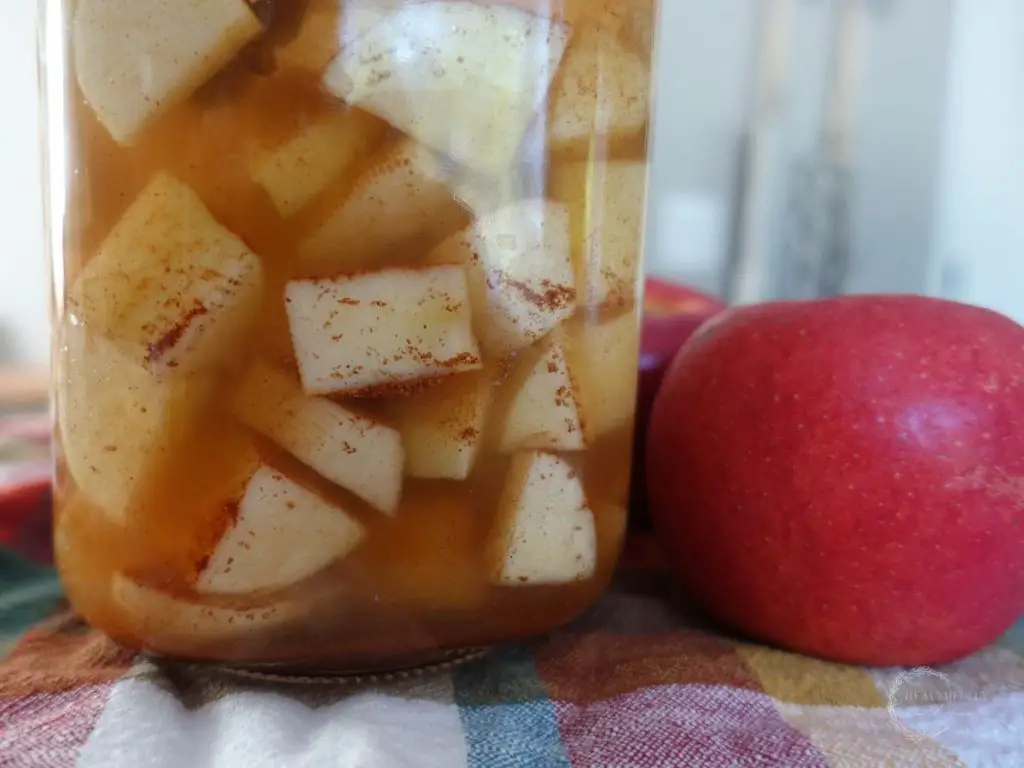
- Ferment for 2-5 days.
How to Store Fermented Apples
After fermented, fermented apples will keep in the fridge for about 3 months in an airtight container – though you’ll likely eat them before then.
Notes on storing fermented apples
- As with any ferment, your apples may store for a different length of time than mine due to environmental factors. Be sure to check for signs of mold prior to consuming.
- Do be sure to use clean utensils to remove your apples from the jar so they don’t spoil faster.
Freezer storage
You can freeze your fermented apples, however, this is not ideal as some of the probiotics will die off in the freezer.
Fermented Apple Tips
- Quality apples – organic apples with little to no blemishes will give you the most successful ferment.
- Peel the apples – even organic apples have residue on the skin – be sure to peel them prior to fermenting.
- Don’t ferment too long – Remember, fruit ferments very quickly before it turns to alcohol. Don’t ferment longer than 5 days max.
- Use a starter culture – this really helps but isn’t necessary.
- Keep your apples out of direct sunlight while fermenting – this ensures the proper rate of fermentation.
- If you don’t have a pickle pipe or airlock lid – you can totally ferment apples without this special equipment, but be sure to “burp” the jar every day to let the CO2 gasses out.
- 2% salt – If you’re changing the amount of apples in this recipe, be sure to use a 2% salt to fruit ratio to have a successful ferment and to preserve the crunchiness of the apples.
- Use filtered water – so the contaminants in tap water don’t ruin your ferment.
What to Expect when Fermenting Apples
- Fermenting fruits is much quicker than other ferments – so expect to only ferment them on the counter for about 2-5 days.
- Expect your apples to lose their sweetness as they ferment.
- A slightly alcoholic smell is normal when fermenting fruits.
- The brine will start to bubble a bit after a couple of days on the counter.
How to Eat Fermented Apples
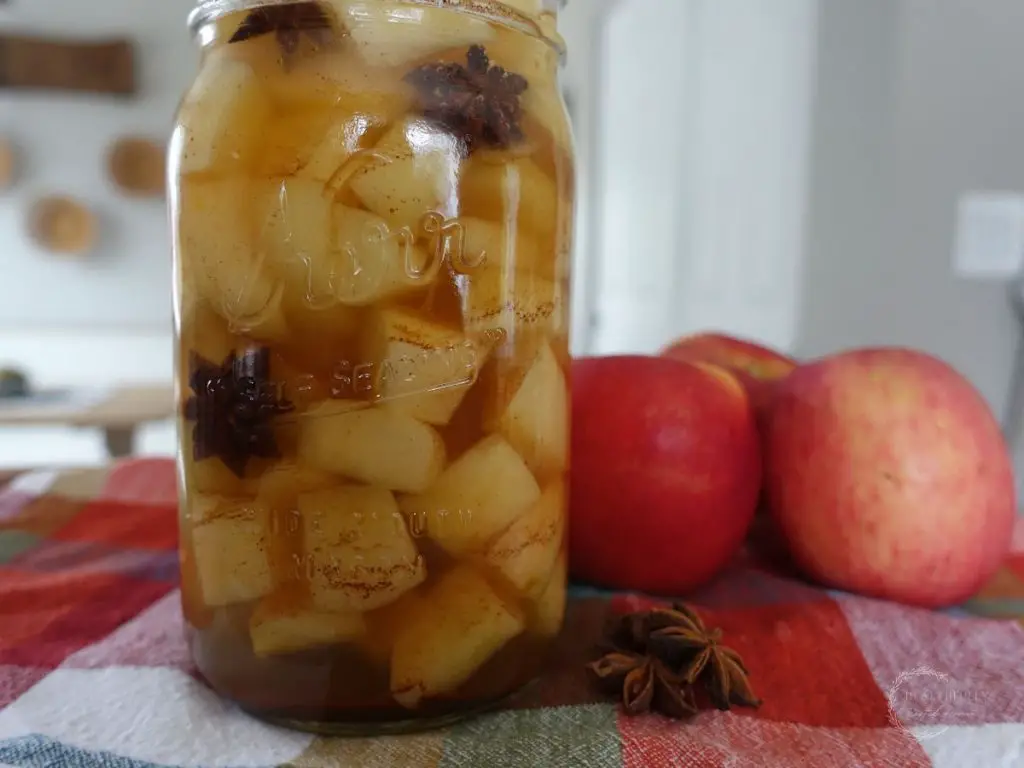
We love fermented apples on everything! Here are some ways to enjoy the benefits of these probiotic-rich apples.
On top of
- Cottage cheese
- Yogurt
- Ice cream
- Pancakes or waffles
Mixed into
- Smoothies
- Homemade ice cream
- Apple chutney
- Salsa
Benefits of Fermented Apples
- Beneficial lactic acid bacteria which help aid in digestion.
- Predigested making the nutrients in the fruit more available to your body.
- May enhance mood due to the specific mood-booster bacteria called Lactobacillis helveticus and Bifidobacteria longum.
- Fermented foods have been shown to reduce blood pressure and bad cholesterol.
Fermented Apples Types
There are tons of ways you can make fermented apples just the way you like.
- Add honey
- Cinnamon sticks
- No spices
Shop This Post
(These affiliate links help to support this blog at no extra cost to you. Your support means the world to me!)
- fermentation kit
- Fermenting weight
- Knife
- Peeler
- Berkey water filter (we use the Royal because we drink an insane amount of water!)
- Thrive Market – 25% off & free gift! (where I get a ton of my ingredients)
- Azure Standard: $25 off your order. Code kyrieluke1
More Fermented Food Recipes
Roasted Garlic Sourdough Bread
Sourdough Starter from Scratch
Shop my Six Month Meal Plans

Shop for my six month meal plans here. These will help give you a restful dinner-time routine by giving you all your recipes laid out in a weekly meal plan format for 6 months.
Fermented Apples FAQ
Properly fermented apples are safe to consume. Using the steps in this tutorial, you will have perfectly safe to consume apples. Never eat apples that have unintentionally fermented.
When apples are intentionally fermented, they contain gut-healthy probiotics, make the nutrients in the apple more absorbable by your body, and become slightly less sweet.
Fermented apples (when done the right way) are incredibly healthy for you. They have tons of probiotics and healthy bacteria as well as make the nutrients in the apple more available to your body.
Fermenting apples takes only about 2-5 days – any longer and they will turn to alcohol.
Pin it For Later – Fermented Apples

Print the Fermented Apples Recipe
Fermented Apples
Equipment
- 1 Jar with a lid that keeps air out but releases CO2 I use this fermentation kit
- 1 Fermenting weight
- 1 Knife
- 1 Peeler
Ingredients
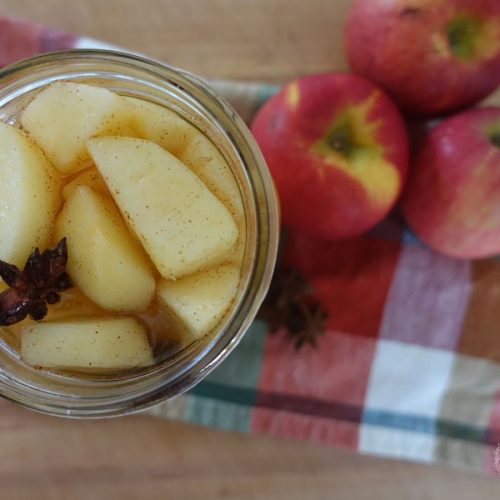
- 4 cups apples cleaned, peeled and chopped
- 1 tsp sea salt
- 1 lemon juice
- filtered water amount varies
- 2 tbs starter culture optional
- 1 tbs ground cinnamon optional
- 2 star anise optional
Instructions
- Clean your work surface thoroughly and gather your materials.
- Wash, peel, and dice your apples.
- Add your starter culture (optional), salt, lemon, cinnamon and 1 cup of water to a bowl then whisk to combine.
- Add your apples to your jar then place your star anise (if using).
- Pour the liquid mixture over your apples.
- Add more filtered water (enough to cover the apples once the weight is in the jar).
- Add a fermentation weight or something to keep the apples below the brine. Sometimes I use a bag of rocks, a bag of apple peels, etc. Anything that will be heavy enough to keep all the apple chunks below the brine.
- Fit the jar with your lid.
- Ferment for 2-5 days. You'll know they're done when bubbles start to form in the brine and it has a slightly alcoholic smell (nothing too off-putting).
- Once your apples are fermented to your liking, remove the weight and add an airtight lid then place in the fridge.
Video
Notes
How to Store Fermented Apples
After fermented, fermented apples will keep in the fridge for about 3 months in an airtight container – though you’ll likely eat them before then.Notes on storing fermented apples
- As with any ferment, your apples may store for a different length of time than mine due to environmental factors. Be sure to check for signs of mold prior to consuming.
- Do be sure to use clean utensils to remove your apples from the jar so they don’t spoil faster.
Freezer storage
You can freeze your fermented apples, however, this is not ideal as some of the probiotics will die off in the freezer.Fermented Apple Tips
- Quality apples – organic apples with little to no blemishes will give you the most successful ferment.
- Peel the apples – even organic apples have residue on the skin – be sure to peel them prior to fermenting.
- Don’t ferment too long – Remember, fruit ferments very quickly before it turns to alcohol. Don’t ferment longer than 5 days max.
- Use a starter culture – this really helps but isn’t necessary.
- Keep your apples out of direct sunlight while fermenting – this ensures the proper rate of fermentation.
- If you don’t have a pickle pipe or airlock lid – you can totally ferment apples without this special equipment, but be sure to “burp” the jar every day to let the CO2 gasses out.
- 2% salt – If you’re changing the amount of apples in this recipe, be sure to use a 2% salt to fruit ratio to have a successful ferment and to preserve the crunchiness of the apples.
What to Expect when Fermenting Apples
- Fermenting fruits is much quicker than other ferments – so expect to only ferment them on the counter for about 2-5 days.
- Expect your apples to lose their sweetness as they ferment.
- A slightly alcoholic smell is normal when fermenting fruits.
- The brine will start to bubble a bit after a couple of days on the counter.
About Me




When I tried to ferment apples, the brine got cloudy, and I couldn’t figure out how to tell if it was just the apple (grainy flesh sort of “crumbling off” in the water) or if it was mold or something I should be concerned about. Do you have any insight on that?
I think that is totally normal! If I remember correctly mine did the same. It could just be Kahm yeast which is safe to eat. However, if you’re concerned about mold or if any apples are above the brine, I’d discard them and try again.
Does the water have to cover the apples all the way?
Yes, for any ferment you always want the food “below the brine”.
I have some carrots that I’ve fermented sitting in my fridge. Can I use some of the brine from that as a ferment starter?
Hi Vicki, yes that would work great!
Awesome. Thank you!
Thanks for checking out my fermented apples recipe. Let me know if you have questions below!