Lacto Fermented Sauerkraut
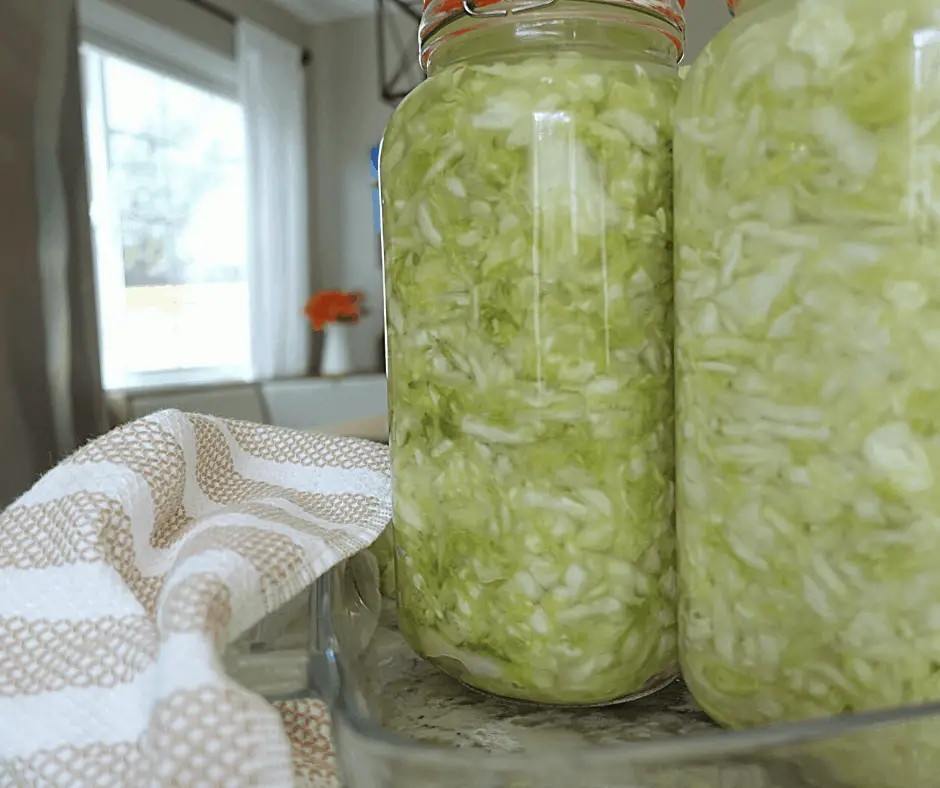
Lacto fermented sauerkraut is the easiest method for making this tangy dish. Sauerkraut is so healthy when it’s not flooded with sugar like much of what you get in the store. Sugar actually reverses the benefits of natural probiotics which is one of the major benefits of sauerkraut. In this post, I’m going to teach you everything you need to know to make your own lacto-fermented sauerkraut.
Related: curry kraut
Related: Fermented apples
This post contains affiliate links, which means I make a small commission at no extra cost to you. See my full disclosure here.
- What equipment do you need to make sauerkraut
- how to make Lacto fermented sauerkraut
- lacto fermentation tips
- lacto fermented sauerkraut benefits
- What to eat with lacto-fermented sauerkraut
- can I eat sauerkraut when pregnant or breastfeeding
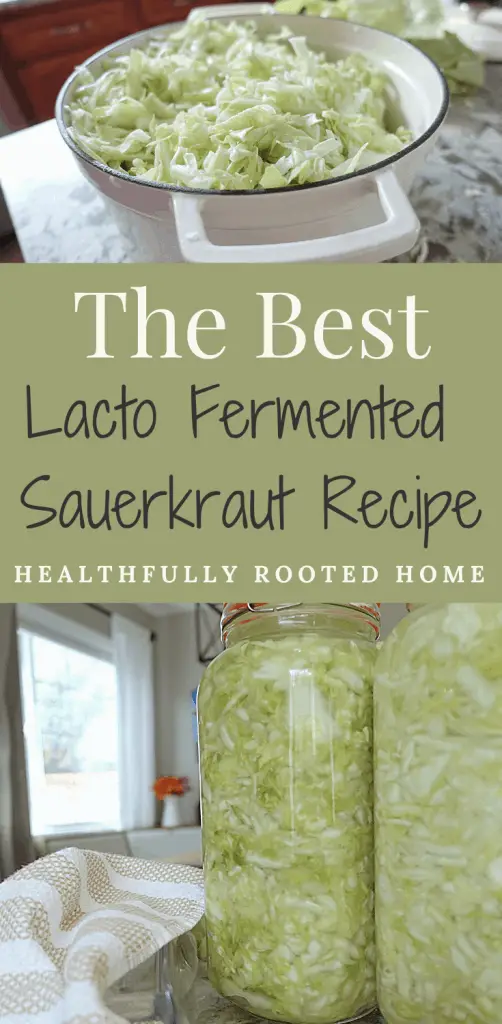
- Pin it for later – lacto fermented sauerkraut
- shop this post
- lacto fermented sauerkraut faq
- Print the lacto fermented sauerkraut recipe
- Lacto Fermented Sauerkraut Recipe
- About Me
What equipment do you need to make sauerkraut
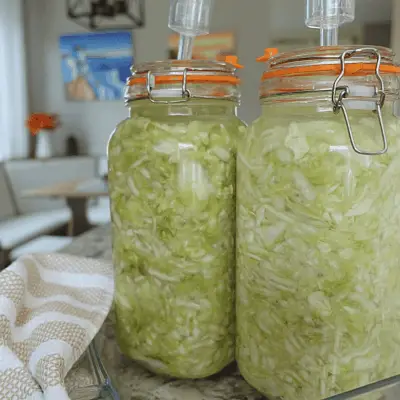
- Air tight container. This is the most important piece of equipment for your sauerkraut. Because lacto fermentation is an anaerobic process, air getting into the jar will ruin the fermentation process. I use these jars and they are super easy.
- Wooden cutting board. I don’t like plastic cutting boards because they can leach the chemicals from the plastic into your food.
- Large chefs knife. You’ll want this bad boy sharp!
- Large bowl. Your biggest bowl you have and one that’s not metal. Metal is reactive and can ruin your ferment. I use one similar to this dutch oven which is enameled cast iron.
how to make Lacto fermented sauerkraut
Ingredients
- 3 heads organic cabbage
- 3 tbs sea salt – I use course celtic sea salt
Instructions
Step 1: You’ll want to start with a clean and prepped workspace. This is a messy job so starting out with everything you need will prevent you from having to go searching for things with cabbage hands. It’s also important for your cooking utensils to be clean in order to protect the fermentation process.
Step 2: Rinse your organic cabbage off in the sink to get any dirt or bugs off/out of it.
Step 3: Peel the outer layers of the 3 heads of cabbage off. There are usually about 2 large leaves that I pull off each head. I take the two best leaves from those and set them aside and throw the rest in the compost. Those 2 leaves will come in handy for your last step of the process.
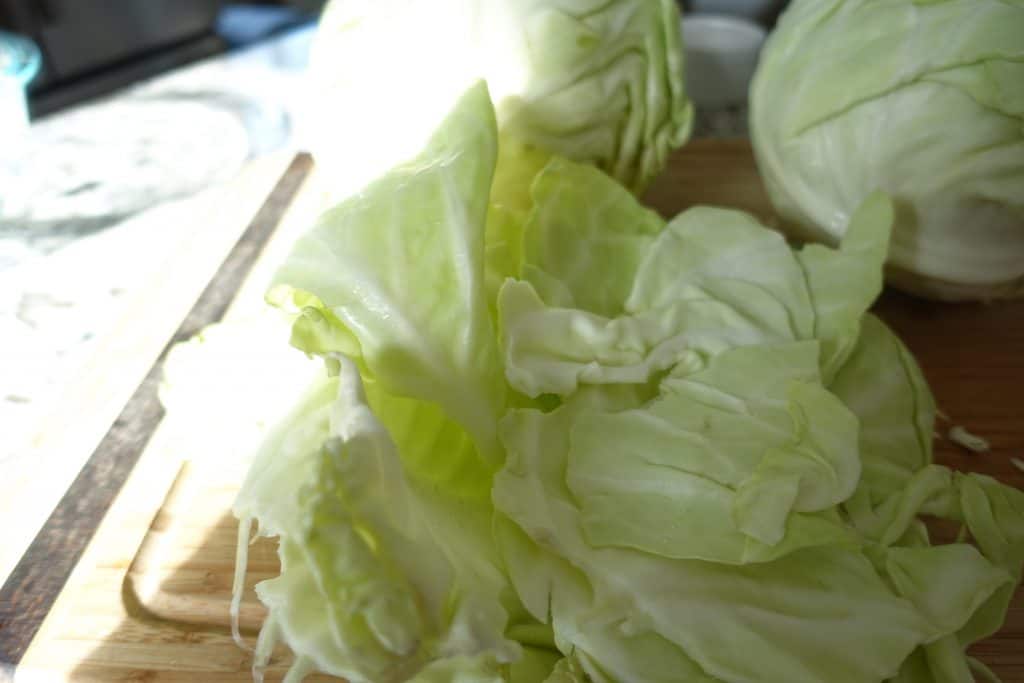
Step 4: Take your large knife and cut each head of cabbage in half. Do this right through the core. With my cutting method, there’s no need to core the cabbage first – I have a quicker way to do this in step 6. Once you have all 3 heads of cabbage cut in half (so 6 halves) move on to step 5.
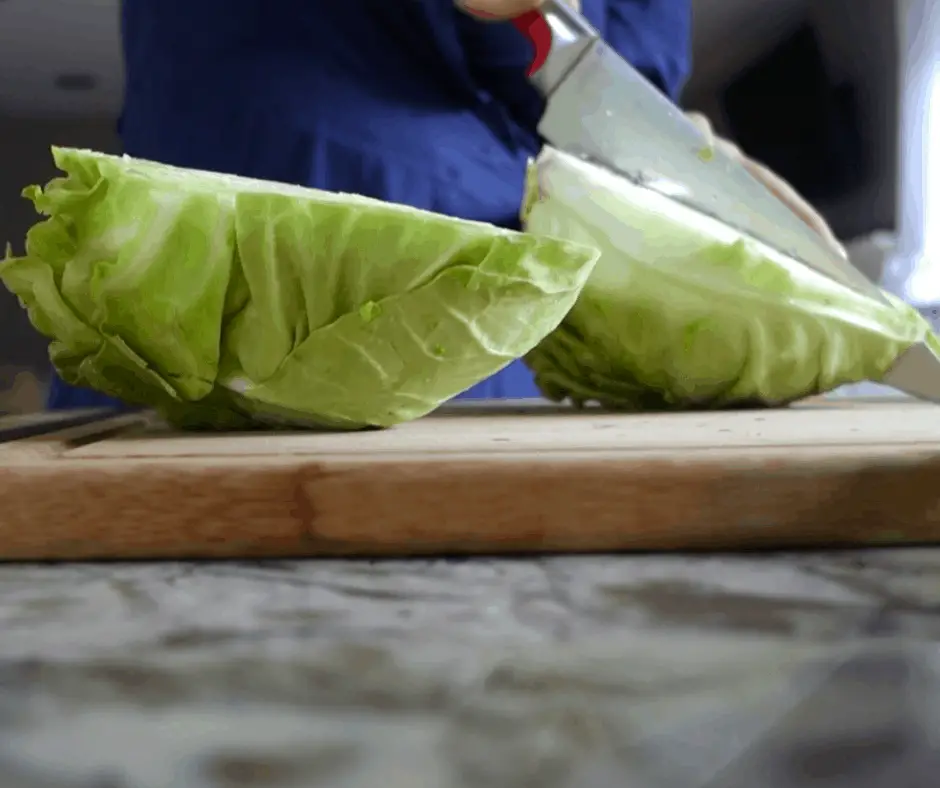
Step 5: Cut each half in half again – so you’ll end up with 12 wedges of cabbage. By quartering the cabbage like this, you’re setting yourself up for 2 things: easily coring the cabbage and quickly slicing your shreds.
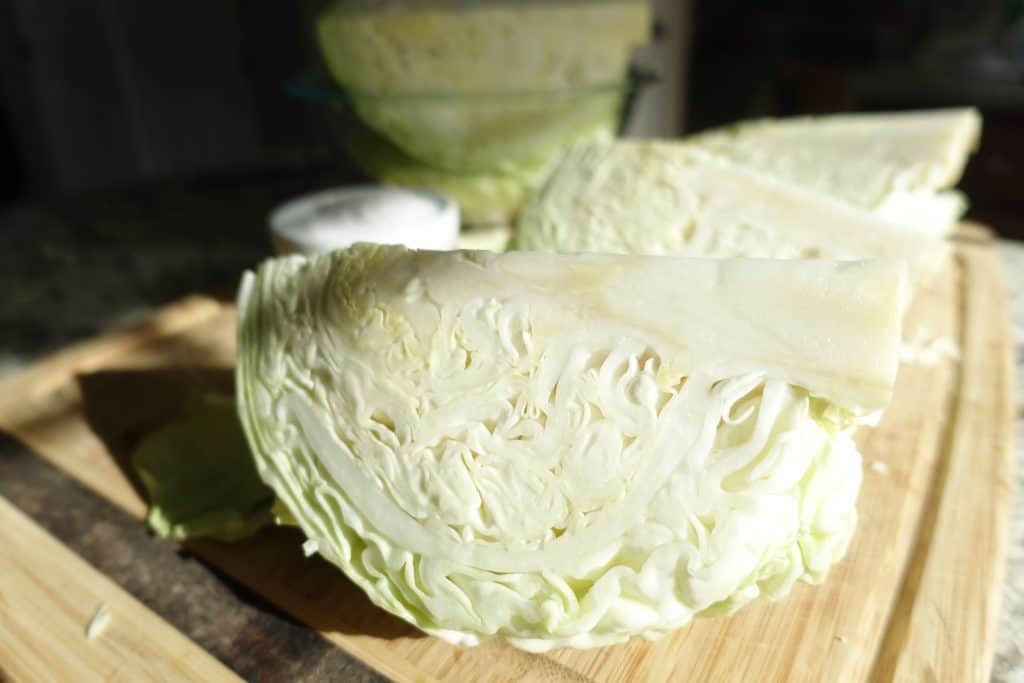
Step 6: Core the cabbage by sitting the wedges up on your cutting board vertically (with the core touching the cutting board and the tip in your hands. Then, start with your knife at the top of where the core begins (typically about 1/4 of the way down the wedge) and slice downward cutting off the hard core.
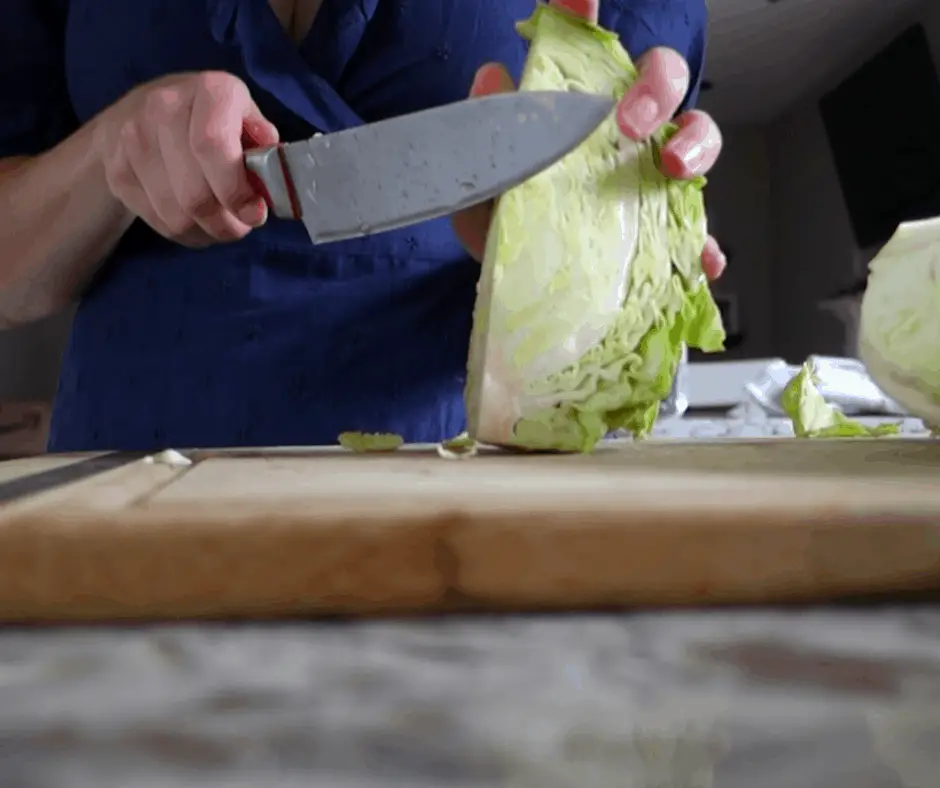
Step 7: Lie your cabbage wedges on one of the flat sides and slice 1/4 inch thick shreds from the pointy tip down to the fatter end of the wedge.
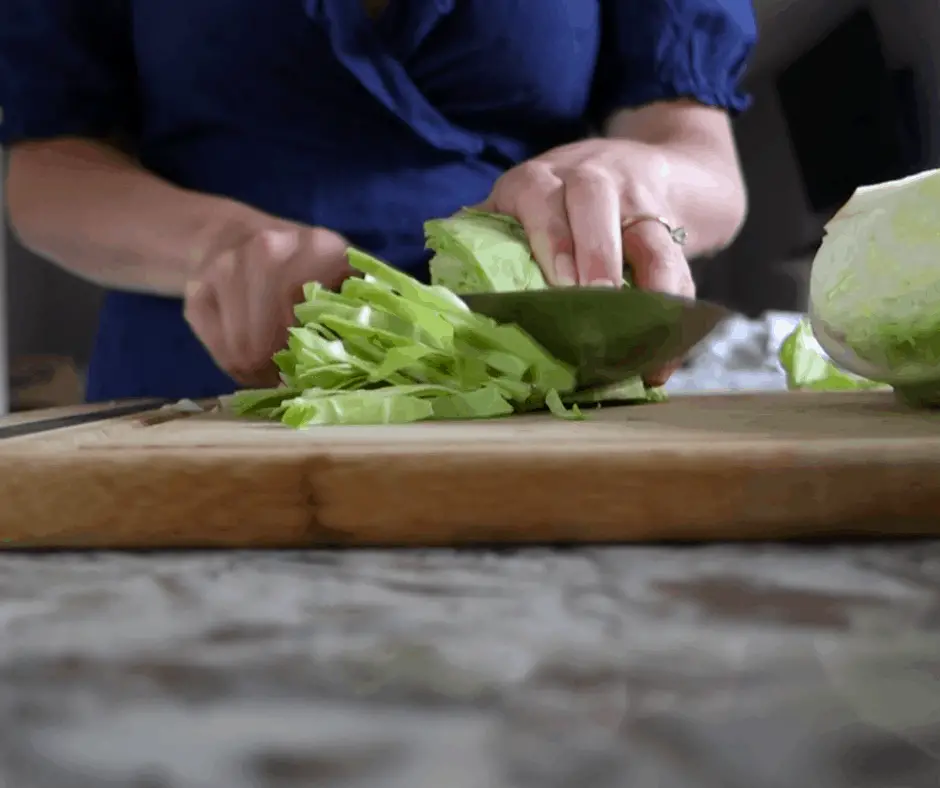
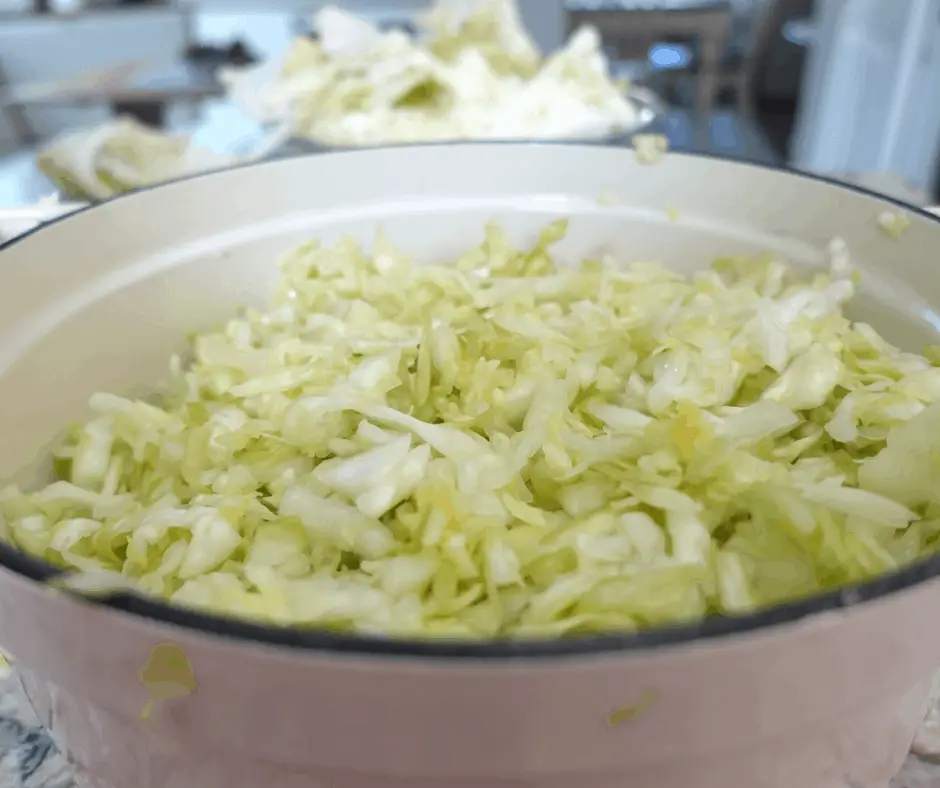
Step 8: Place all your cabbage shreds into your large bowl. Make sure your bowl is not metal. Metal is a reactive material and can ruin your ferment.
Step 9: Pour your salt on top of your cabbage shreds.
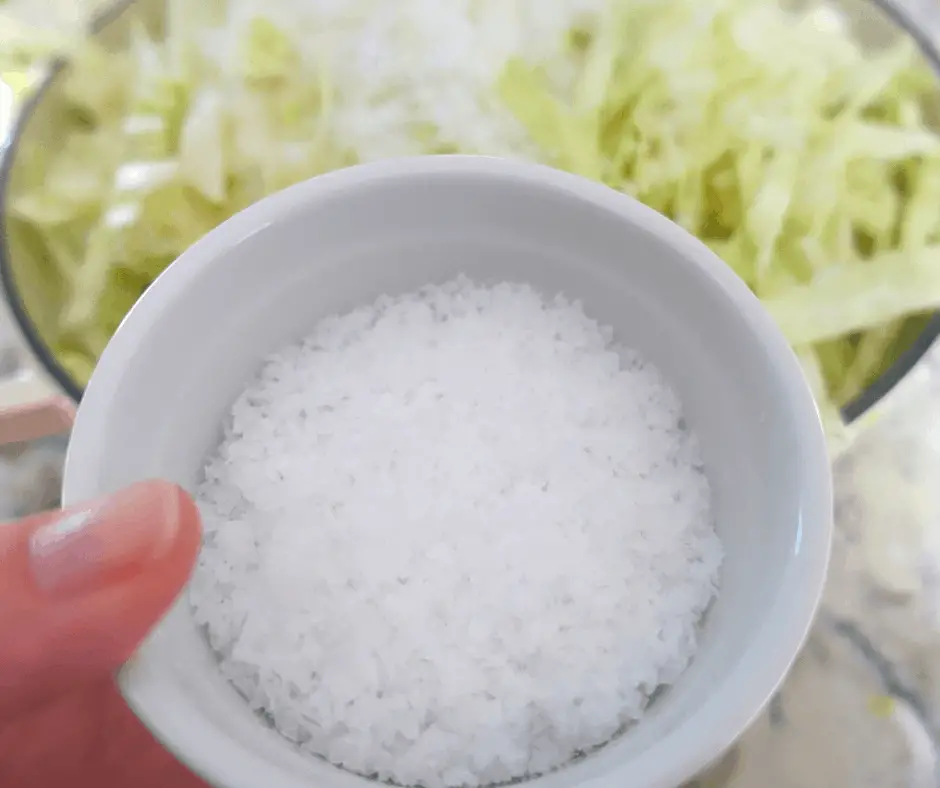
Step 10: Start massaging the cabbage shreds and salt with your hands. Remember, this is not supposed to be a clean job – but it is oddly therapeutic! I like to take any jewelry I have on my hands/wrists off. Massage until you create a lot of brine and the cabbage shreds have shrunk down to about half the size.
Step 11: Take your massaged cabbage and start packing it into your fermenting jar. The packing will help to bring the brine to the surface – so pack tightly! After every scoop you put into the jar, pack it down with your fist. It’s nice to do this in the sink because you can save yourself counter cleaning time. Leave several inches at the top of the jar.
Step 12: Take your cabbage leaves you saved in step 3, fold them up and put on top of your cabbage in the jar. Make sure the brine comes overtop of the cabbage leaf. Then place the weight (either a fermenting weight or rocks inside of a bag) on top of the cabbage leaf. Leave about 1-2 inches at the top of the jar.
The leaf just helps to separate the cabbage shreds from the weight and is added protection against mold. The leaf isn’t entirely necessary but it’s something I find helpful.
Step 13: Close the jar’s lid and put the jar(s) in some sort of basin (I use a casserole dish) to catch the brine that comes out. The brine will come out of your jars because the cabbage will swell during the fermentation process and the basin will catch the brine instead of spilling onto your counters.
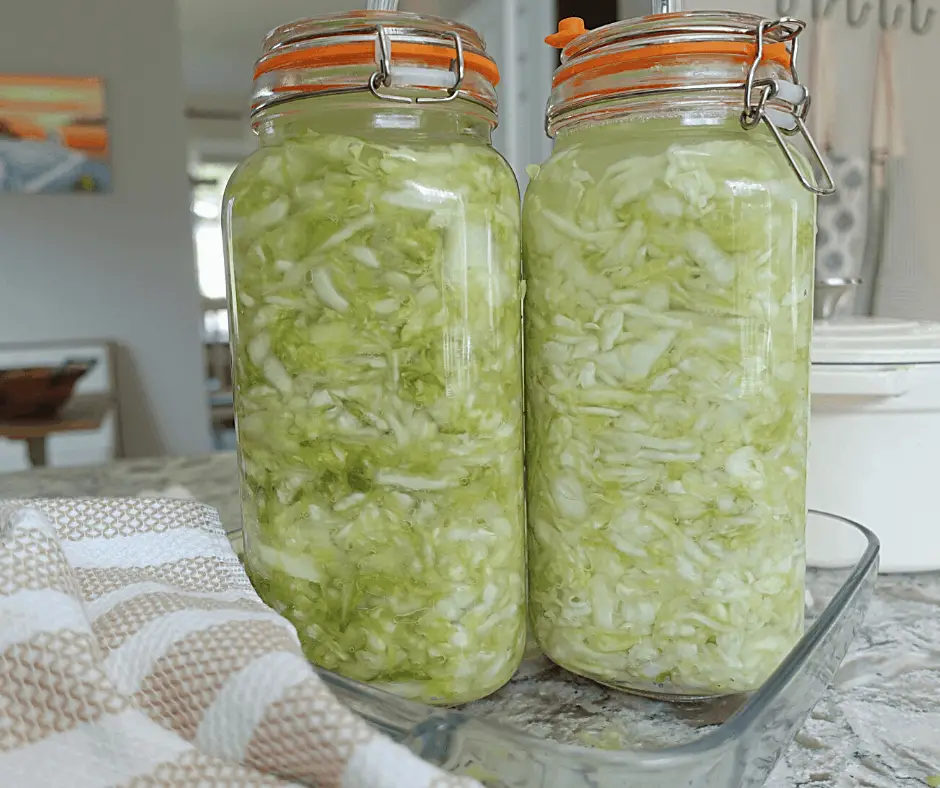
Step 14: Watch and wait. This is the fun part. Over the next few days, you’ll see your cabbage start turning into the best sauerkraut ever through the lacto fermentation process! You’ll see bubbles and the bright green cabbage turn into a yellow color. How long you wait depends on how sour you like your cabbage and how warm you keep your house.
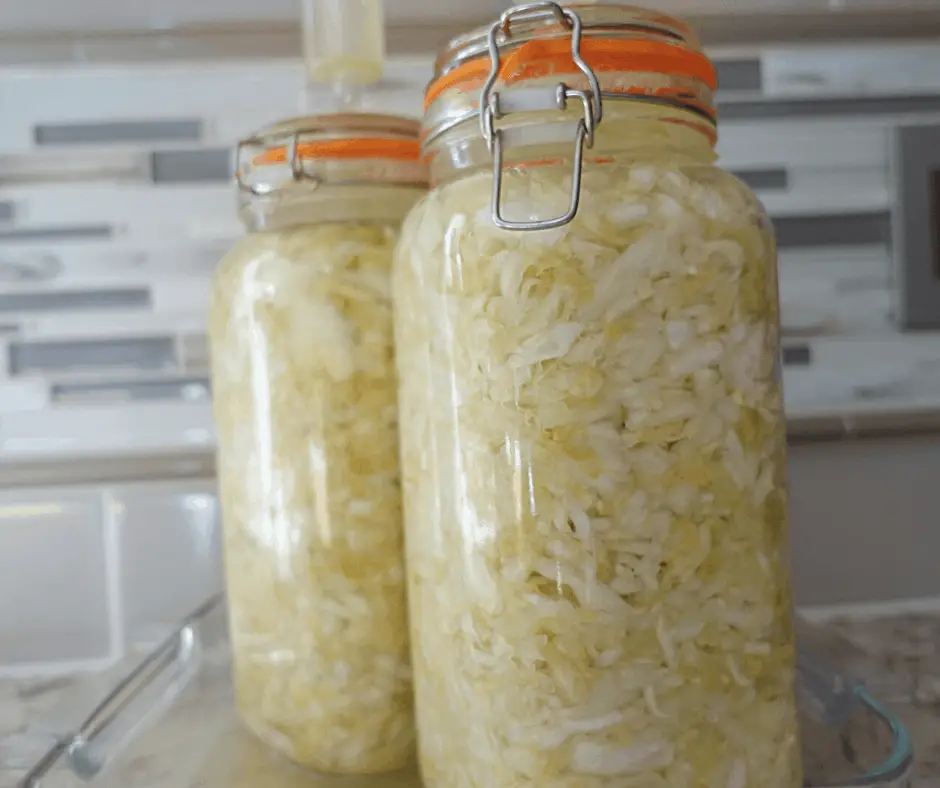
Step 15: Check the sauerkraut for taste and mold. I like to check after about 5 days to see if it’s sour enough for me. I also do a quick check for mold. You’ll likely see a white scummy-type substance at the top of the brine – this is ok and part of the process. You can scrape it off or leave it.
Step 16: When your sauerkraut tastes how you like it, take out the cabbage leaves and the weight, close the lid, and put it in the fridge.
lacto fermentation tips
- Don’t use a reactive bowl when massaging sauerkraut. A reactive bowl, like metal, can ruin the fermentation process.
- Use organic produce. Pesticides can negatively effect the ferment.
- Use high-quality sea salt. You want no additives in the salt. Table salt is virtually devoid of nutrients and sea salt has many beneficial trace minerals.
- Keep the kraut under the brine. If any bits of kraut are above the brine it may mold.
- If you need to top off the brine with filtered water, do so. We love our Berkey water filter!
- Leave a little place (1-2 inches) above the fermentation weights to allow the cabbage to swell.
- Keep your house around 65-73 degrees for a successful ferment.
lacto fermented sauerkraut benefits
- Gut healing. The lacto fermentation method produces probiotics which make for a healthy gut without spending a bunch of money on probiotics.
- Increases micronutrients. By lacto fermenting sauerkraut, the vitamins in the cabbage are actually enhanced.
- Immunity boost. Those good bugs from the probiotics and the extra micronutrients boost your immune system. The immune boosting nutrients in sauerkraut are probiotics, vitamin c and iron.
- Stress reliever. Your stress levels can be correlated to gut health. The probiotics in lacto fermented sauerkraut can make for a healthy gut which can help lower stress levels.
- Anti-carcinogenic. During the lacto fermentation process, cancer gene defeating plant compounds are created.
- Heart healthy. The blend of vitamin k2, fiber and probiotics help lower cholesterol and blood pressure.
- Delicious. Sauerkraut is so delicious! The best sauerkraut is super simple and easy to make too.
- Natural preservative. Lacto fermentation is a natural form of preservation for vegetables. You can have cabbage for months on end!
- Cheap. This is a super easy and cheap side dish.
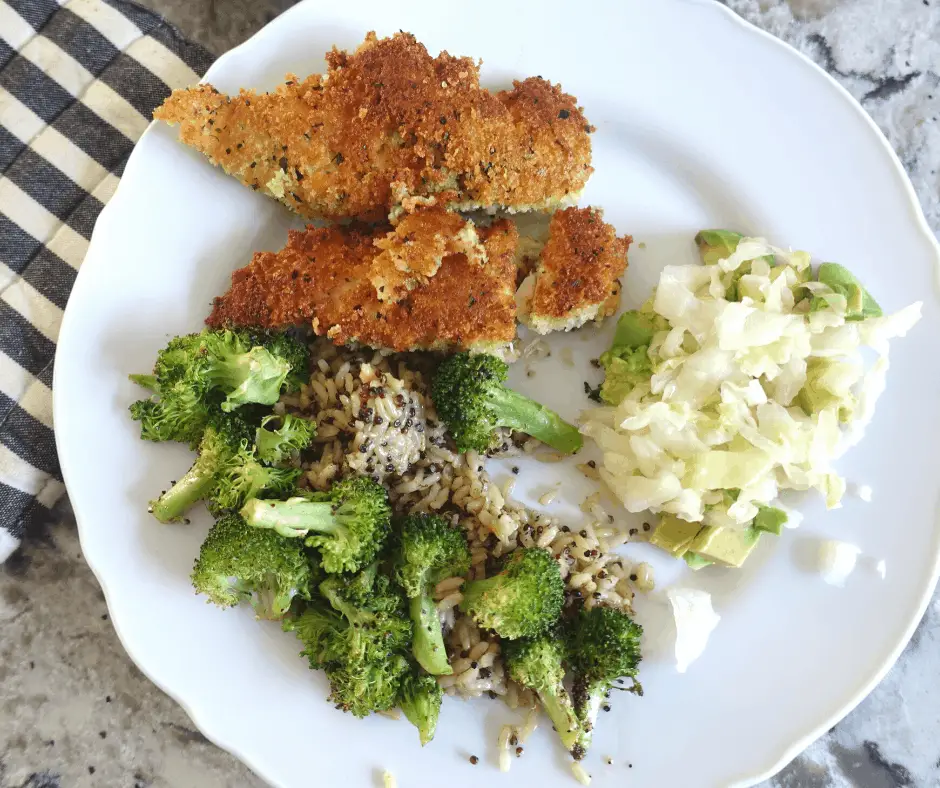
What to eat with lacto-fermented sauerkraut
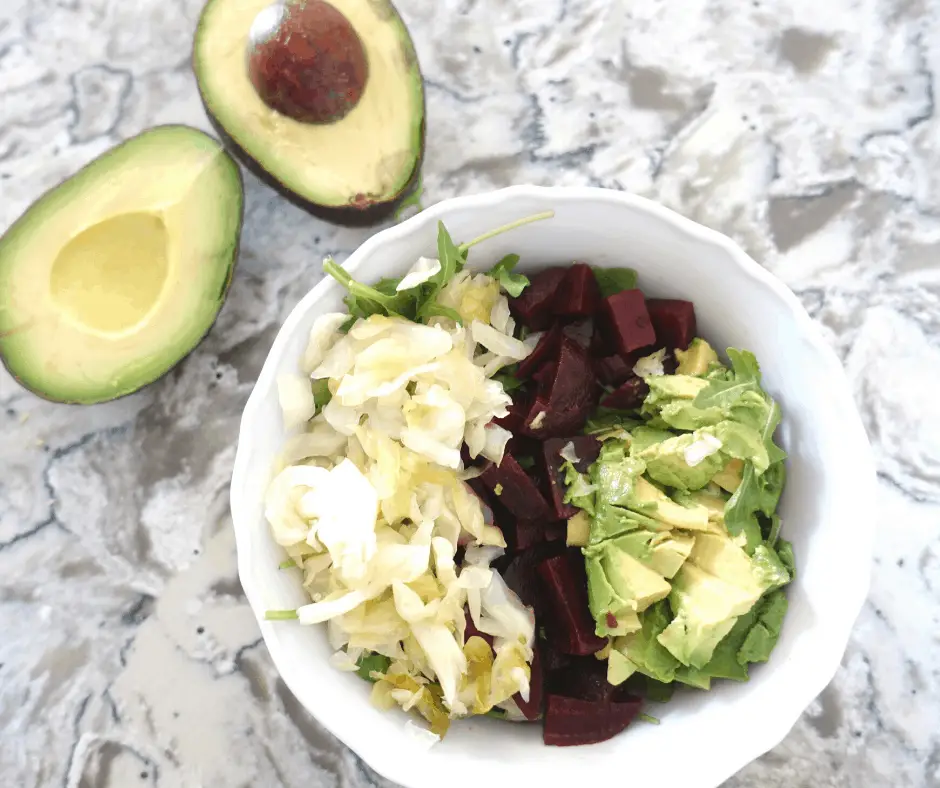
- Salad. By far my favorite way to eat sauerkraut is on a bed of arugula with some avocado and beets and maybe even some dried cherries.
- Avocado. My next favorite way to eat sauerkraut is cozied up next to some creamy avocado! The sour flavor of the sauerkraut blended with the creamy texture of the avocado makes for the perfect combination. And this is such an easy snack or side dish.
- Side dish. Sauerkraut is the low-hanging fruit of side dishes. It’s always in my fridge ready to go and all I have to do is scoop some out and put it next to whatever is for breakfast lunch or dinner.
- Snack. The best sauerkraut recipe is a great standalone snack.
- Eggs. Sauerkraut with fried eggs, avocado and some cheese is another delish combination.
- Meat. Literally any kind of meat. Just put it on top to spice it up a bit.
- Burgers. Sort of the same as meat, but specifically, burgers – it’s incredible!
- Hot Dogs. Classic.
- Baby food. Particularly if you’re choosing to do baby-led weaning. Sauerkraut is a great introduction to a sour flavor they won’t get very often. It also provides baby with amazing health benefits and a fun new texture. You could also puree sauerkraut with avocado, beets, or something else they like.
Once you start making your own sauerkraut and always have it on hand – you’ll search for things to eat it with and before you know it, you’ll see it goes with just about anything.
can I eat sauerkraut when pregnant or breastfeeding
Of course, ask your doctor, but generally eating sauerkraut while pregnant and breastfeeding is absolutely safe and healthy! The extra iron is great for mamma and baby and the extra vitamin c in sauerkraut helps to absorb the iron that is so important when pregnant. Sauerkraut is also rich in folate – that brain-building vitamin crucial for baby.
When I was pregnant I craved sour foods too – so if you were anything like me you would devour some ‘kraut while pregnant!
Pin it for later – lacto fermented sauerkraut
shop this post
These affiliate links help to support this blog at no extra cost to you. Your support means the world to me!
- Berkey water filter (we use the Royal because we drink an insane amount of water!)
- Thrive Market – 25% off & free gift! (where I get a ton of my ingredients)
- Azure Standard: $25 off your order. Code kyrieluke1
- Boos Block Butcher Block
- Air tight container. This is the most important piece of equipment for your sauerkraut. Because lacto fermentation is an anaerobic process, air getting into the jar will ruin the fermentation process. I use these jars and they are super easy.
- Large bowl. Your biggest bowl you have and one that’s not metal. Metal is reactive and can ruin your ferment. I use one similar to this dutch oven which is enameled cast iron.
Read my blog meal planning system here.
lacto fermented sauerkraut faq
How much salt you put in sauerkraut is generally determined by weight – 1½ to 2 teaspoons per pound of cabbage. If you don’t have a scale, you may be wondering, how many pounds is a head of cabbage? A small head is about 2 lbs. To make it simple I say about 1 tablespoon of salt per head of cabbage.
Using lacto fermentation, how long you ferment the sauerkraut depends on how sour you like it and how warm your house is. The longer you ferment, the more sour your sauerkraut will be. The warmer your house, the quicker your sauerkraut will ferment.
I’d start with about 3 days on the counter, taste it if you want it sourer then keep it on the counter for another couple of days. The best sauerkraut, for me, is a 6-7 day ferment.
Lacto fermented sauerkraut has a tangy taste which might be an acquired taste for some. The sourness of the sauerkraut depends on how long it’s fermented.
Using the lacto fermentation method you only need 2 ingredients: cabbage and salt. However, you could put other additives in the brine to add unique flavors. Spices, jalapeños, ginger, lemon, dill – the list goes on.
The idea of fermenting cabbage actually came from China, not Germany as many people assume because of the word Sauerkraut. Traditionally, though, Sauerkraut is actually an Irish dish.
Yes, but not as soon as most people think. If you Google it you’ll see 6 months as the general consensus for when sauerkraut goes bad. Traditionally, though, sauerkraut isn’t considered fully mature until 6 months. It depends on how you make it store it, and how often you use it.
Related: Fermenting fruits tutorial
Print the lacto fermented sauerkraut recipe
Lacto Fermented Sauerkraut Recipe
Equipment
- Wooden cutting board
- large chef knife
- large glass bowl
- air tight jar
- fermenting weight or rocks with plastic bag
Ingredients
- 3 heads cabbage organic
- 3 tbsp sea salt preferably celtic
Instructions
- Prep your workspace with a wooden cutting board, large chef's knife, large mouth, air tight, mason jar or fermenting jar.
- Rinse the cabbage in the sink to get all the dirt off.
- Peel the outer layers of the 3 cabbage heads off. Set a couple large leaves aside to use on top of the sauerkraut later.
- Slice all 3 cabbage heads in half. Then take each half and slice in half again to make quartered wedges. This will leave you with 12 wedges.
- Core each wedge by standing the wedge up on the cutting board slicing downward from where the core beings (about 1/4 way down the center of the wedge). Toss the cores in compost (or garbage).
- Shred the cabbage with the chef's knife by lying the wedge down on one of the flat sides, then slicing from the tip of the wedge down to the butt in 1/4 inch shreds.
- Pile the cabbage shreds into your largest glass or enameled bowl (not metal).
- Pour the salt onto your cabbage shreds.
- Start massaging the cabbage using clean hands. massage for about 15 minutes, or until the shreds shrink, and create a brine.
- Pack the cabbage shreds into your jar of choice making sure to pack tightly so the brine comes to the surface overtop the cabbage. Leave several inches at the top for your fermenting weight.
- Cover the cabbage with the outer cabbage leaves you saved earlier making sure the brine comes up over top the leaves.
- Add your fermenting weights (or rocks inside plastic) to the top of the cabbage leaves.
- Close the lid to the jar.
- Contain your jars into a bigger dish to catch any condensation.
- Wait for the cabbage to ferment for several days. Taste after 3 days to see if it's sour enough for you. If not, let ferment longer.
- Store in the fridge. Sauerkraut is fully mature after 6 months but much of what you'll read says it goes bad shortly after that.
Video
Notes
- It’s important to leave about an inch or two at the top of your jars (after putting your weight on top)because the cabbage will expand during the fermentation process.
- Keep your cabbage shreds below the brine to prevent molding.
- Make sure the jar you use is airtight. The fermentation process is an anaerobic process and oxygen will ruin your ferment.
About Me



Please let me know your questions and how you like this recipe!
Yum!!! I am 12 weeks pregnant and have such a strong craving for sourkraut! The only brand I’ve purchased so far and really loved is Bubbies which is quite pricey! I’ll definitely try this recipe to see if I can make it at home for pennies 🙂
AHHH! I craved anything sour as well when I was 12 weeks pregnant – until about 15 weeks when the nausea disappeared. That’s exactly what I love about this is how cheap it is. Give it a try and let me know how you like it 🙂
Great recipe and beautiful blog! Perfect for my keto lifestyle!
Thank you, Sara! Ah, totally perfect! Hope you come by for more
Yummy! Sauerkraut is so easy to make! I love that you not included such a detailed tutorial but also ways to eat sauerkraut!
Thank you Anja! I’m glad you like it. That means a lot coming from you!
I keep saying I want to get into making sauerkraut. I appreciate these thorough instructions! Excited to finally give it a try:)
You should do it! It’s so fun and SO yummy compared to store bought.
Beautiful and healthy! Great instructions on making sauerkraut!
Thank you, Juliea! So glad you like it