Long Fermented Sandwich Bread
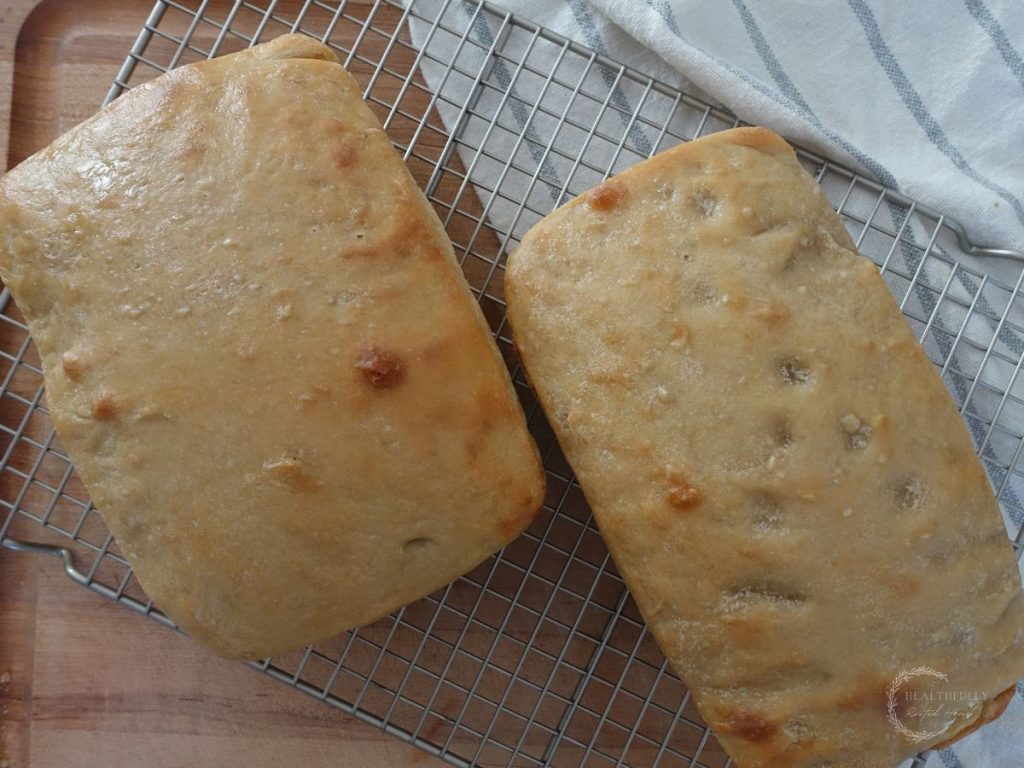
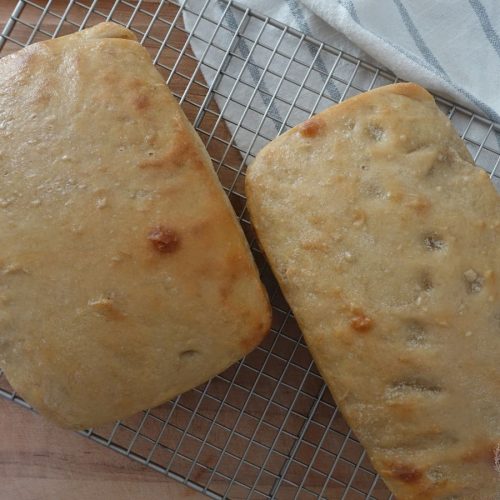
This low-maintenance long fermented sandwich bread is perfect for an everyday sourdough bread recipe and takes very little hands-on time. The flavor of this loaf comes from slowly fermenting over time and a stand mixer does all the work.
You’ll love how delicious this loaf tastes as a sandwich, slathered with butter and honey, or topped with scrambled eggs. Whatever way you like to eat your sandwich bread, this will be a family favorite.
Related: Roasted garlic sourdough bread
Related: Revive a bad sourdough starter
This post contains affiliate links, which means I make a small commission at no extra cost to you. See my full disclosure here.
- What is Long Fermented Sandwich Bread
- Equipment You'll Need
- Recipe Highlights
- How to Make long Fermented Sandwich Bread
- Best way to Store Fermented Bread
- In a Pinch Ideas
- Long Fermented Sandwich Bread Tips
- How to Perform the Float Test
- How much Flour to Use for Fermented Bread?
- How to Make Fermented Bread Healthier
- Baker's Timeline
- How to Serve Long-Fermented Sandwich Bread
- Long Fermented Sandwich Bread Add-Ins
- Shop This Post
- More Fermented Bread Recipes
- Fermented Bread FAQ
- Pin it For Later – Long Fermented Sandwich Bread
- Print the Long Fermented Sandwich Bread Recipe
- Long Fermented Sandwich Bread
- Best way to Store Fermented Bread
- In a Pinch Ideas
- Long Fermented Sandwich Bread Tips
- About Me
What is Long Fermented Sandwich Bread
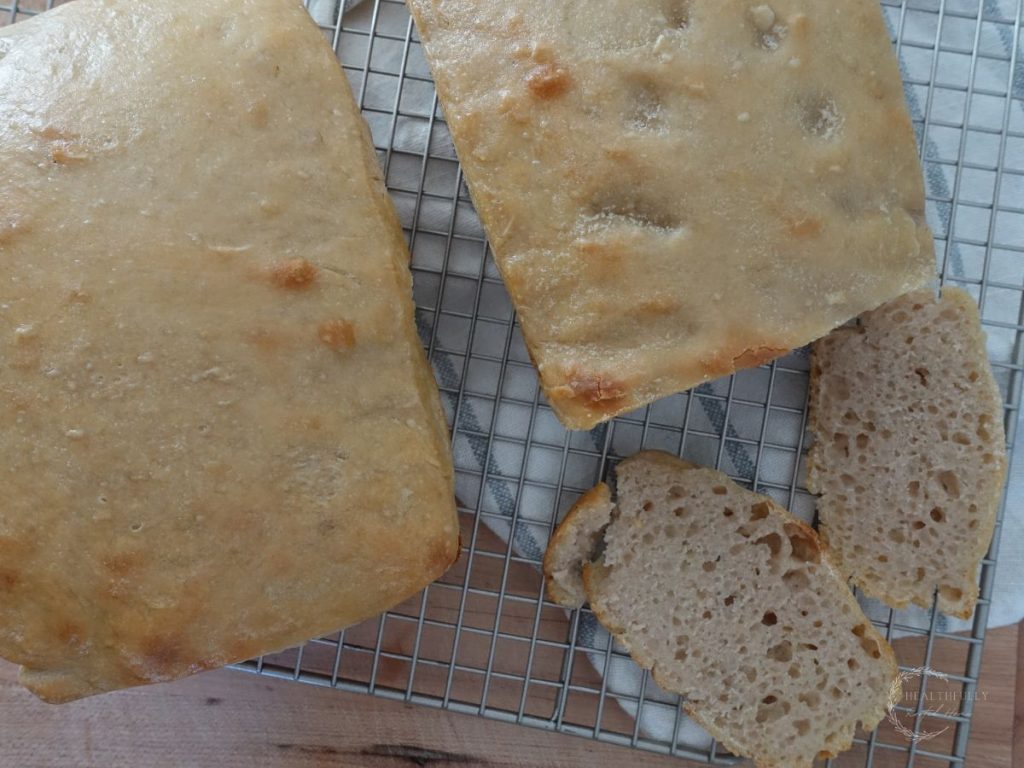
Simply put, long fermented sandwich bread is slowly fermented bread made into sandwich loaves making it versatile for almost any occasion and very healthy.
Fermented bread is made without commercial yeast, rather, uses a natural yeast from wheat which captures wild yeast from the environment. This type of yeast gives the bread a tangy flavor and tons of health benefits.
Related: Start your own sourdough starter here
Equipment You’ll Need
- Stand-mixer with dough whisk
- Loaf pans
- Large glass or ceramic bowl
- Dough scraper
- Grain mill (optional – only if you want to mill your own flour)
Recipe Highlights
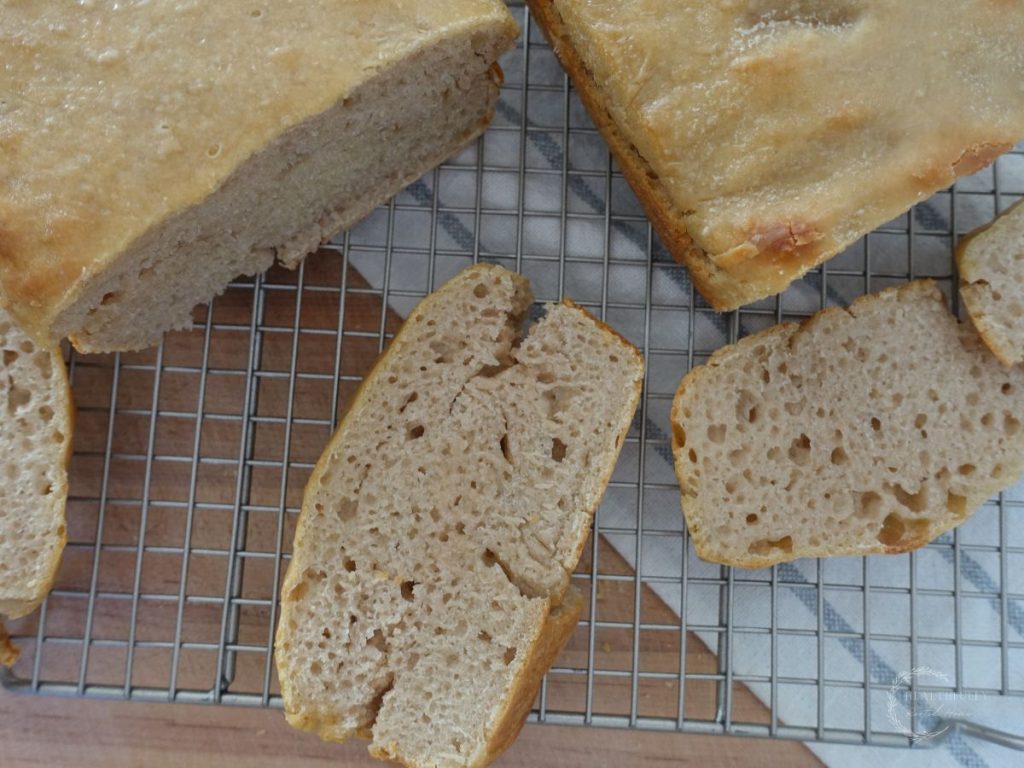
- Low maintenance – whether you need this bread quickly, or you have time to spare, you can use this fermented bread recipe.
- Hands-off – A stand-mixer does all the work for this recipe, making it the perfect everyday sourdough bread recipe.
- Fermented bread benefits – there are many benefits to fermented bread such as probiotics, easier digestion of soured grains, and more vitamins and minerals than store-bought bread.
- Easy baking schedule – make your dough the night before you want bread, bake the next day (whenever you have time), and enjoy your bread! If you don’t have time to bake it the next day, just pop it in the fridge for when you do have time.
How to Make long Fermented Sandwich Bread
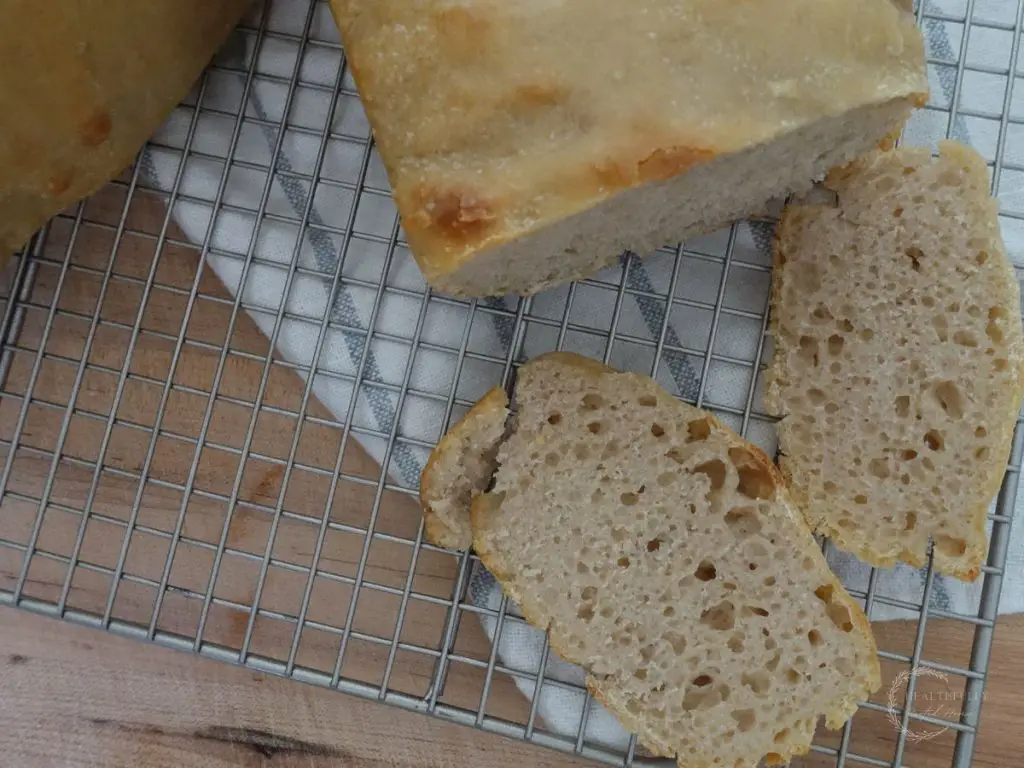
This deliciously tangy long fermented sandwich bread is the perfect everyday sourdough loaf. It’s easy to prepare and can be done on repeat daily so that you always have freshly baked fermented bread on hand.
Fermented Bread Ingredients
All-purpose flour – you can use all-purpose, whole wheat, einkorn, spelt, or any other flour you like for this recipe. The amount of flour you use will depend on the type. My recipe calls for all-purpose, so adjust the amount from there.
Filtered water – we use our Berkey water filter to filter our water, but it’s important for your water to be filtered for fermented bread so the contaminants in your water don’t kill your yeast.
Sea salt – Good quality sea salt is important.
Sourdough starter – if you don’t already have a sourdough starter, learn how to make one in 7 days using this tutorial.
Step by Step Instructions (with photos)
Add all the ingredients to the bowl of a stand mixer (see tips on how much flour to add in the section on how to read dough below).
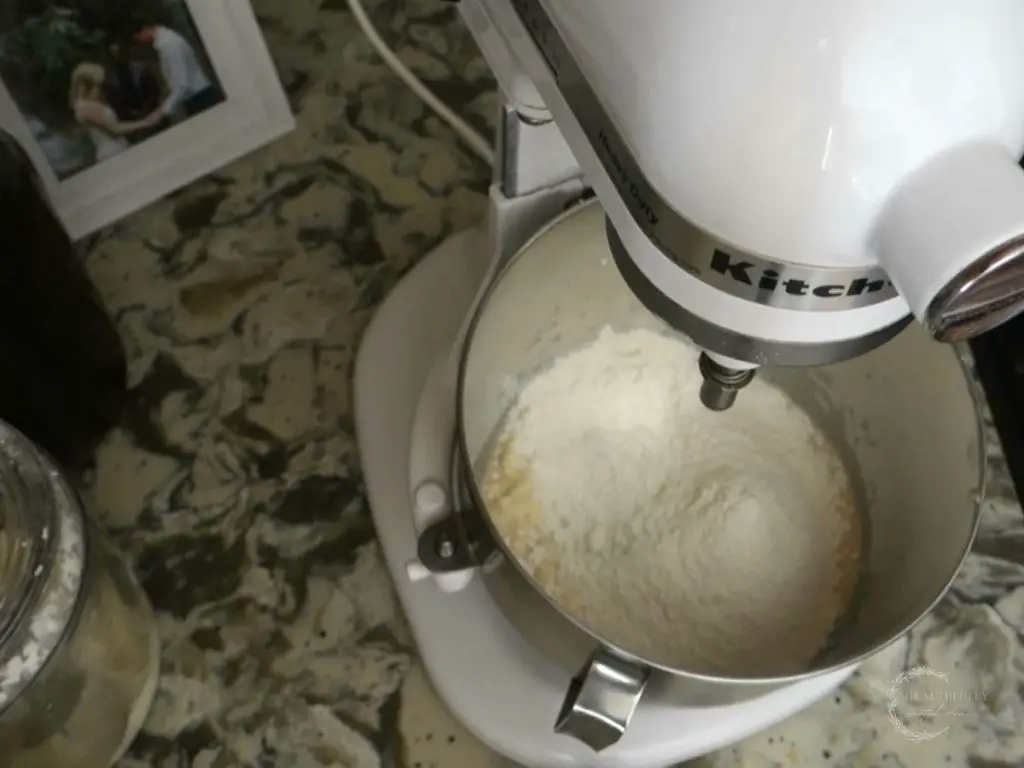
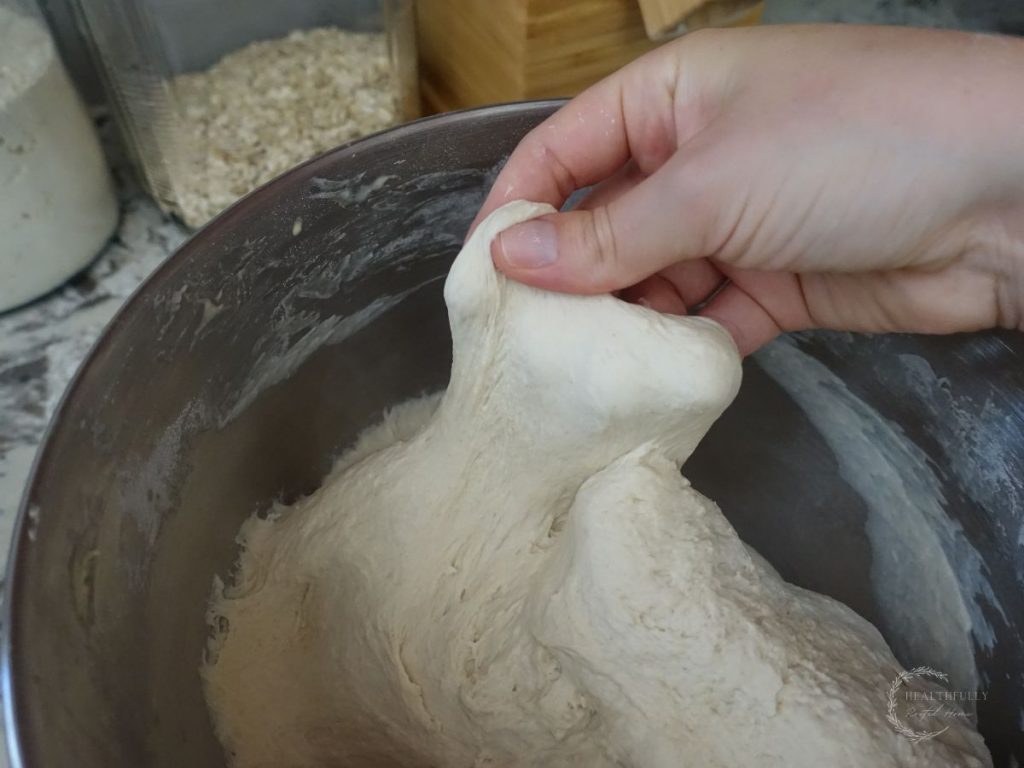
Knead until your dough is pliable (should pass the windowpane test).
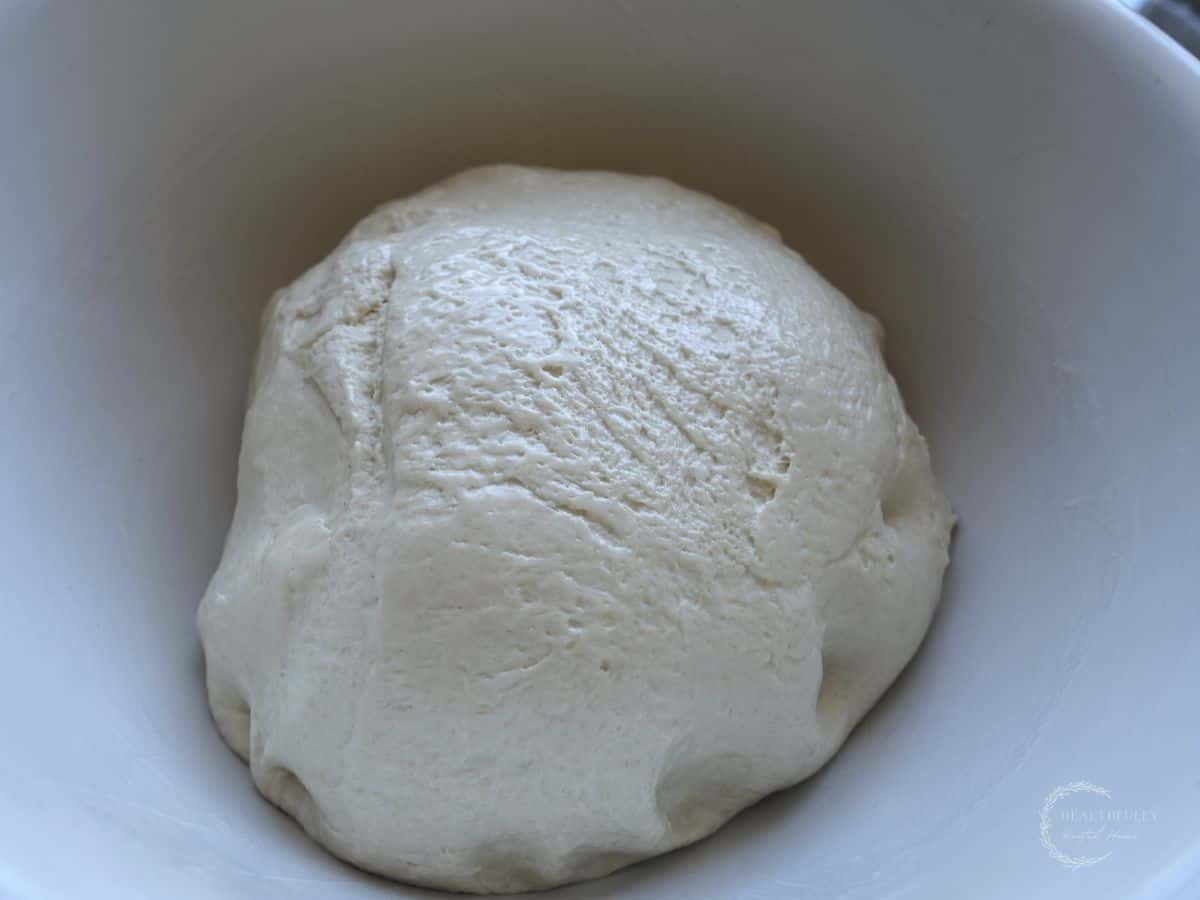
Place in a large bowl and let it ferment for 12-24 hours.
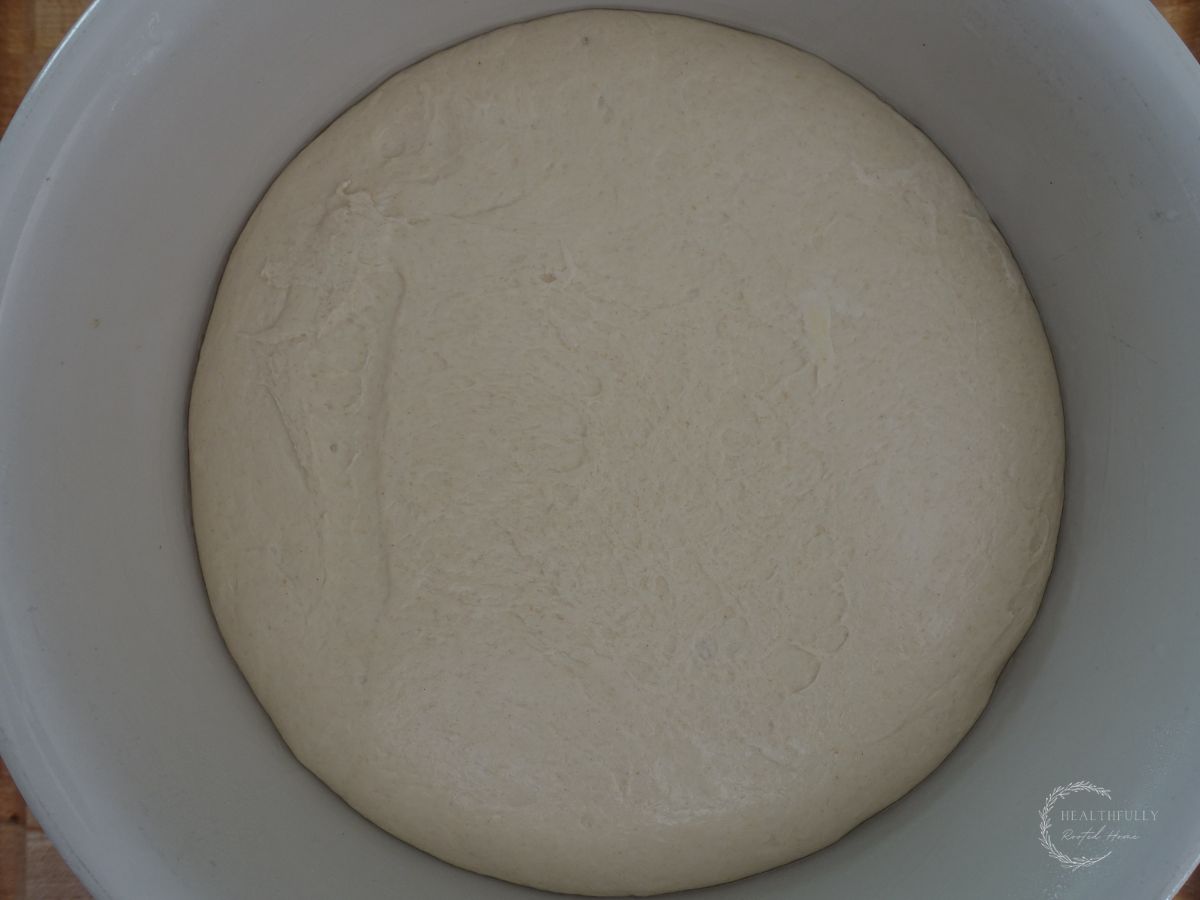
Divide your dough into two loaves and shape by bringing all sides of the dough into the center, flipping over, and spinning against the countertop a few times to create tension.
Add the shaped loaves to the greased loaf pans.
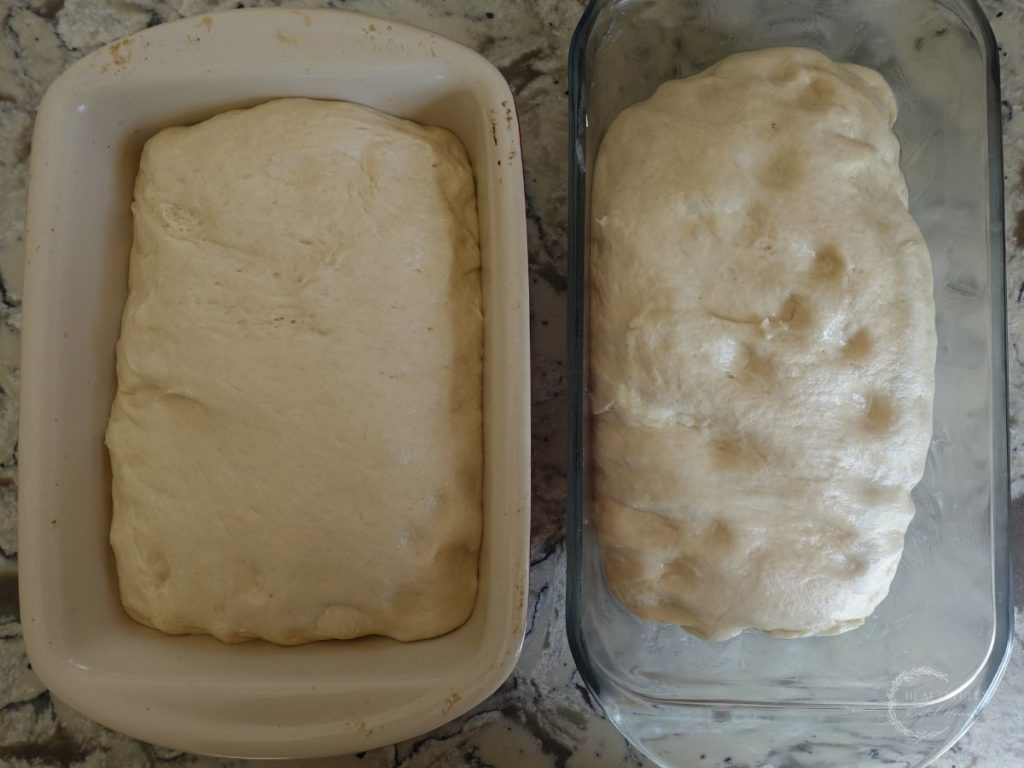
Let proof for an hour or two (or place in the fridge until you’re ready to bake).
Preheat the oven to 375F and bake loaves for about 45 minutes.
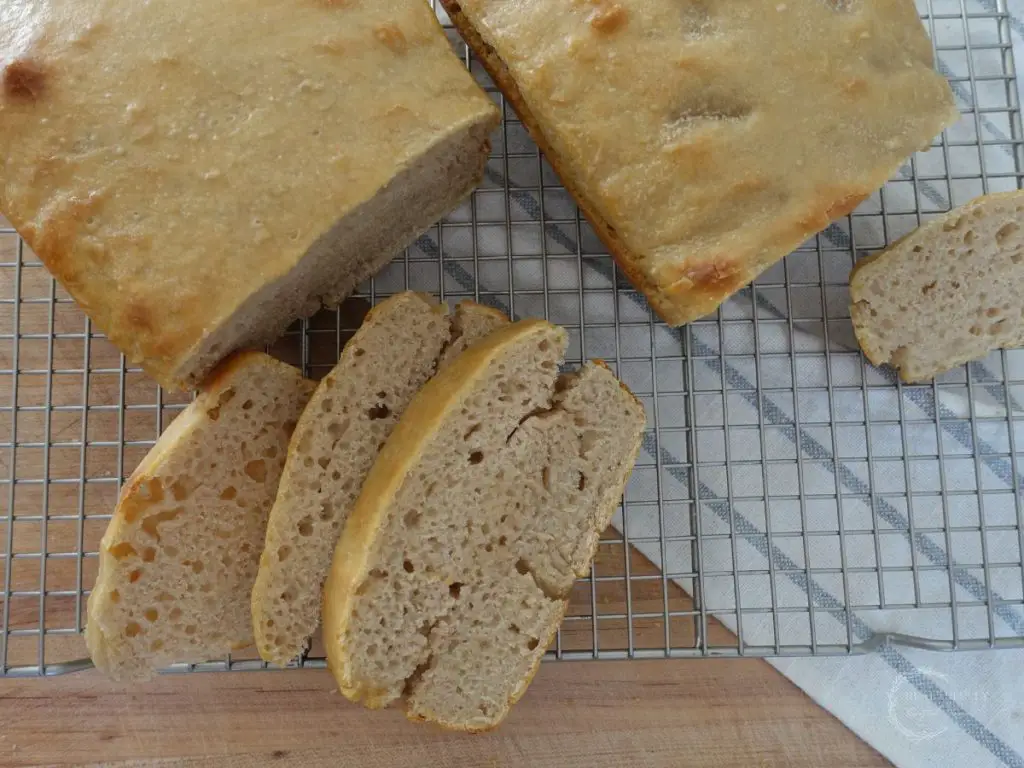
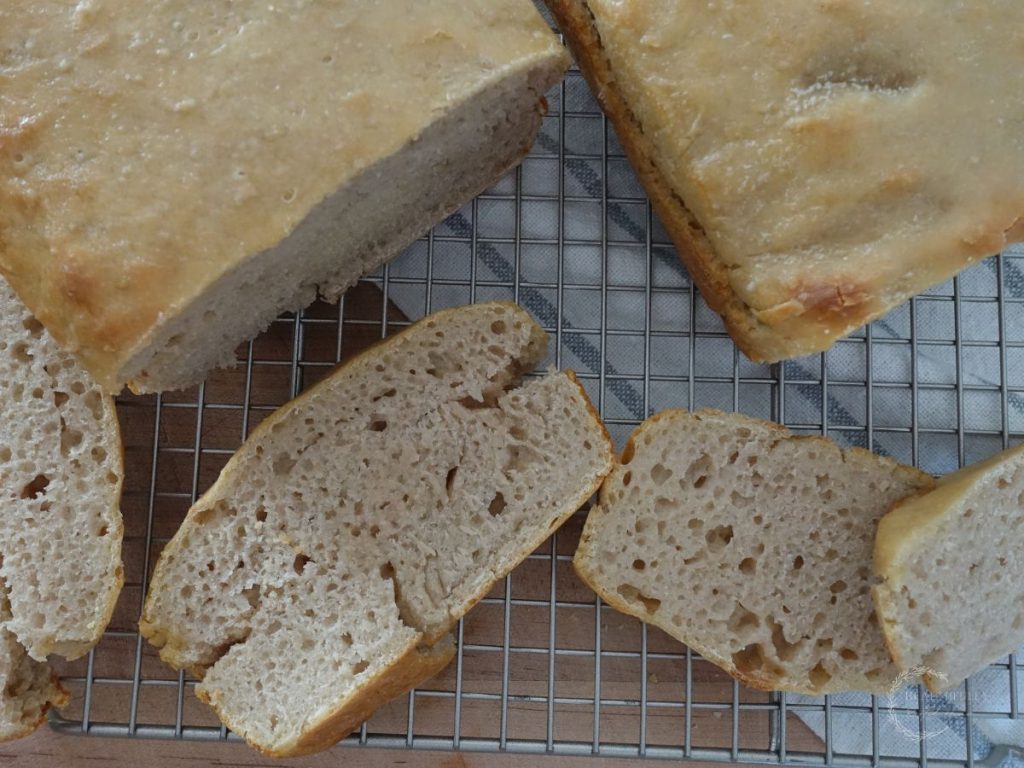
Rub the top of the loaves with butter while they’re warm, then wait about one hour to slice.
Best way to Store Fermented Bread
Fermented bread is always best when enjoyed the day of, however, see below for storage options and read this post for a very detailed description of how to store sourdough bread.
Room temperature
Store your sourdough bread in a breathable bag (such as paper or linen) for up to 3 days.
Freezer
It’s best to freeze any bread you don’t eat the day of. To freeze your sourdough bread, let it cool completely and store the entire loaf in a plastic bag for up to 3 months. You can also slice the bread and freeze the slices in plastic bags.
Related: How to store sourdough bread so it stays fresh longer
In a Pinch Ideas

Make-ahead – Make a double batch and freeze some for later. This makes for a great in a pinch bread component to any meal.
Ferment for a shorter or longer time period – you have a lot of flexibility with the fermenting schedule. If you need the bread sooner, only ferment for 8-12 hours. If you don’t have as much baking time as planned, place in the fridge and bake whenever you do have time.
Long Fermented Sandwich Bread Tips
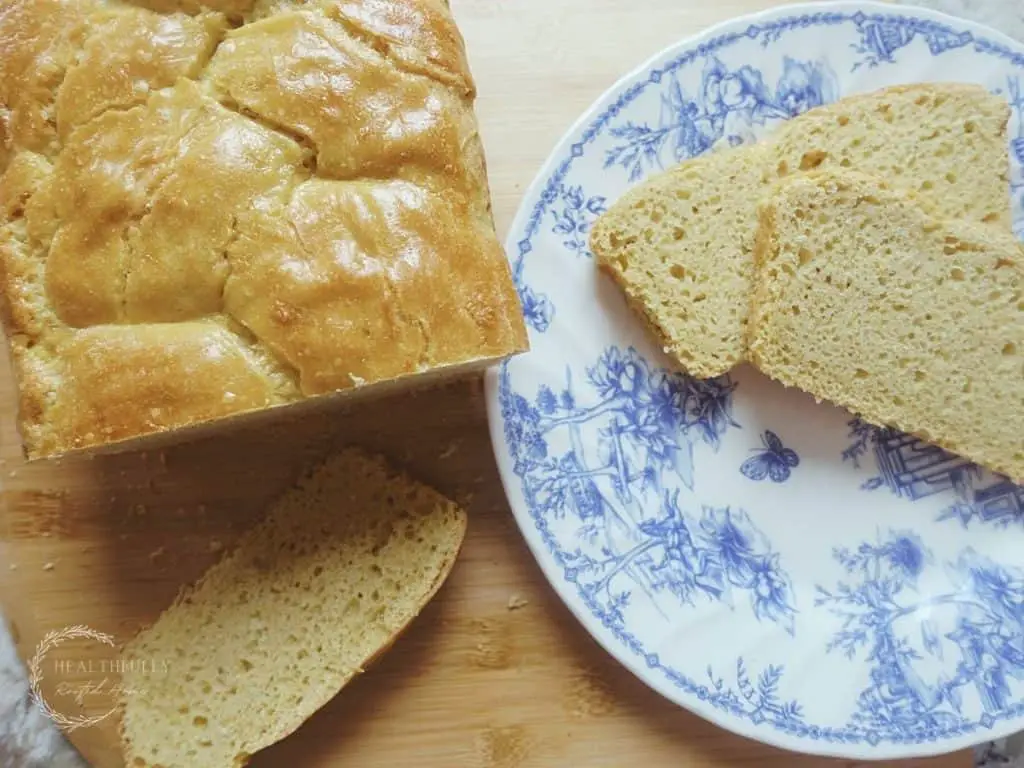
- Let your baked bread rest – The worst part of baking sourdough bread – waiting for it to continue to cook once it’s out of the oven! Do let this bread rest for one hour prior to slicing. Your crumb will turn out much better.
- Expectations – with this everyday sourdough bread recipe, your expectations of the perfection of the loaf shouldn’t be as high as a loaf which you’re pouring more time and energy into it.
- Do the float test – to determine if your sourdough starter is ready to make fermented bread, you’ll need to perform the float test. See the procedure below.
- Adjust your flour content as needed – see the tutorial below for getting the right flour content for your dough.
How to Perform the Float Test
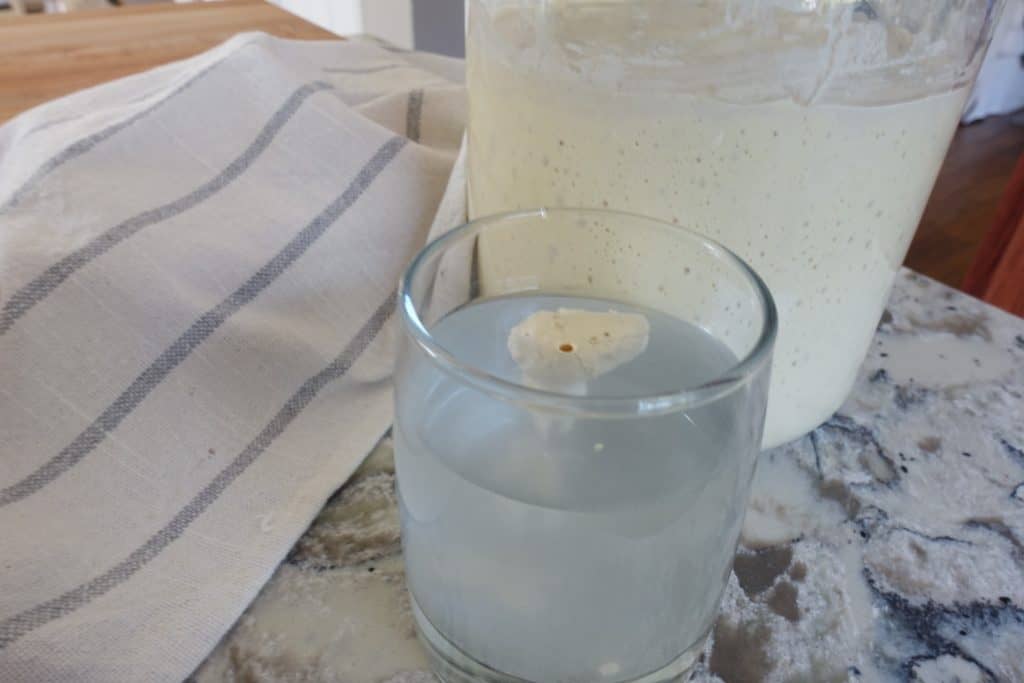
- take a small dollop of your starter after it’s been fed within the last couple of hours, drop it into a glass of water.
- if it floats you’ll probably get a good rise out of your sourdough bread. If it sinks, you’ll want to either wait for it to mature longer
- If your sourdough starter never floats, you’ll need to do some sourdough starter troubleshooting.
How much Flour to Use for Fermented Bread?
Unfortunately, there is no way to have a fail-proof sourdough recipe that you can follow 100% to the T every single time. You have to adjust the amount of flour you use from time to time depending on various factors. See below how to read your dough.
How much flour to use for making bread

You should always read the dough rather than a recipe in order to get your best loaf of bread. Always start with about 1/4 of the amount of flour the recipe calls for.
Once you start mixing the flour you’ll need to start “reading the dough” to see how much more flour to add. Add about 1/4 cup of flour at a time after that until your dough is ready.
How to read the dough
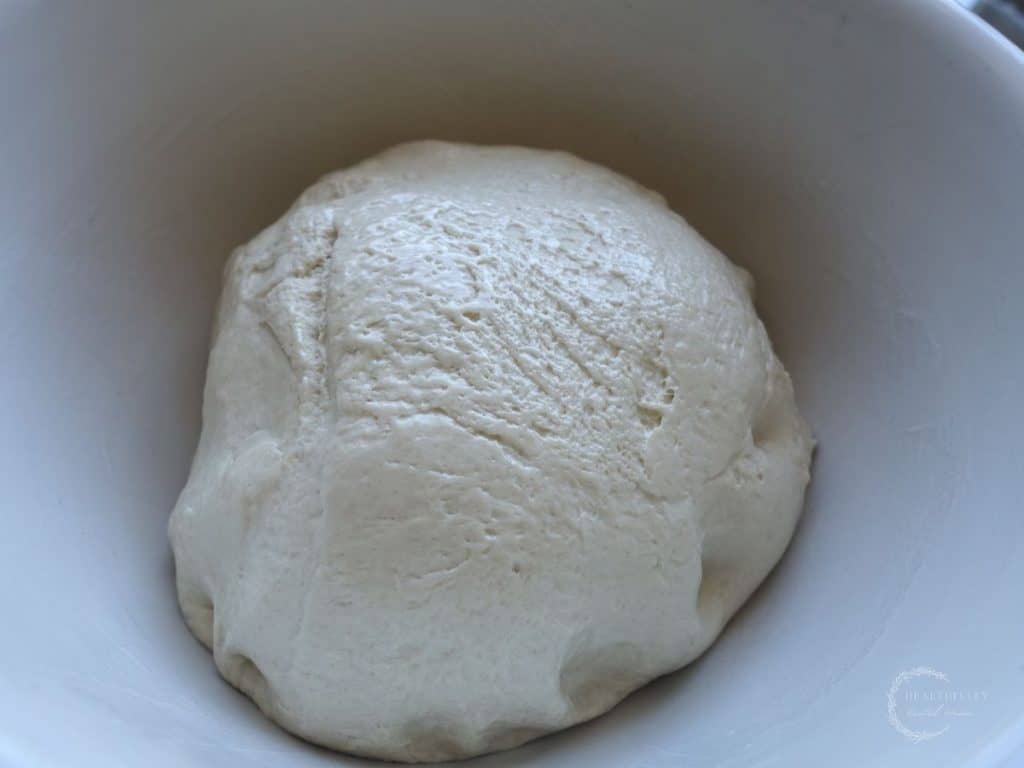
You are looking for your dough to start coming together into a smooth ball and for the sides of the bowl to become clean. The dough will start to pull from the sides of the bowl and incorporate into a ball.
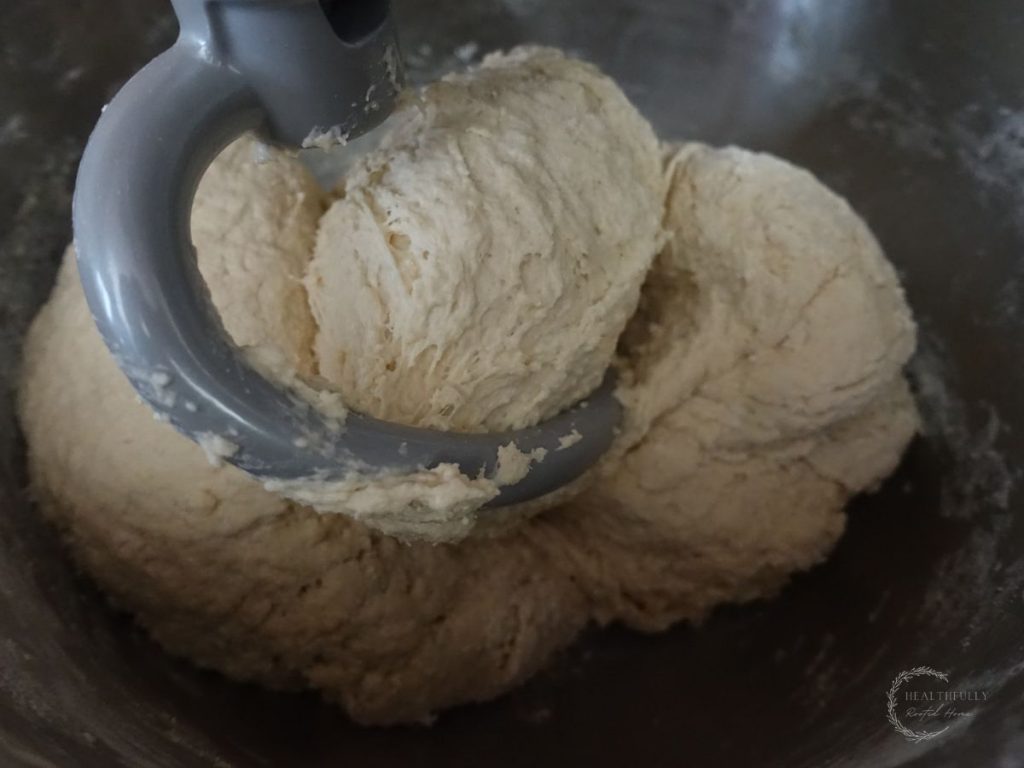
The dough should not be sticky when you’re done mixing your flour in, it should always be soft and your bowl should be clean.
How to Make Fermented Bread Healthier
- Long fermented – Long-fermented dough provides great gut-healing bacteria. This helps people to digest bread better too.
- Quality ingredients – Using quality ingredients will not only help your fermented bread taste better, but it’ll be much better for you too. Go for organic ingredients!
- Add-ins – This is the area where it’s easy to make a super healthy sourdough bread recipe take a turn for the worst.
Baker’s Timeline
This is a very rough baker’s timeline. Since this fermented bread recipe is so low-maintenance, you can adjust this however best fits your schedule.
1 pm – feed starter
8 pm – make fermented bread dough, then let ferment overnight.
8 am (next day) – shape and final rise (anytime between 12 and 24 hours after fermentation starts you can shape your dough then let it proof in the loaf pans for a couple of hours).
10 am – bake long fermented sandwich bread. Bake your loaves or place them in the fridge until you’re ready to bake (can be several days later if necessary).
How to Serve Long-Fermented Sandwich Bread

- As a sandwich
- Grilled cheese – try my provolone grilled cheese with honey
- Butter and honey
- Toast with eggs
- On the side of soup
- any other way you like to enjoy bread
Long Fermented Sandwich Bread Add-Ins
These are all some great additives to place inside your fermented bread dough prior to the bulk ferment.
Single-ingredient add-ins
- Rosemary
- Cheese
- Jalapeños
- Dried fruit
- Olives
- Herbs
- Seeds/nuts
- Spices
- Garlic
- Any combination of the above that sound delicious to you!
Sourdough bread flavor combinations
- Rosemary garlic
- Cheddar Jalapeno
- Cinnamon raisin
- Garlic and olive oil
- Garlic parmesan
- Rubbed sage and dried onion flakes
- Kalamata olives and dried herbs
- Sundried tomato and pesto
- the list is literally endless!
Shop This Post
(These affiliate links help to support this blog at no extra cost to you. Your support means the world to me!)
- Berkey water filter (we use the Royal because we drink an insane amount of water!)
- Thrive Market – 25% off & free gift! (where I get a ton of my ingredients)
- Azure Standard: $25 off your order. Code kyrieluke1
- Dutch oven
- Stand mixer
- Boos Block Butcher Block
- 12 inch Cast Iron Skillet
- Loaf pans
- Large glass or ceramic bowl
- Dough scraper
- Grain mill (optional – only if you want to mill your own flour)
More Fermented Bread Recipes
Roasted Garlic Sourdough Bread
Pumpkin Sourdough Cinnamon Rolls
Sourdough Starter from Scratch
Fermented Bread FAQ
Fermented bread is bread that has been left out on the counter for several hours to soak and sour the grains as well as capture wild yeast from the environment.
Fermented bread has many benefits such as being more easily digested than bread made with commercial yeast, more vitamins and minerals, and lots of probiotics.
Fermented bread and sourdough are the same thing; both use yeast captured from the environment versus commercial yeast.
Sourdough bread is naturally fermented using wild yeast captured from the environment.
Pin it For Later – Long Fermented Sandwich Bread
Related: Sourdough Discard Bread Rustic Loaf
Print the Long Fermented Sandwich Bread Recipe
Long Fermented Sandwich Bread
Equipment
- 1 Stand-mixer with dough whisk
- 2 Loaf pans
- 1 Large glass or ceramic bowl
- 1 Dough scraper
Ingredients
- 6-8 cups all-purpose flour adjust amount if you're using whole wheat, spelt, or einkorn.
- 2 cups sourdough starter
- 2 1/2 cups filtered water
- 4 tsp sea salt
- butter for greasing pans and topping loaves
Instructions
- Add all the ingredients to the bowl of a stand mixer and knead until your dough is pliable (see tips on how to read dough above).
- Place in a large bowl and let it ferment for 12-24 hours.
- Divide your dough into two loaves and shape by bringing all sides of dough into the center, flipping over and spinning against the countertop a few times to create tension.
- Add the shaped loaves to the greased loaf pans and let proof for an hour or two (or place in the fridge until you're ready to bake).
- Preheat the oven to 375 and bake loaves for about 45 minutes.
- Rub the top of the loaves with butter while they're warm, then wait about one hour to slice.
Video
Notes
Best way to Store Fermented Bread
Fermented bread is always best when enjoyed day-of, however, see below for storage options and read this post for a very detailed description on how to store sourdough bread.Room temperature
Store your sourdough bread in a breathable bag (such as paper or linen) for up to 3 days.Freezer
It’s best to freeze any bread you don’t eat the day of. To freeze your sourdough bread, let it cool completely and store the entire loaf in a plastic bag for up to 3 months. You can also slice the bread and freeze the slices in plastic bags. Related: How to store sourdough bread so it stays fresh longerIn a Pinch Ideas
Make-ahead – Make a double batch and freeze some for later. This makes for a great in a pinch bread component to any meal. Ferment for a shorter or longer time period – you have a lot of flexibility with the fermenting schedule. If you need the bread sooner, only ferment for 8-12 hours. If you don’t have as much baking time as planned, place in the fridge and bake whenever you do have time.Long Fermented Sandwich Bread Tips
- Let your baked bread rest – The worst part of baking sourdough bread – waiting for it to continue to cook once it’s out of the oven! Do let this bread rest for one hour prior to slicing. Your crumb will turn out much better.
- Expectations – with this everyday sourdough bread recipe, your expectations of the perfection of the loaf shouldn’t be as high as a loaf which you’re pouring more time and energy into it.
- Do the float test – to determine if your sourdough starter is ready to make fermented bread, you’ll need to perform the float test. See the procedure below.
- Adjust your flour content as needed – see the tutorial below for getting the right flour content for your dough.
About Me





I’m confused about your recipe. I read the “Notes” at the bottom of the recipe. I’ll copy and paste here- Long Fermented Sandwich Bread Tips
Grams vs. Cups – it’s best to weigh the ingredients for sourdough bread. My recipe doesn’t even suggest cup measurements because everyone’s starter, flour, and salt weigh different amounts. So 1 cup of your starter could weigh something totally different than 1 cup of my starter. Sourdough bread is fickle and needs precise grams of each ingredient.
It talks about sourdough being fickle as the importance of weight measurements and you don’t even suggest cup measurements. And yet- your recipe is written in cup measurements! :/
Well, yes, that IS confusing! Thank you for letting me know – I’ve updated the post. That was verbiage I use on MOST of my sourdough recipes since typically I do use measurements in grams vs cups. However, with this recipe I structured it differently and added a section on “how to read the dough” so people can determine for themselves how much flour is needed for their specific dough.
Thanks so much for pointing that out!
Love how easy it is!
Isn’t it amazing?!
Thanks for trying out this long fermented sandwich bread recipe! Let me know if you have questions below.