Hand Drip Coffee Tutorial
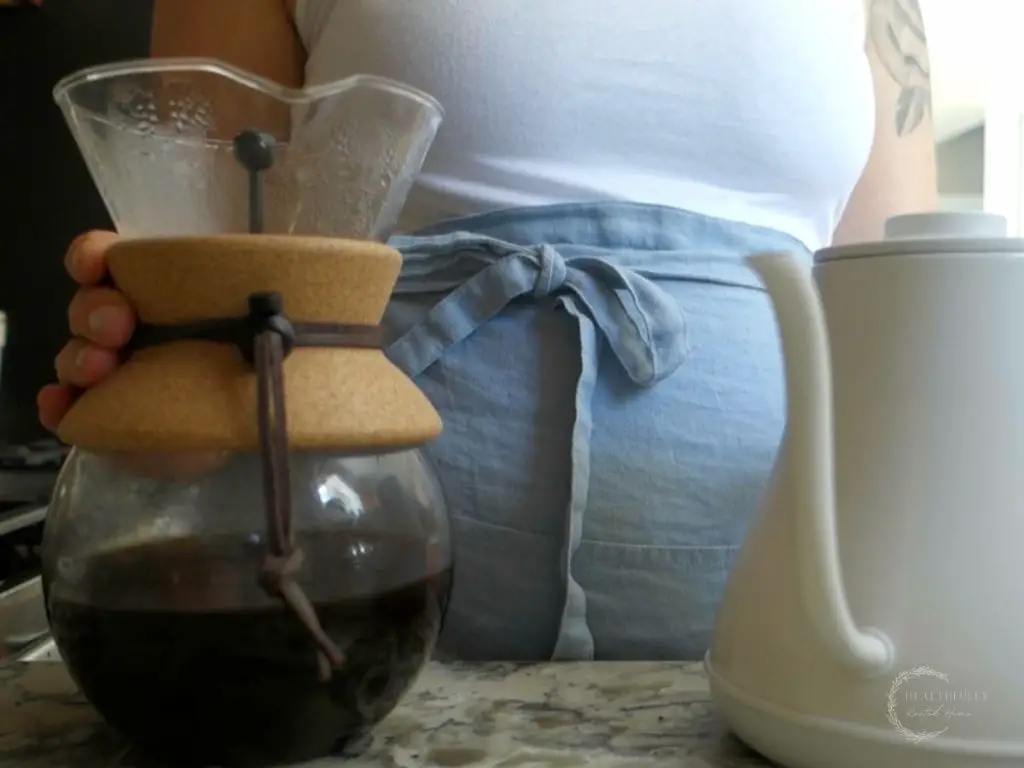
This is a tutorial on how to brew the perfect cup of hand drip coffee so you can enjoy the smooth taste of pour-over in the comfort of your own home.
Hand drip coffee is for the true coffee-lover – someone who enjoys the unique taste of good-quality coffee beans.
This post contains affiliate links, which means I make a small commission at no extra cost to you. See my full disclosure here.
- Hand Drip Coffee Video Tutorial
- What is Hand Drip Coffee
- Equipment You'll Need for Hand Drip
- Benefits of Pour Over Coffee
- How to Make Hand Drip Coffee
- Hand Drip Tips
- Chemex Ratio
- Hand Drip Coffee Makers
- Best Coffee for Hand Drip
- Hand Drip Filters
- Best Kettle for Hand Drip Coffee
- How Coarse to Grind Coffee for Hand Drip
- Shop This Post
- More Coffee Recipes
- Shop my Six Month Meal Plans
- Pin it For Later – Perfect Hand Drip Coffee
- Print the Hand Drip Coffee Recipe
- Hand Drip Coffee Tutorial
- Hand Drip Tips
- Chemex Ratio
- Hand Drip Filters
- Best Kettle for Hand Drip Coffee
- How Coarse to Grind Coffee for Hand Drip
- About Me
Hand Drip Coffee Video Tutorial
What is Hand Drip Coffee
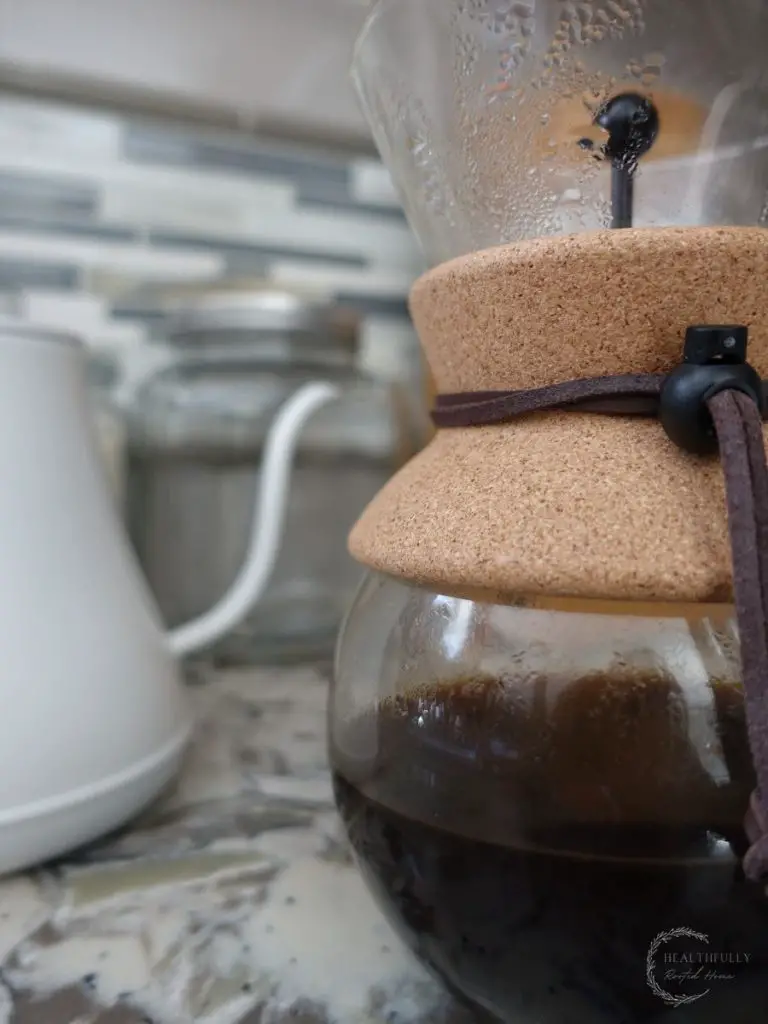
Hand drip coffee brewing, also called pour over, is a technique for manually brewing coffee by hand. The hand drip technique involves pouring water through coffee grounds in a slow, circular motion.
The result of making hand drip coffee as opposed to french press, or using a machine is a very smooth cup of coffee that doesn’t taste acidic or bitter.
Equipment You’ll Need for Hand Drip
Hand drip maker (pour over) – Chemex is what we use and is a popular brand.
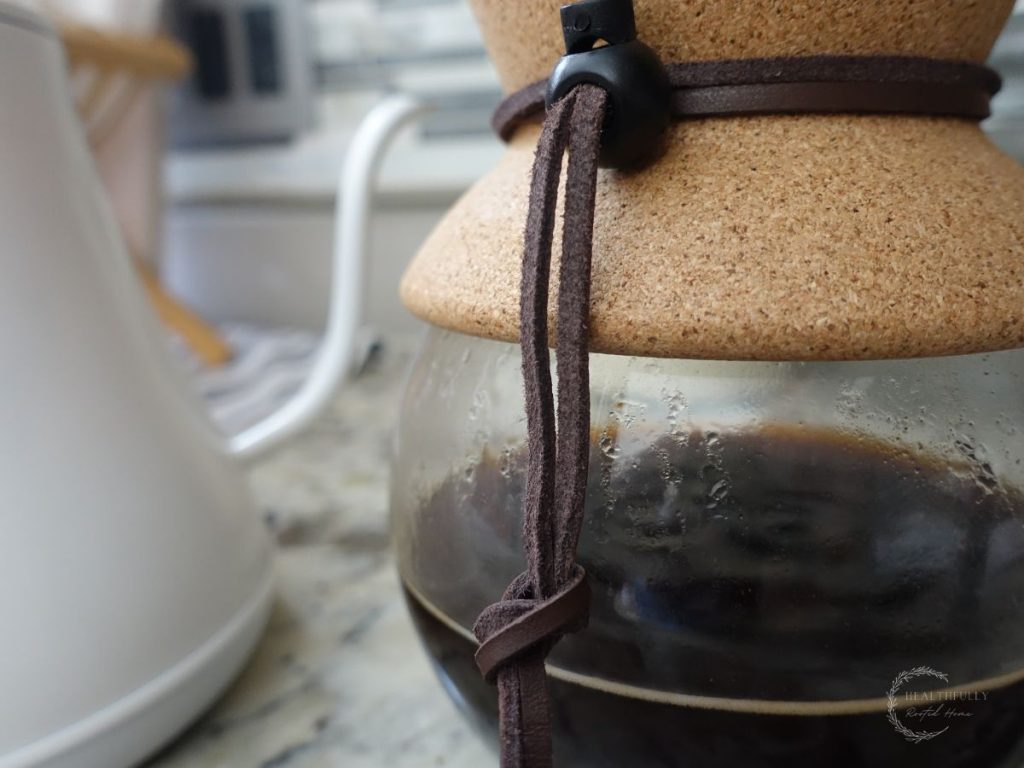
Carafe or mug – depending on the type of hand drip maker you have, you’ll need a separate carafe or mug for the coffee to pour into. The Chemex used in this post is a single unit containing everything you need.
Filter – a permanent filter or filter paper.
Gooseneck kettle – you can use a regular kettle, but the gooseneck spout makes it much easier to do the spiral pour. Preferably, you’ll want to use an electric gooseneck kettle so you can choose the optimal temperature (or use a thermometer).
Coffee grinder (optional) – if you aren’t buying pre-ground coffee beans, you’ll need a grinder.
*Other equipment you might need but seem completely unnecessary to me are a scale and a timer. Scales are used by some to measure the amount of coffee to pour and a timer is sometimes used to time in between pours. We use neither and after a couple of times brewing hand drip coffee those become entirely unnecessary.
Benefits of Pour Over Coffee
Pour over coffee has many benefits other than the smooth taste. True coffee lovers not only gush over the smooth taste of pour-over coffee, but they enjoy the various other benefits too.
- Inexpensive
- Smooth taste
- Easy to brew
- Similar brew time to other methods
- Easy to maintain
- Low waste
- Hand made
How to Make Hand Drip Coffee
In order to enjoy the full benefits of hand drip coffee, it’s important to learn how to brew it. Once you learn the right technique, it’ll become second nature and won’t take any extra time.
Ingredients
Coffee beans – choose single-origin, organic coffee beans for the best flavor.
Filtered water – filtered water is important for optimal taste.
Step by Step Instructions (with photos)
Step 1: Prep filter and coffee grounds
First, you’ll want to use your kettle to pour some hot water through your filter paper (with no coffee in it) in order to ensure proper drip speed. Then, dump out the water from your hand drip carafe (this step is only for those using filter paper rather than a permanent filter like what is pictured below).
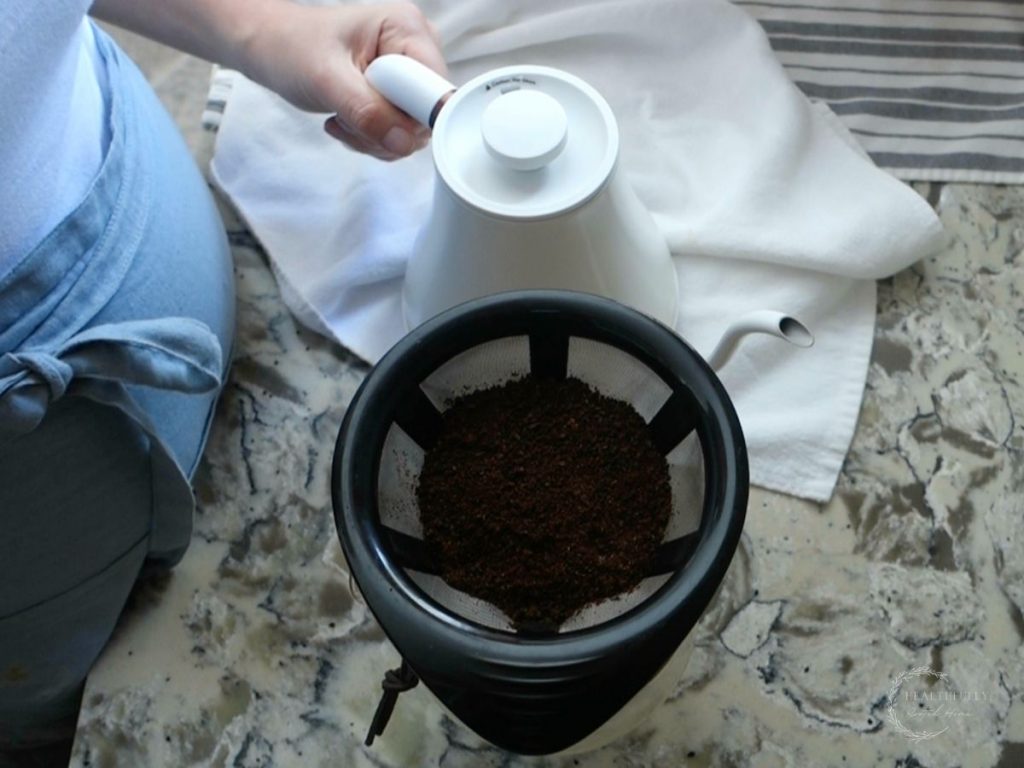
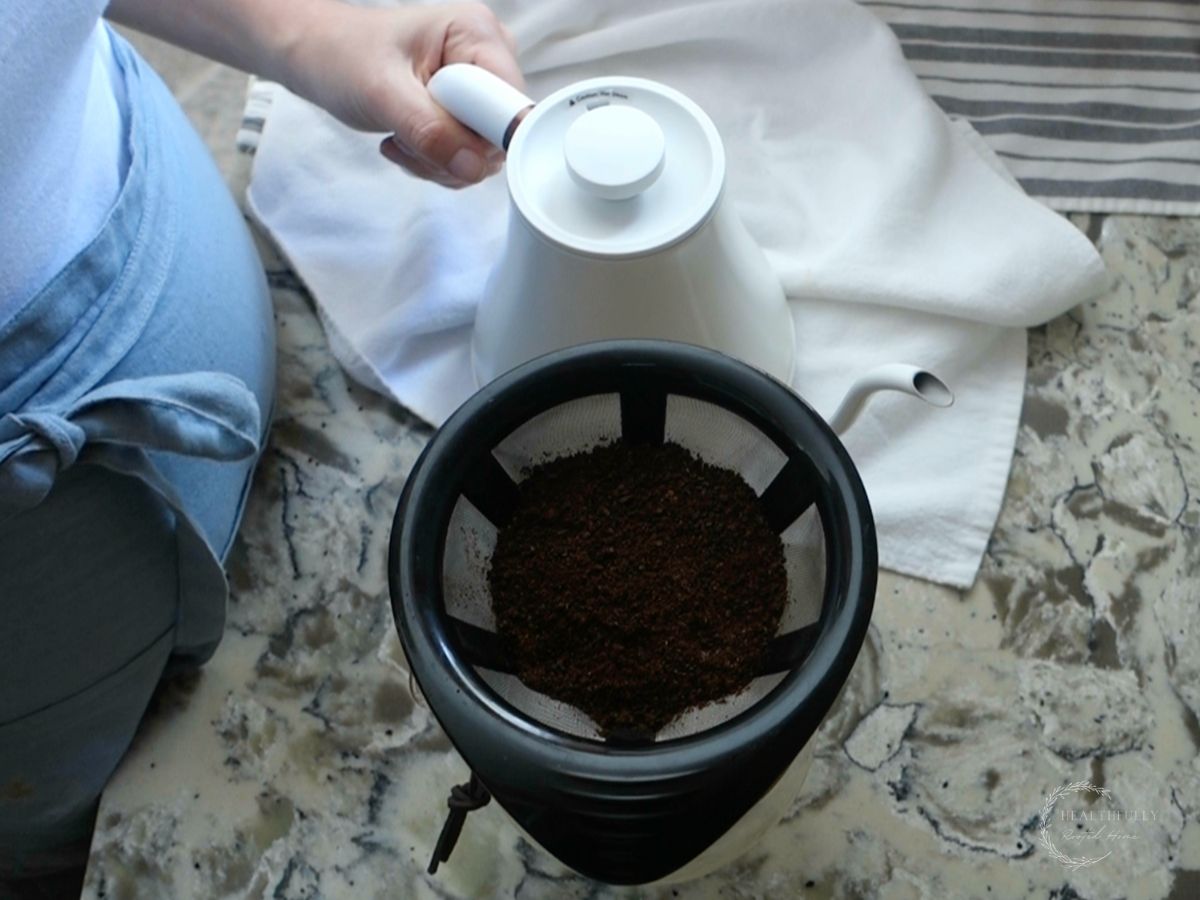
Then, if using a grinder, grind coffee to sea salt coarseness then place them in the filter and gently tap the hand drip to flatten the grounds.
You’ll want to use about 3 tbs coffee beans per 1 cup of water (give or take depending on how strong you like your coffee).
Step 2: Boil water
The next step is to boil your water to about 195-205 F for the optimal flavor of your coffee. Boil your water, then let the water rest for 30 seconds prior to pouring over your grounds.
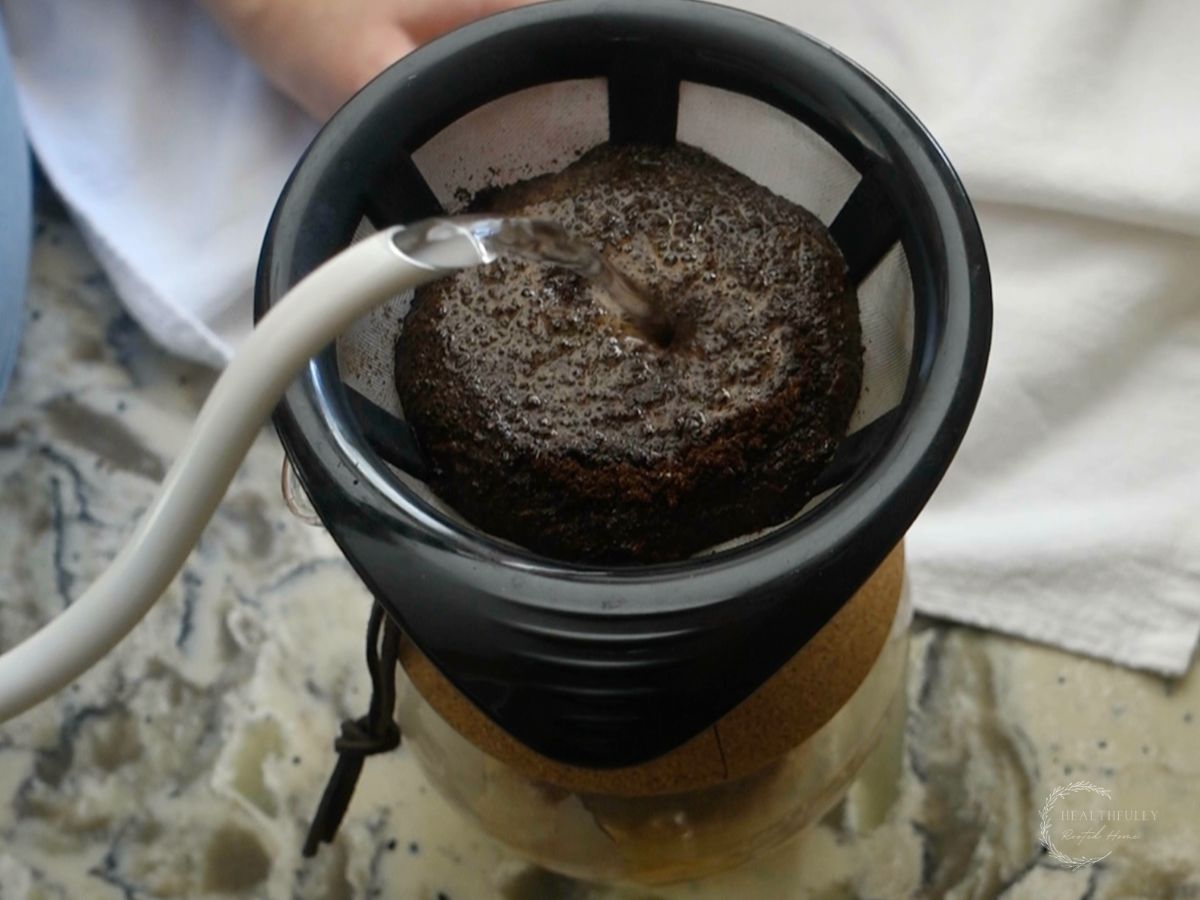
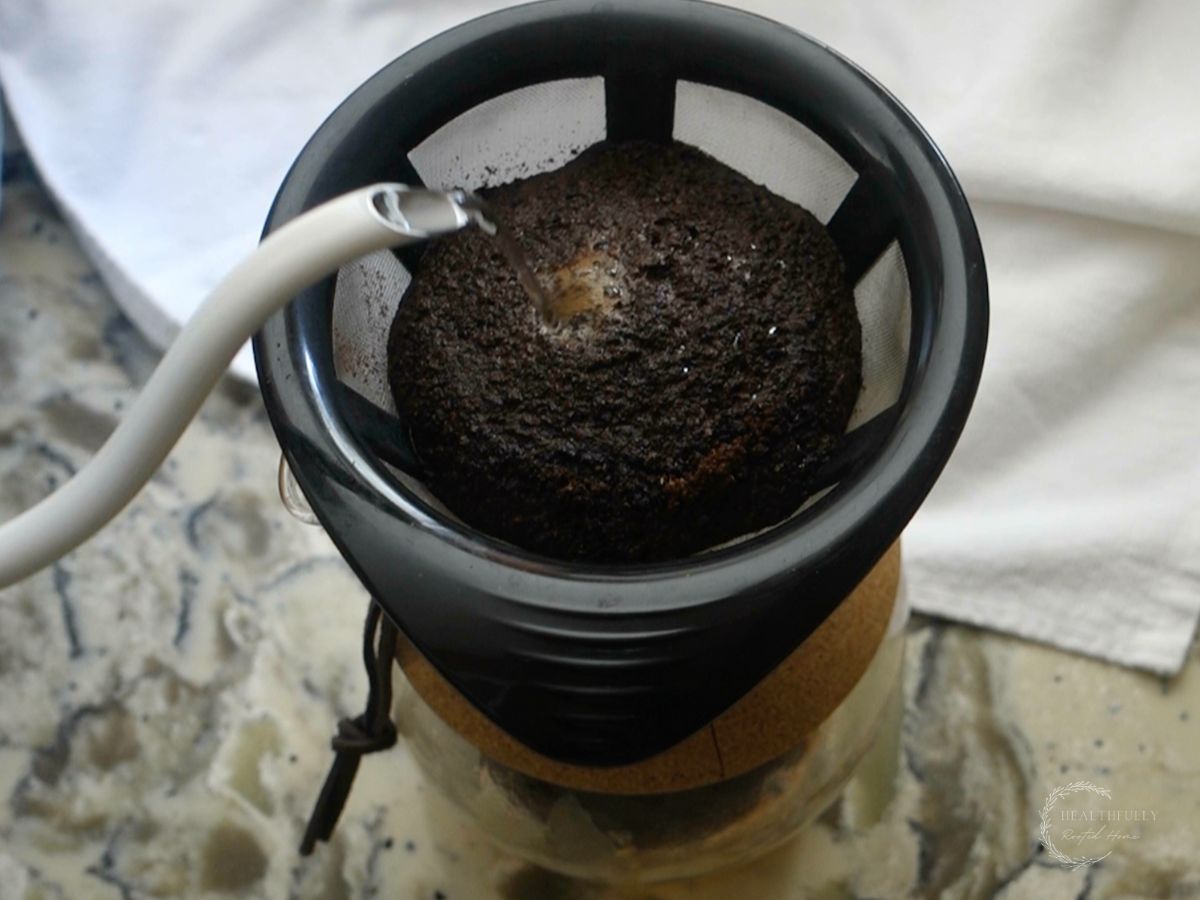
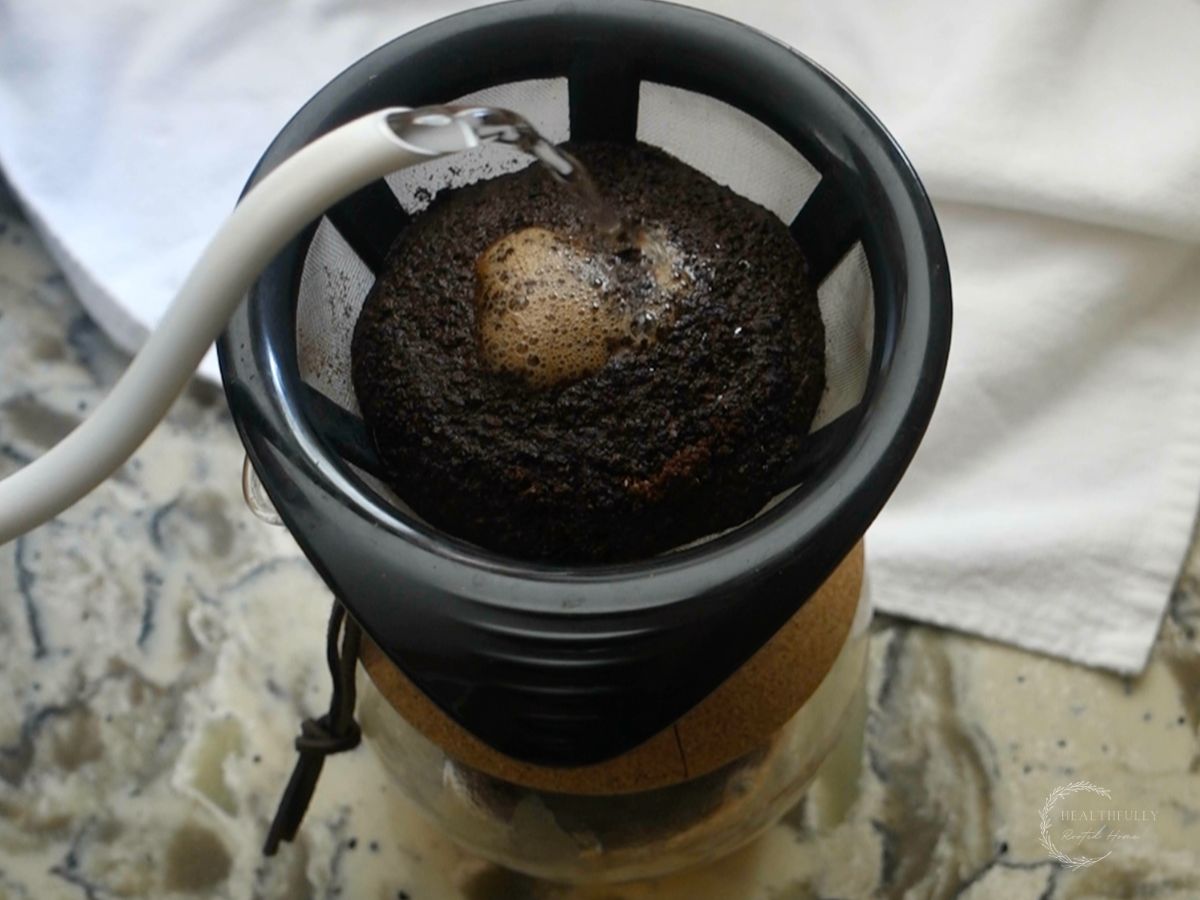
Step 3: First pour “the bloom”
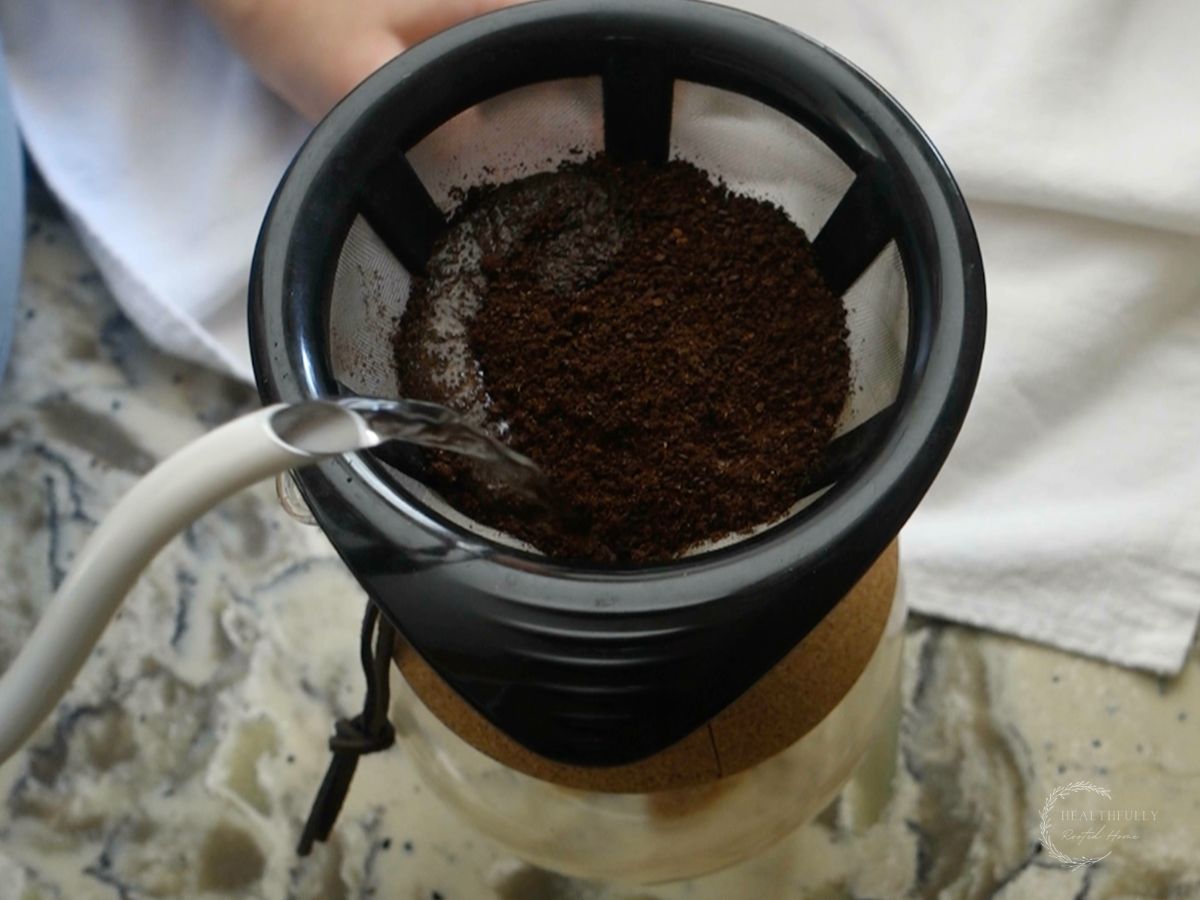
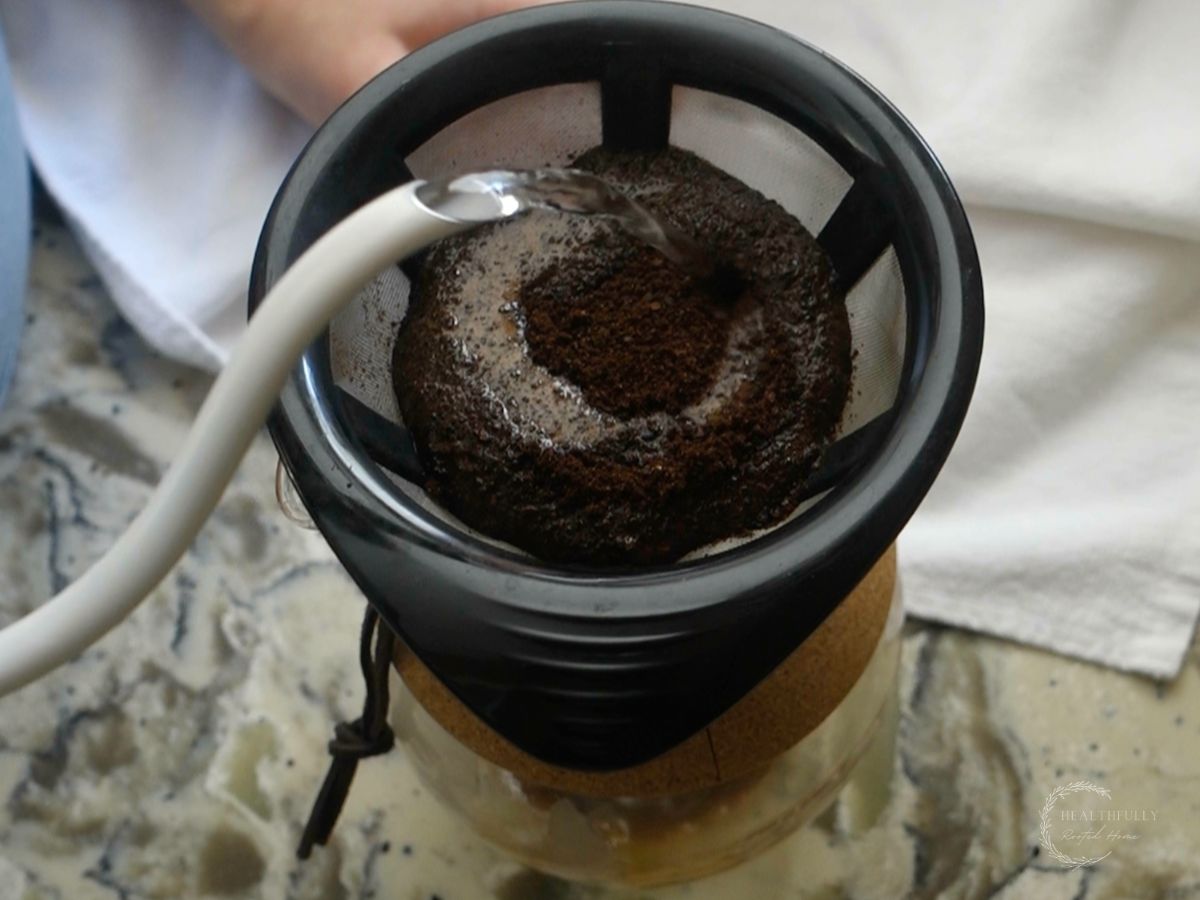
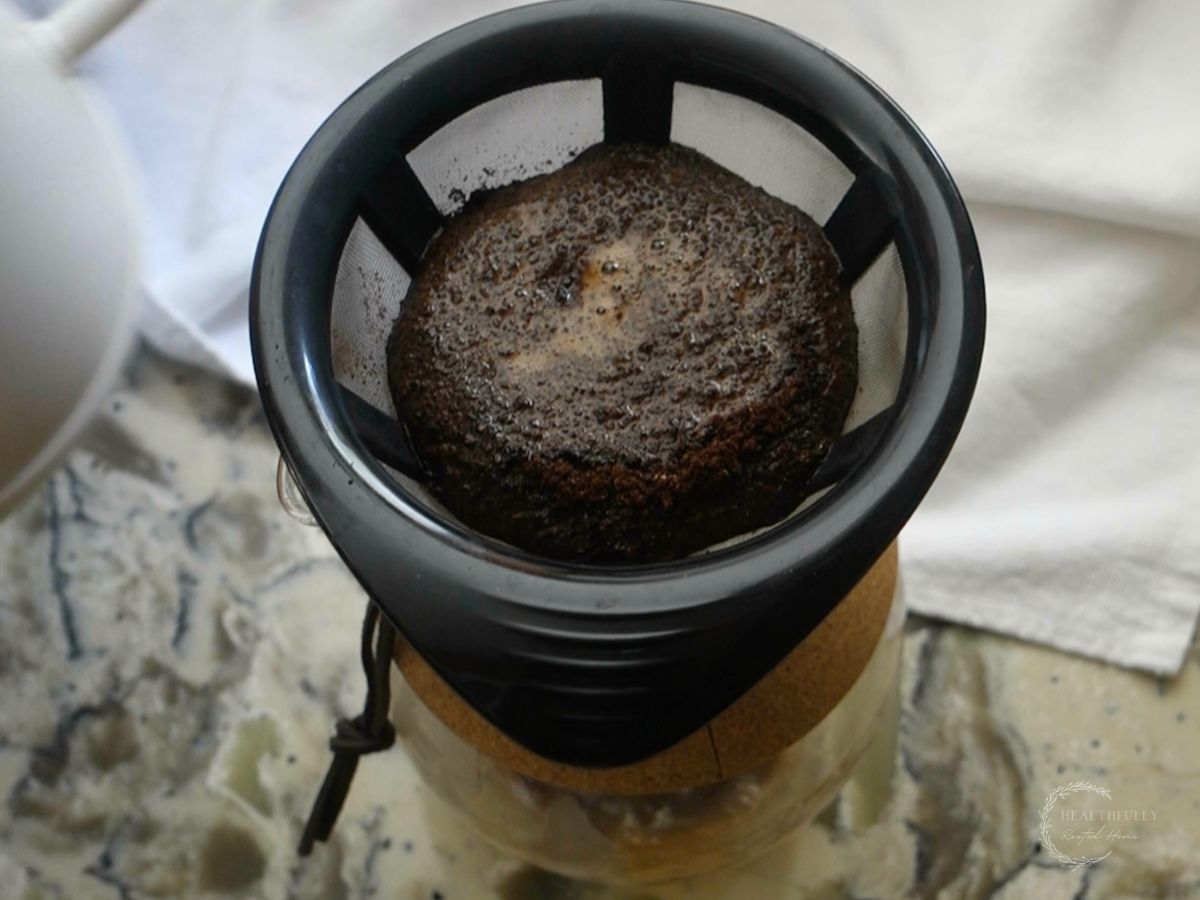
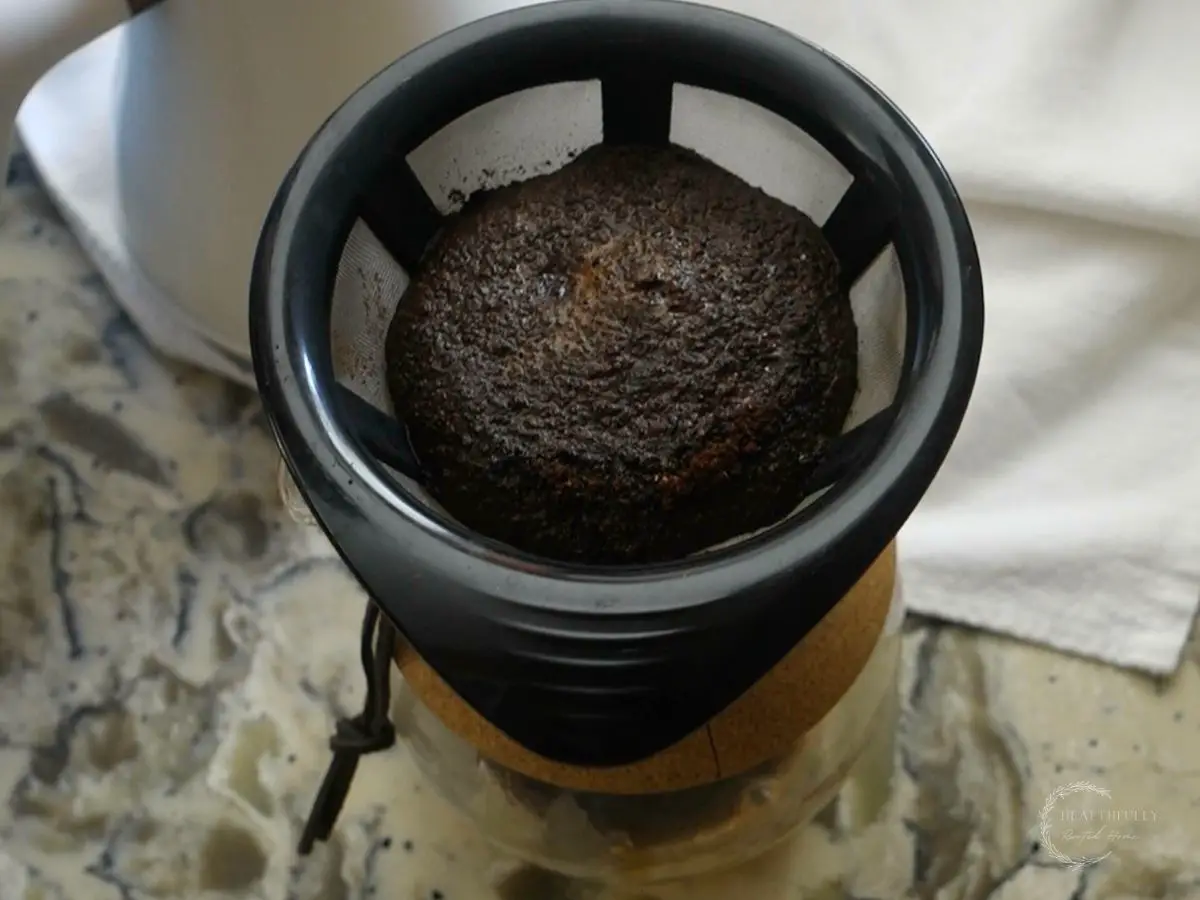
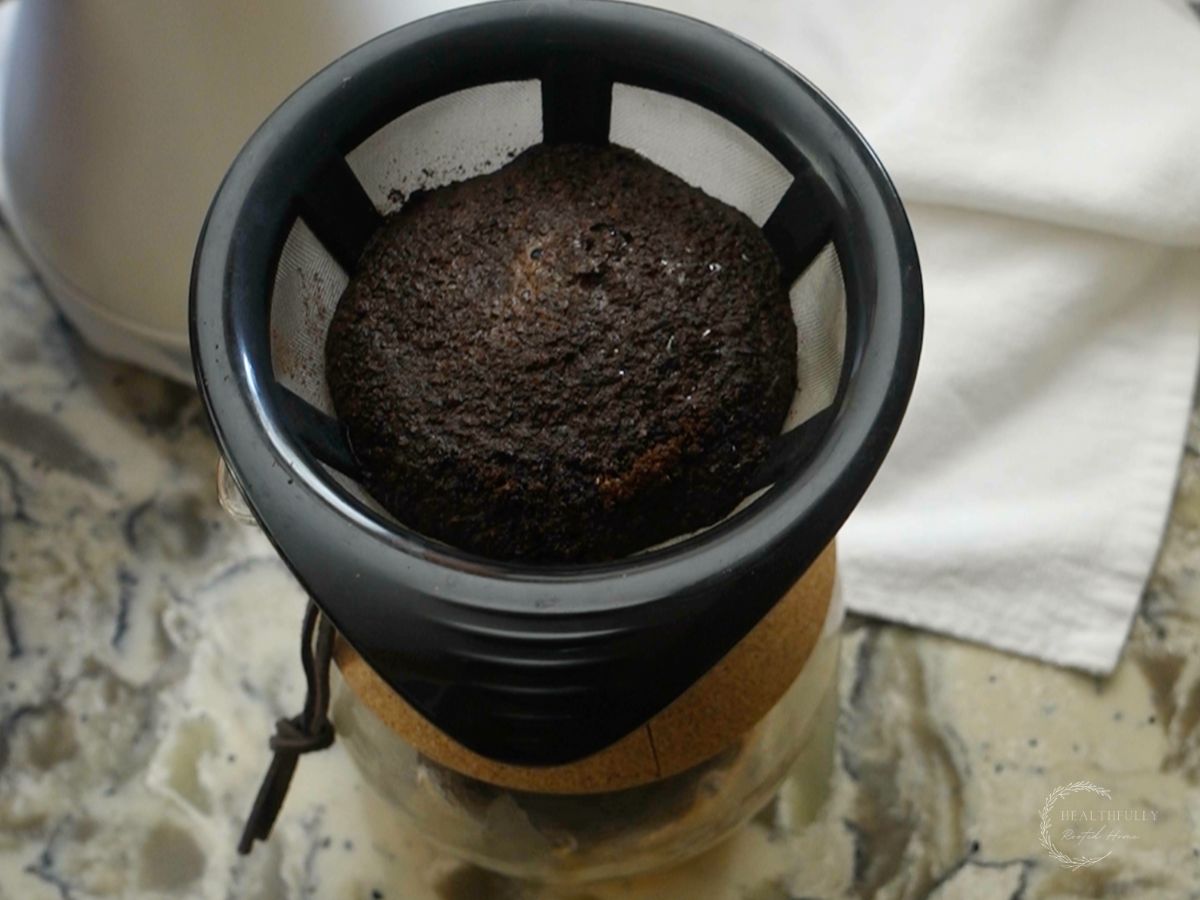
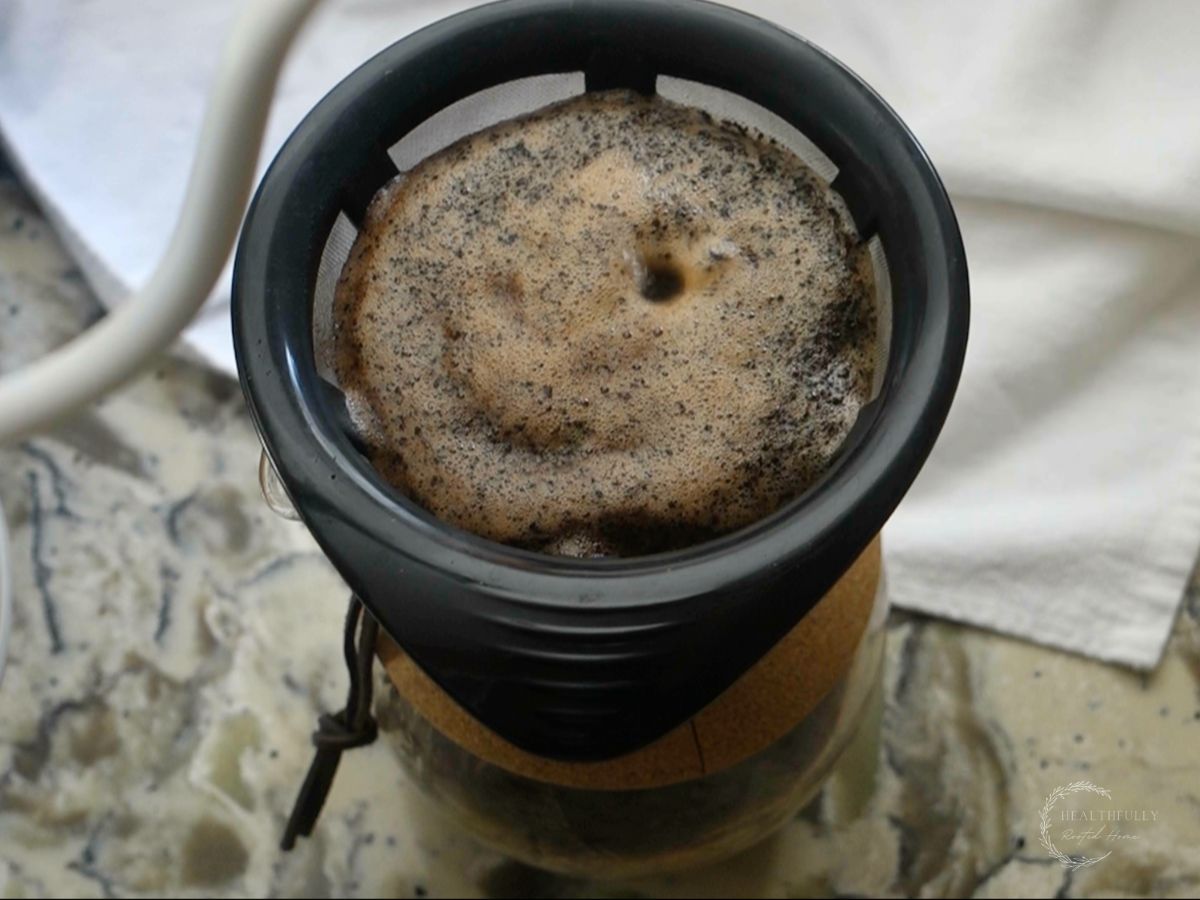
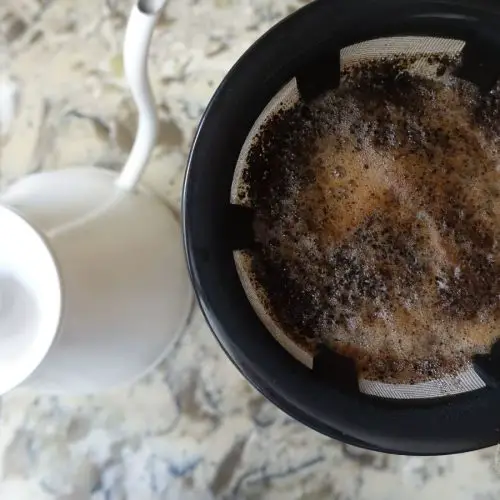
The first pour is called the bloom because you’re pouring a small amount of water just enough to saturate all the coffee grounds, and the grounds will swell up and create a bloom.
To achieve “the bloom”
- Slowly pour water in a circle over the grounds, starting at the outer edge and moving inward.
- Be sure to saturate all the coffee grounds but stop as soon as you reach the middle.
- Wait and watch the coffee swell up into a bloom.
- Once the grounds stop blooming, move to the second pour. This should take about 30 seconds.
* If the water is pouring very quickly into the carafe or mug, you pour too much water. The goal of this pour is to just barely saturate all the coffee.
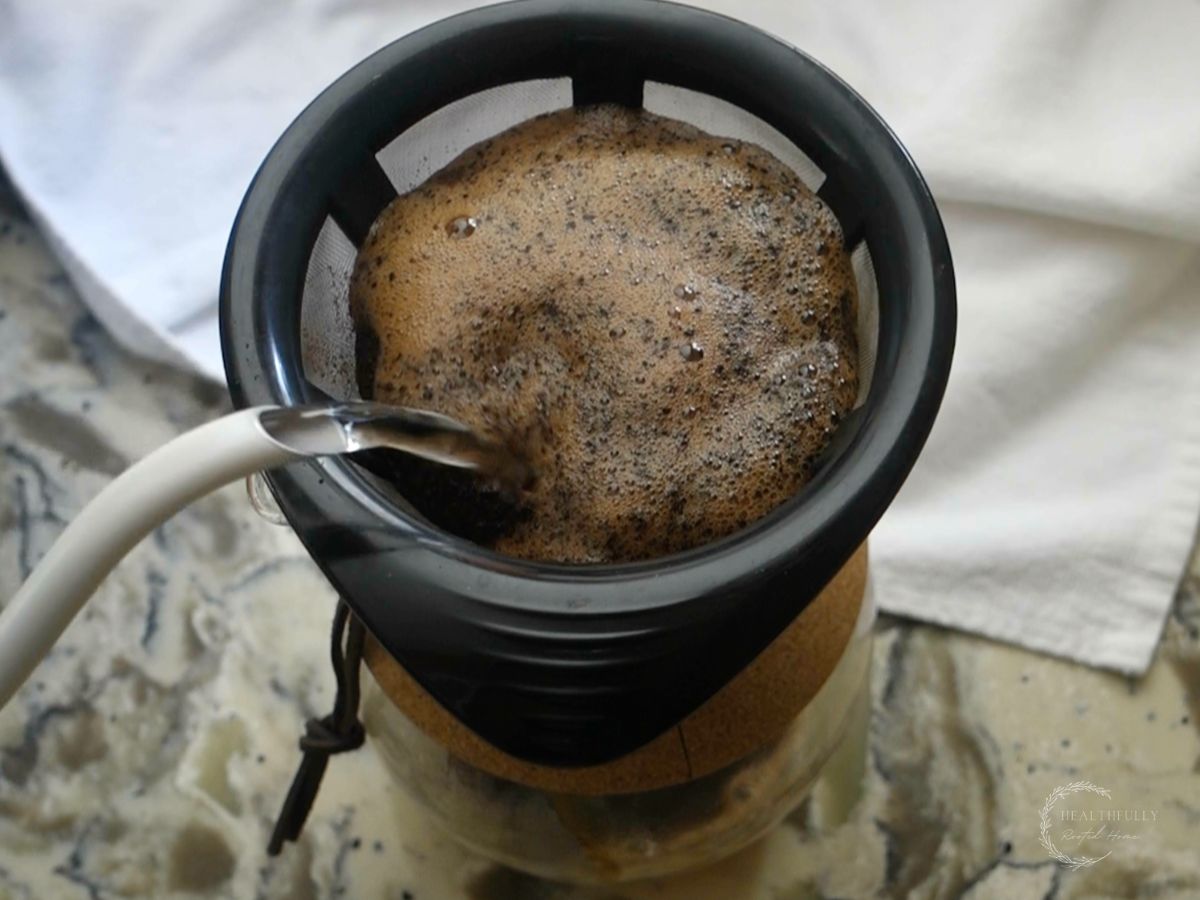
Step 4: Second pour
The second pour starts in the center and moves outward to the outside edge of the coffee grounds. Pour a little more coffee this time, but still move slowly over the grounds ensuring to saturate all of them.
Let the coffee drain through for about a minute before moving to the third pour.
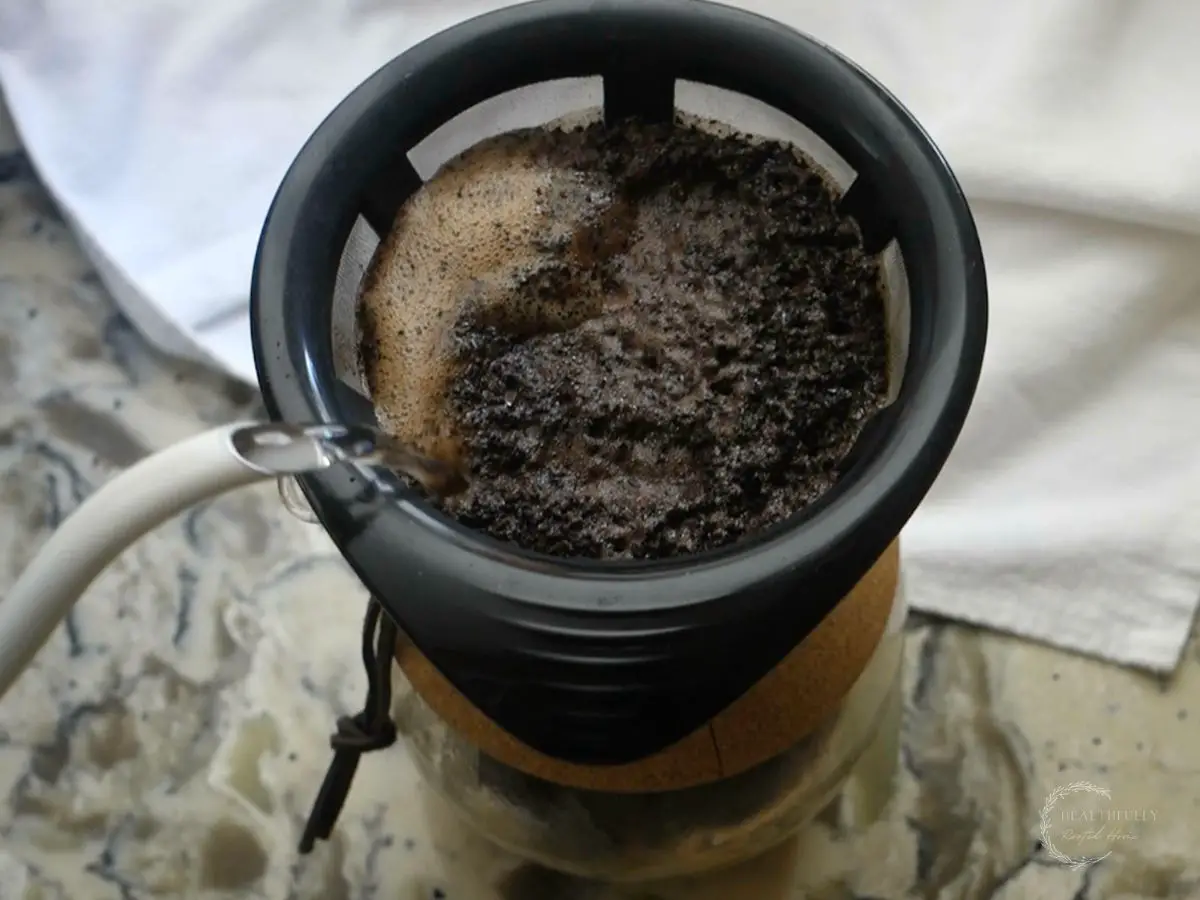
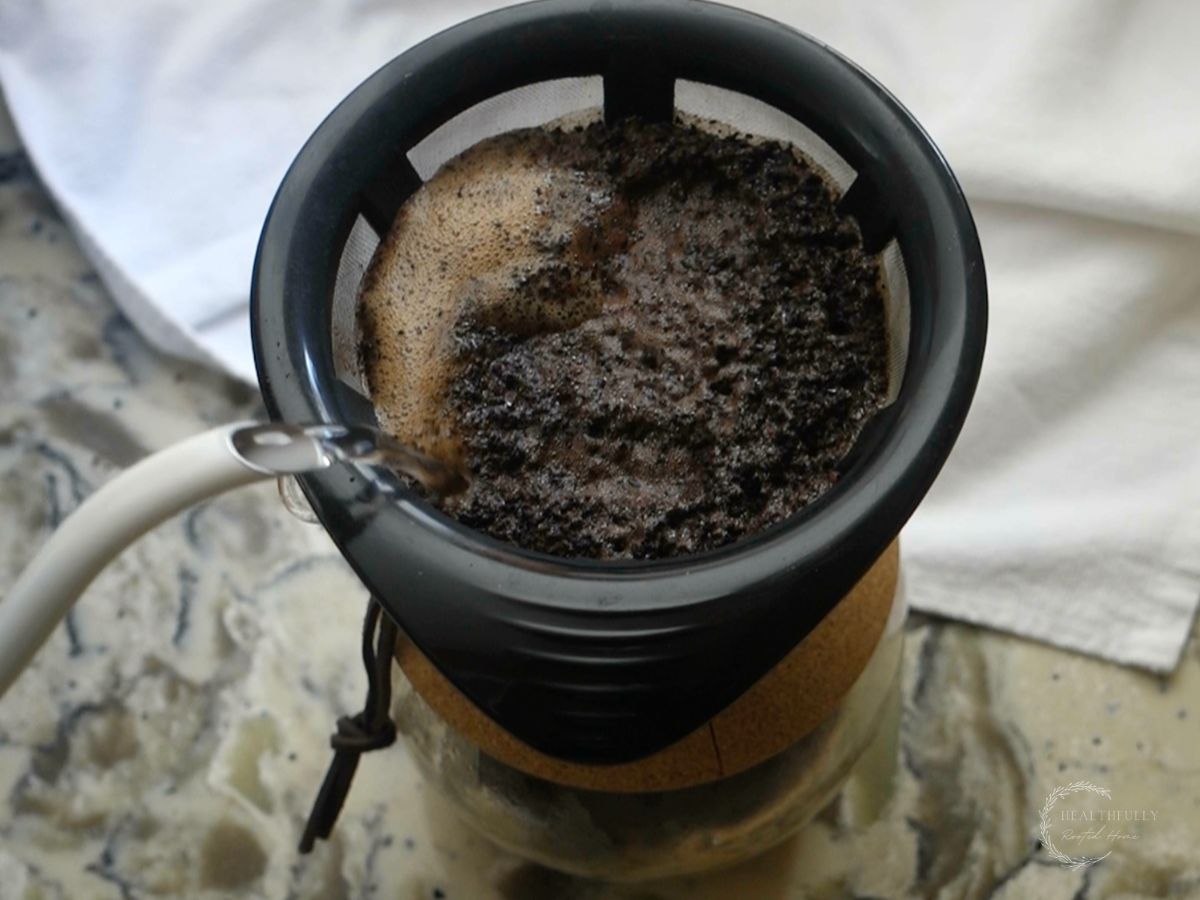
Step 5: Third pour
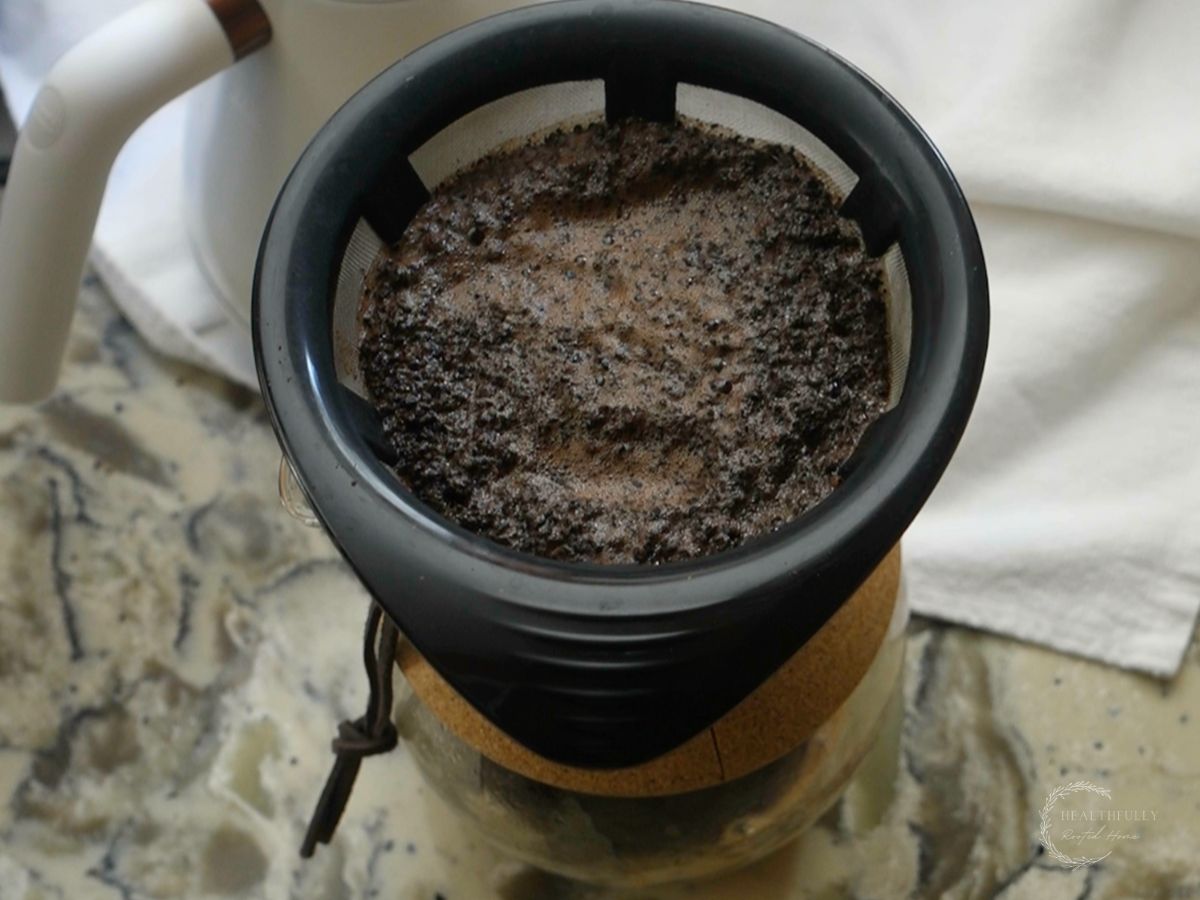
The third pour is when I start to pour from the outside in again (this is contrary to what others do, but it works best to get all the coffee off the sides of the filter).
Let the coffee drain through for about a minute before moving to the fourth pour.

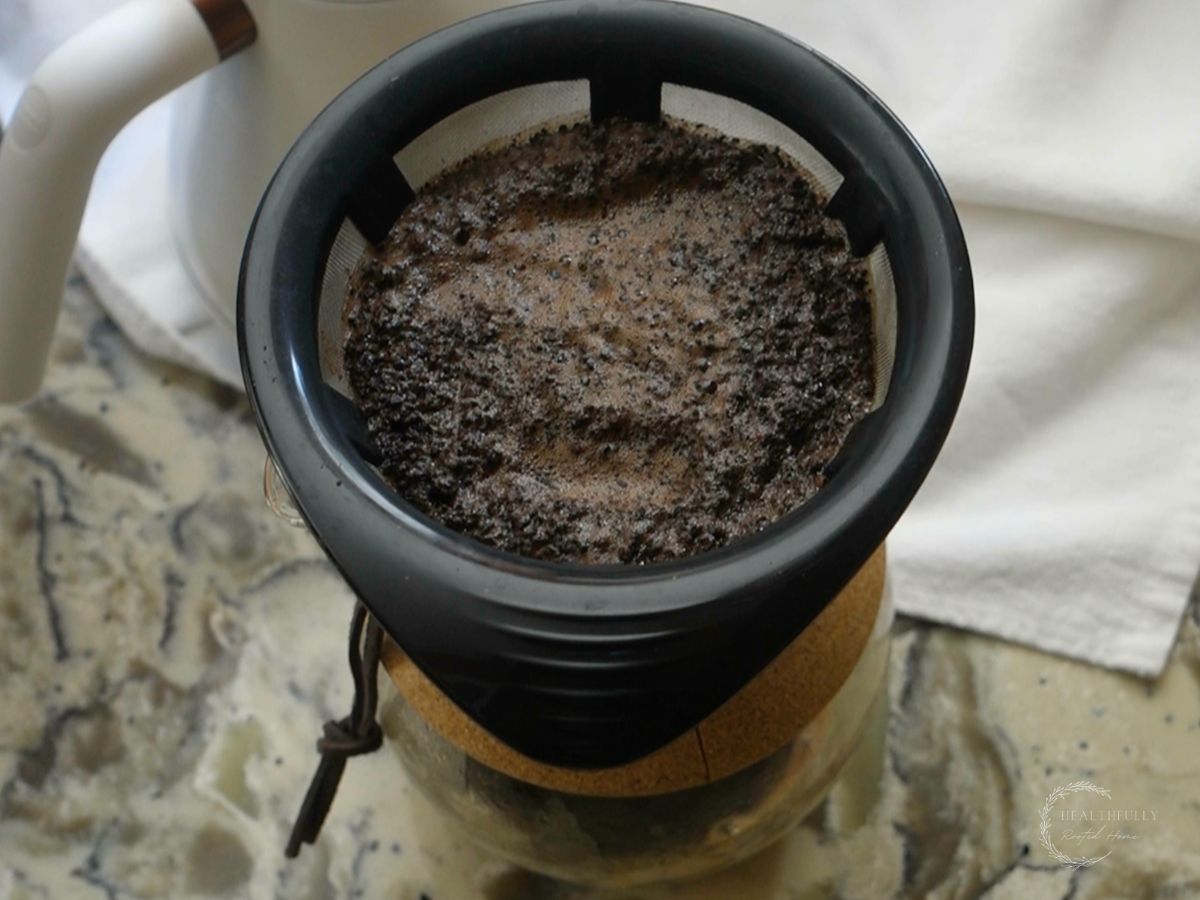
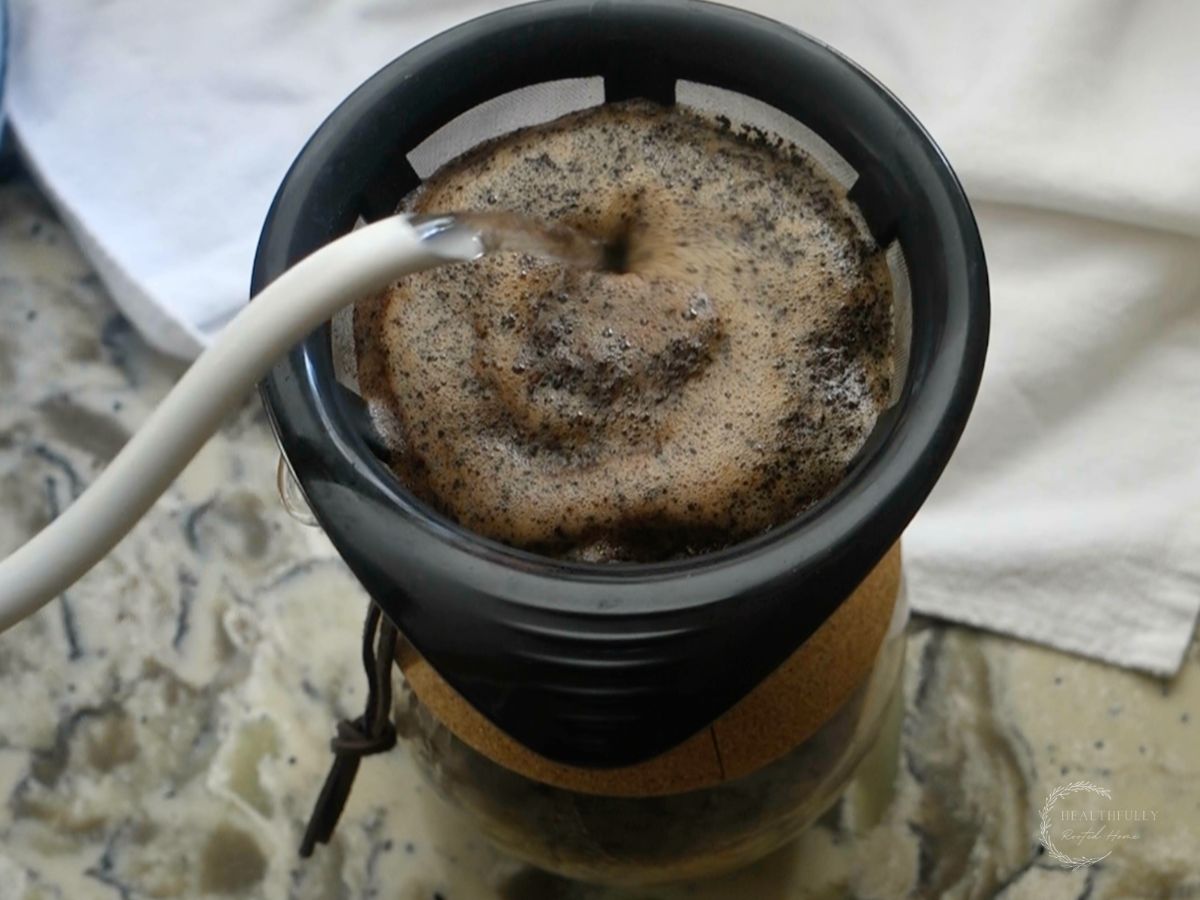
Step 6: Fourth pour
The fourth pour uses the exact same method as the third pour and will ideally be your last pour.
*If you have more water after the fourth pour, just pour a little more water in your second and third pour next time.
Hand Drip Tips
- Grind your own beans – for max freshness and best flavor, grind your beans right before brewing your cup of coffee. Coffee begins to lose flavor and aroma the second its ground.
- Proper coarseness of beans – Grinding your beans to the proper coarseness is essential for the best flavor. See the ‘coarseness’ section below for more details.
- Filtered water is a must – Since there are only two ingredients in hand drip coffee and water is the primary ingredient, it’s important to use quality, uncontaminated water. We use our Berkey water filter and love it.
- Boil water at the right temperature – the ideal temperature is 195-205 degrees F. If the water is too hot it will result in bitter coffee.
- Spend time on “the bloom” – This first pour is the most important pour when it comes to brewing hand drip coffee. Be sure to pour slowly in a circular motion and saturate all the grounds.
Chemex Ratio
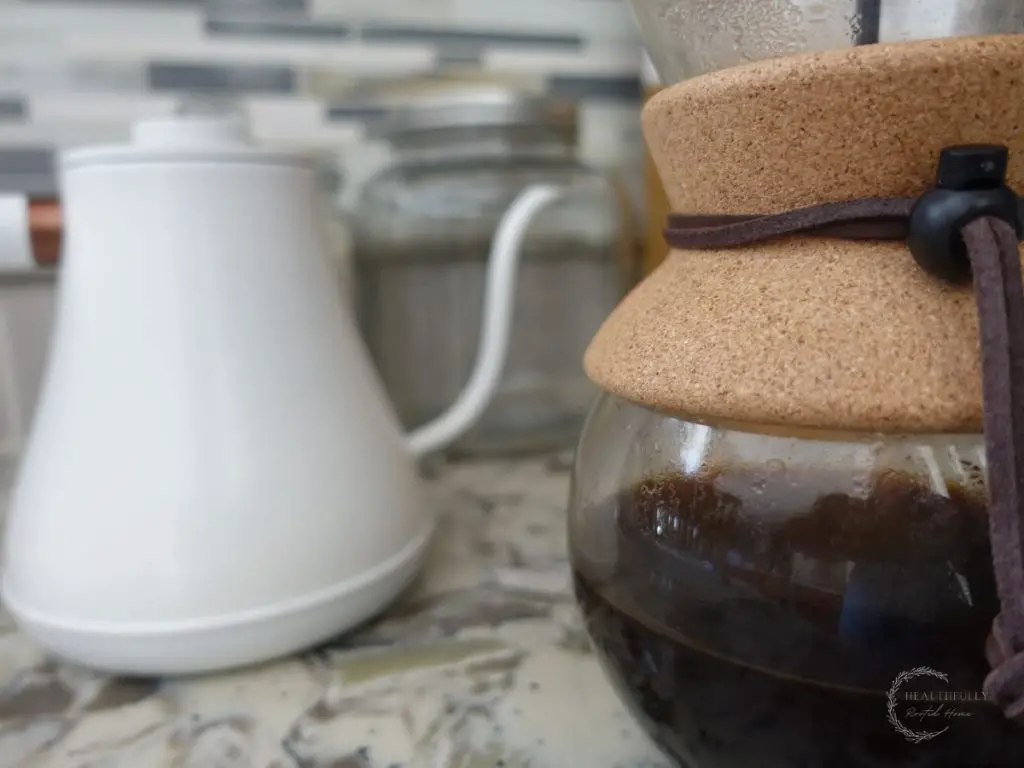
The standard ratio for Chemex, and other hand-drip coffee makers is a 1:15 coffee to water ratio. Meaning, 15g of coffee for 300 ml of water. In other words, 3 tbs per 1 cup of coffee is a great starting place for Chemex ratio.
If you want stronger coffee, up the amount of coffee grounds and grind finer; if you want weaker coffee, decrease the amount of grounds and grind coarser.
Hand Drip Coffee Makers
It can be overwhelming to shop for the best hand drip coffee maker since there are so many. Here are a few of the best hand drip coffee makers on the market to narrow down your search.
Chemex Hand Drip Coffee Maker
Chemex coffee makers are made from non-porous Borosilicate glass that will not absorb smells or chemical contaminants, making your coffee taste pure.
Chemex designs their hand-drip coffee makers so that coffee can be covered and refrigerated for reheating without affecting the flavor.
Kalita Wave Hand Drip
Per Kalita, Kalita drippers have three holes which ensures that “only deliciousness is dripped before the bitterness comes out.” They sell many types of hand drip makers as well as gooseneck kettles.
Hario Hand Drip
Hario hand drip coffee makers are specifically designed for optimal water flow rate so you get the best-tasting cup of hand drip coffee.
Best Coffee for Hand Drip
The pour-over method goes well with single-origin and light to medium roast beans. It showcases the unique flavors and aromas of the beans, so it’s a great way to sample unusual beans.
Hand Drip Filters
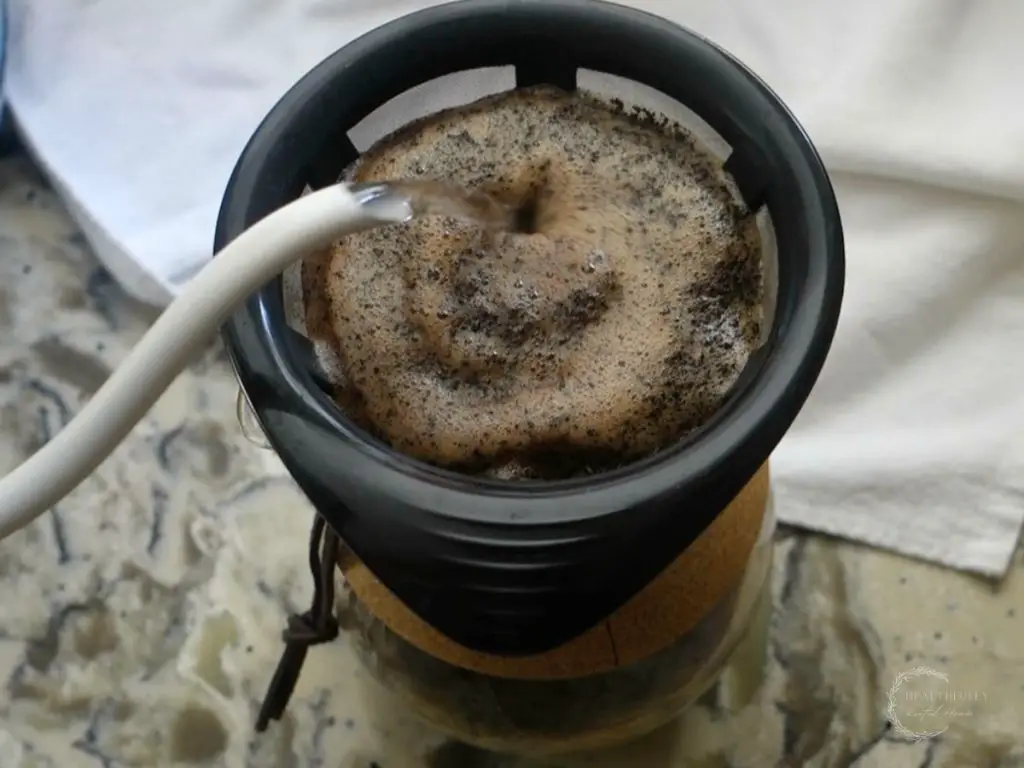
The filters for hand drip makers vary depending on which unit you purchase. Be sure to check the manufacturer’s guidelines and specifications for which filters to use.
Usually, if using a basic hand drip maker requiring a paper filter, you can use #1 through #4 filters.
Some hand drip makers come with their own permanent, or reusable, filter such as the Chemex used in this tutorial.
Best Kettle for Hand Drip Coffee
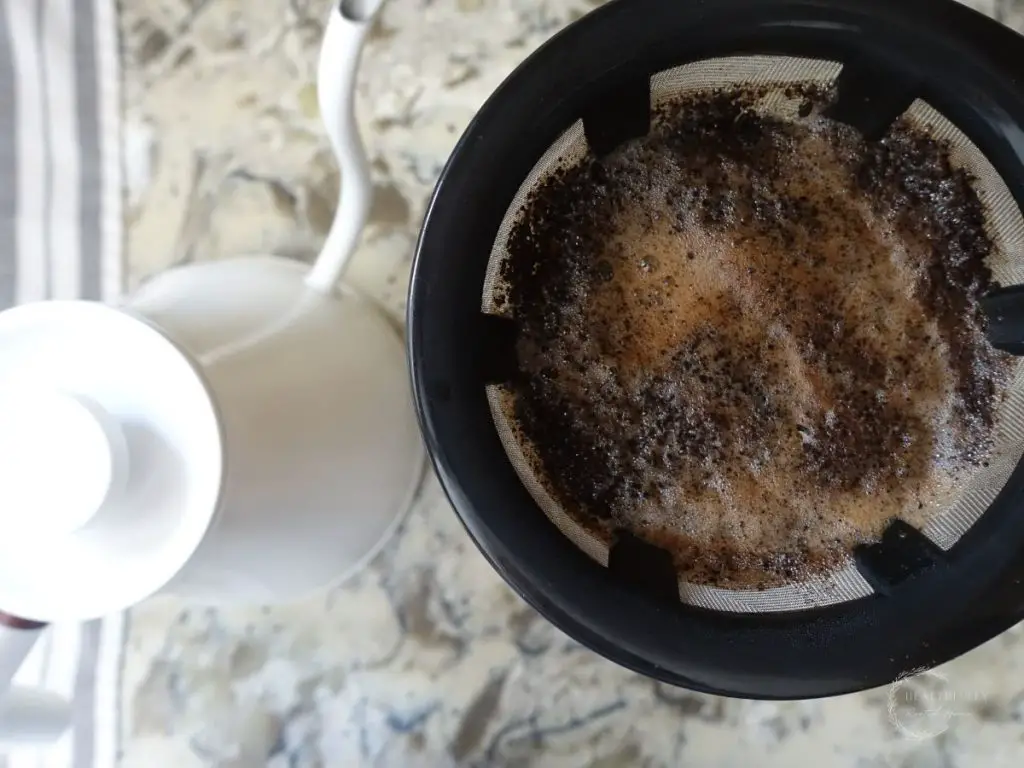
While a gooseneck kettle isn’t a requirement for making hand drip coffee, they definitely make the brewing process for hand drip much easier and more precise.
The best type of kettle for hand drip coffee is a gooseneck kettle – preferably an electric one where you can adjust the temperature of the water to the optimal hand drip brewing temperature.
How Coarse to Grind Coffee for Hand Drip
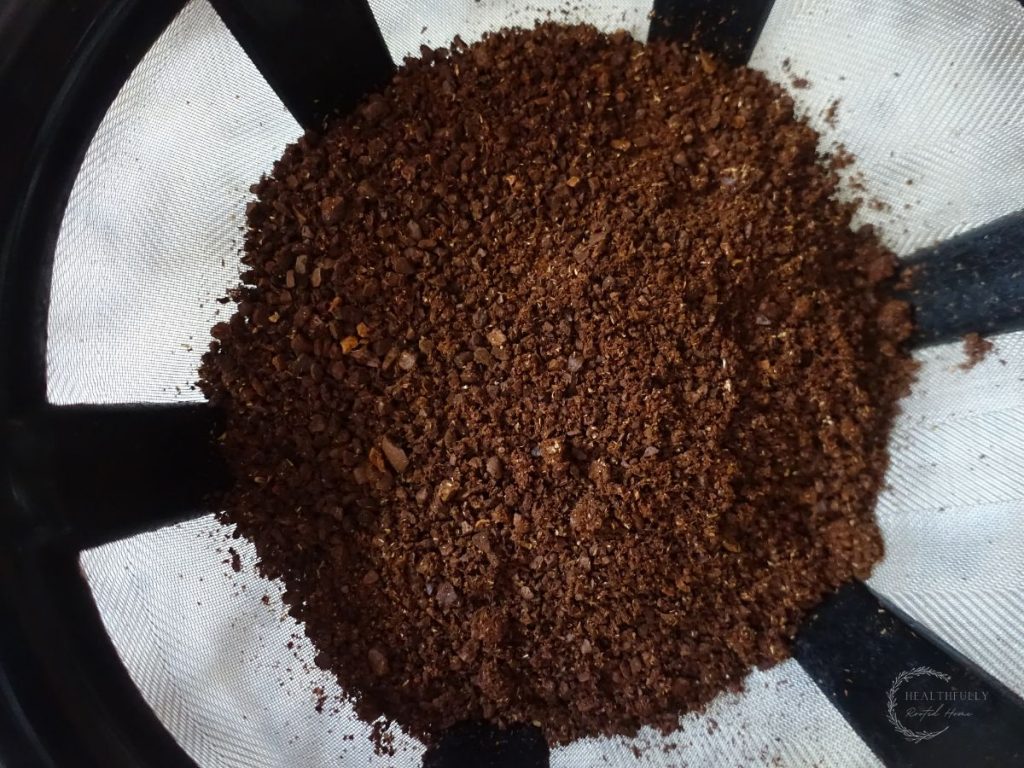
It’s important to grind your coffee beans to the right coarseness when brewing with a hand-drip coffee maker. Start with sea salt size grounds – from there, if you want stronger coffee, grind finer, and if you want weaker coffee, grind coarser.
Shop This Post
(These affiliate links help to support this blog at no extra cost to you. Your support means the world to me!)
More Coffee Recipes
How to Make Cold Brew in a French Press
Shop my Six Month Meal Plans

Shop for my six month meal plans here. These will help give you a restful dinner-time routine by giving you all your recipes laid out in a weekly meal plan format for 6 months.
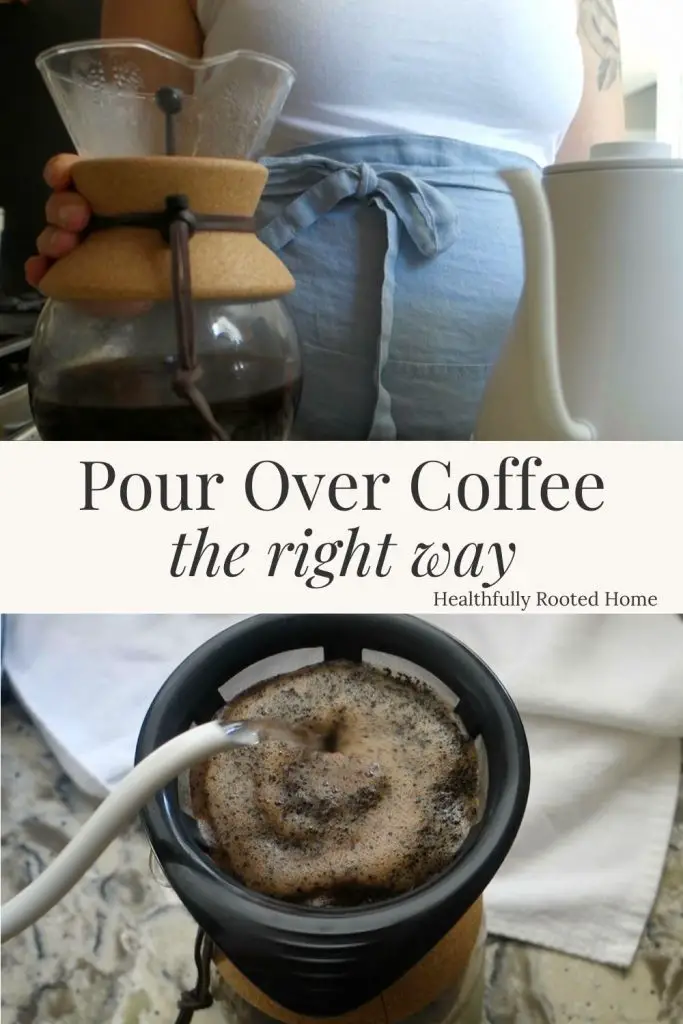
Pin it For Later – Perfect Hand Drip Coffee
Print the Hand Drip Coffee Recipe
Hand Drip Coffee Tutorial
Equipment
- 1 Hand drip maker (pour over) Chemex is what we use and is a popular brand.
- 1 Carafe or mug depending on the type of hand drip maker you have, you'll need a separate carafe or mug for the coffee to pour into.
- 1 Filter a permanent filter or filter paper.
- 1 Gooseneck kettle you can use a regular kettle, but the gooseneck spout makes it much easier to do the spiral pour.
- 1 Coffee grinder if you aren't buying pre-ground coffee beans, you'll need a grinder.
Ingredients
- 6 tbs coffee grounds
- 4 cups filtered water
Instructions
- If using a paper filter, pour some water through the filter and let it drain through into the carafe so to dampen the entire filter. Skip this step if using a permanant filter.
- Grind beans to a coarseness similar to sea salt and pour the beans into the filter.
- Gently tap the hand drip maker so the bed of coffee grounds flattens.
- Boil your water to 195-205 F, then let it sit for about 30 seconds before starting your first pour.
- First pour (the bloom): Slowly pour water in a circle over the grounds, starting at the outer edge and moving inward. Be sure to saturate all the coffee grounds but stop as soon as you reach the middle.
- Wait and watch the coffee swell up into a bloom. Once the grounds stop blooming, move to the second pour. This should take about 30 seconds.
- The second pour starts in the center and moves outward to the outside edge of the coffee grounds. Pour a little more coffee this time, but still move slowly over the grounds ensuring to saturate all of them.
- Let the coffee drain through for about a minute before moving to the third pour.
- The third pour is when I start to pour from the outside in again (this is contrary to what others do, but it works best to get all the coffee off the sides of the filter).
- Let the coffee drain through for about a minute before moving to the fourth pour.
- The fourth pour uses the exact same method as the third pour and will ideally be your last pour.
Video
Notes
Hand Drip Tips
- Grind your own beans – for max freshness and best flavor, grind your beans right before brewing your cup of coffee. Coffee begins to lose flavor and aroma the second its ground.
- Proper coarseness of beans – Grinding your beans to the proper coarseness is essential for the best flavor. See the ‘coarseness’ section below for more details.
- Filtered water is a must – Since there are only two ingredients in hand drip coffee and water is the primary ingredient, it’s important to use quality, uncontaminated water.
- Boil water at the right temperature – the ideal temperature is 195-205 degrees F. If the water is too hot it will result in bitter coffee.
- Spend time on “the bloom” – This first pour is the most important pour when it comes to brewing hand drip coffee. Be sure to pour slowly in a circular motion and saturate all the grounds.
Chemex Ratio
The standard ratio for Chemex, and other hand-drip coffee makers is a 1:15 coffee to water ratio. Meaning, 15g of coffee for 300 ml of water. In other words, 3 tbs per 1 cup of coffee is a great starting place for Chemex ratio. If you want stronger coffee, up the amount of coffee grounds and grind finer; if you want weaker coffee, decrease the amount of grounds and grind coarser.Hand Drip Filters
The filters for hand drip makers vary depending on which unit you purchase. Be sure to check the manufacturer’s guidelines and specifications for which filters to use. Usually, if using a basic hand drip maker requiring a paper filter, you can use #1 through #4 filters. Some hand drip makers come with their own permanent, or reusable, filter such as the Chemex used in this tutorial.Best Kettle for Hand Drip Coffee
While a gooseneck kettle isn’t a requirement for making hand drip coffee, they definitely make the brewing process for hand drip much easier and more precise. The best type of kettle for hand drip coffee is a gooseneck kettle – preferably an electric one where you can adjust the temperature of the water to the optimal hand drip brewing temperature.How Coarse to Grind Coffee for Hand Drip
It’s important to grind your coffee beans to the right coarseness when brewing with a hand-drip coffee maker. Start with sea salt size grounds – from there, if you want stronger coffee, grind finer, and if you want weaker coffee, grind coarser.About Me



Thanks for using this tutorial on how to make hand-drip coffee. Let me know if you have questions below.