Dense Bread Sourdough Troubleshooting Guide
Dense bread isn’t the worst thing in the world, but it’s certainly not that light, airy, crispy loaf we look for when baking homemade sourdough bread. These are the top reasons why you’re asking yourself “why is my sourdough so dense” and how to fix it!
Related: How to Fix a Bad Sourdough Starter
Related: Make your own sourdough starter

This post contains affiliate links, which means I make a small commission at no extra cost to you. See my full disclosure here.
- main cause of dense bread
- 1. Not adding starter at its peak
- 2. chlorinated water
- 3. bleached flour
- 4. Immature starter
- 5. Not enough starter
- 6. Incorrect flour type
- 7. Adding salt too soon
- 8. Not autolyzing the dough
- 9. Not enough stretch and folds
- 10. Not scoring your dough
- 11. Not shaping evenly
- 12. Baking at an incorrect temperature
- 13. Not using the correct water content
- 14. Using stale flour
- 15. Not using right baking vessel
- 16. Dried-out loaf
- 17. Overworking the dough
- 18. Over-flouring the surface
- 19. Using cups vs grams
- 20. Scoring too soon
- 21. Not letting your bread cool
- 22. Underproofing dough
- 23. Overproofing your dough
- How to tell if your dough is over or under proofed
- how to fix dense bread
- shop this post
- more sourdough recipes
- dense bread faq
- Pin it for later – dense bread troubleshooting
- About Me
I’m going to teach you how to work with your specific sourdough starter to make sure you are making the best sourdough loaves possible.
main cause of dense bread
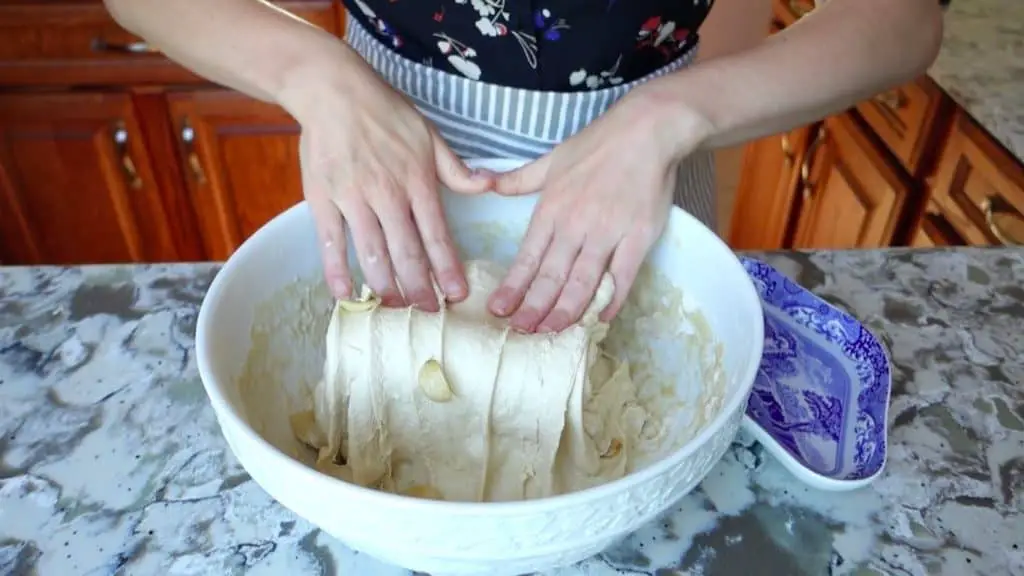
The main reason bread will be dense is due to too much moisture in the bread. This is caused by many different reasons which I address in the 23 reasons for dense bread below.
why is my sourdough bread so dense?
The most important thing to know as a sourdough baker is that your sourdough starter is completely unique. Think of it like a human who has its own quirks and needs. Get to know your starter and what it needs to be successful.
1. Not adding starter at its peak
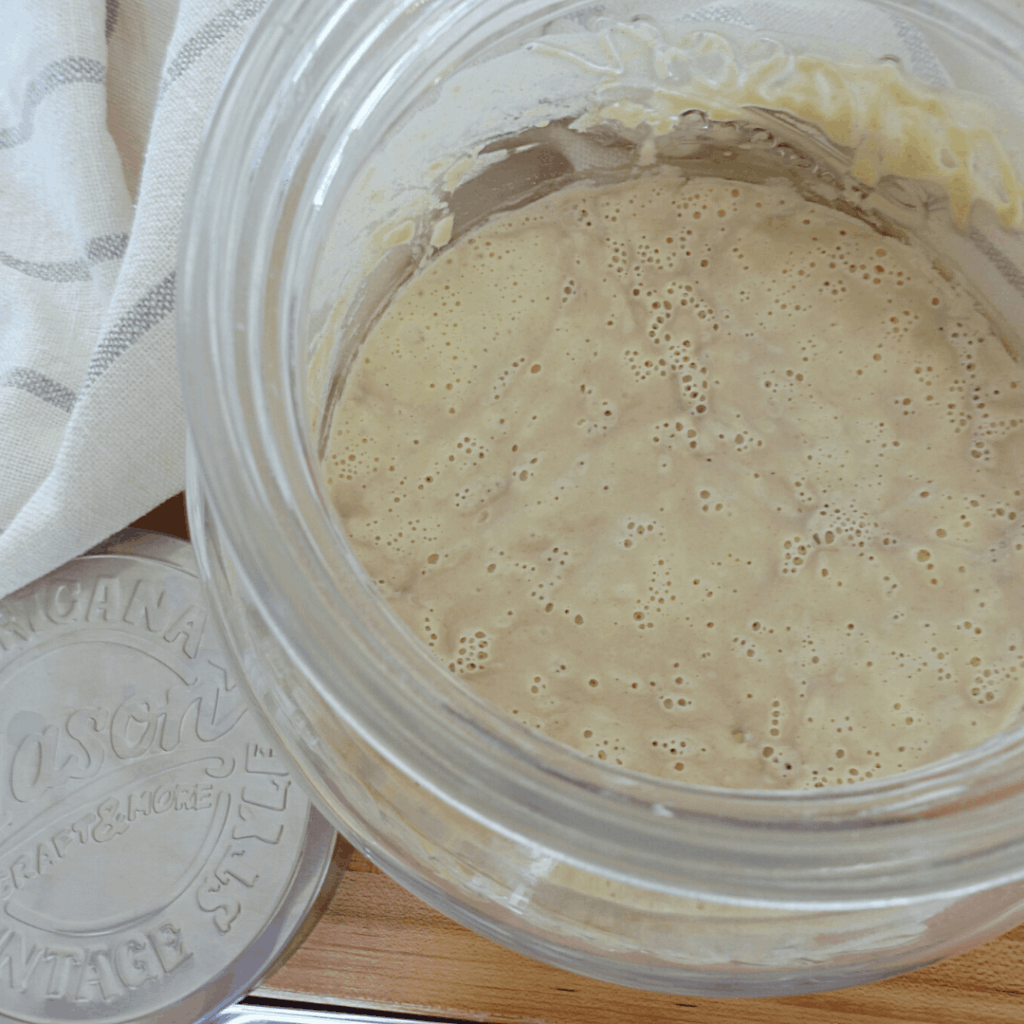
If you use your starter directly from the fridge, or when it’s been sitting out after being fed too long (or too early) you’re bound to end up with dense bread.
sourdough troubleshooting tip
Use your sourdough starter when it’s at its peak – meaning, it has roughly doubled in size, has many air bubbles, and is visibly active.
2. chlorinated water
Chlorinated water will kill wild yeast in a blink of an eye. You can get away with using chlorinated water with baker’s yeast, but not wild yeast.
dense bread troubleshooting tip
Be sure to use highly filtered water for sourdough bread making. Even most of the filters on the market don’t filter all the chlorine in tap water. We use a Berkey which is an extremely high filtration system and we love it!
3. bleached flour

The bleaching agents in bleached flour can kill the yeast in your sourdough starter leading to dense bread, especially if you have an immature and fragile sourdough starter.
dense bread troubleshooting tip
Never use bleached flour for your breadmaking. Use organic, unbleached flour for your best shot at a light loaf.
4. Immature starter
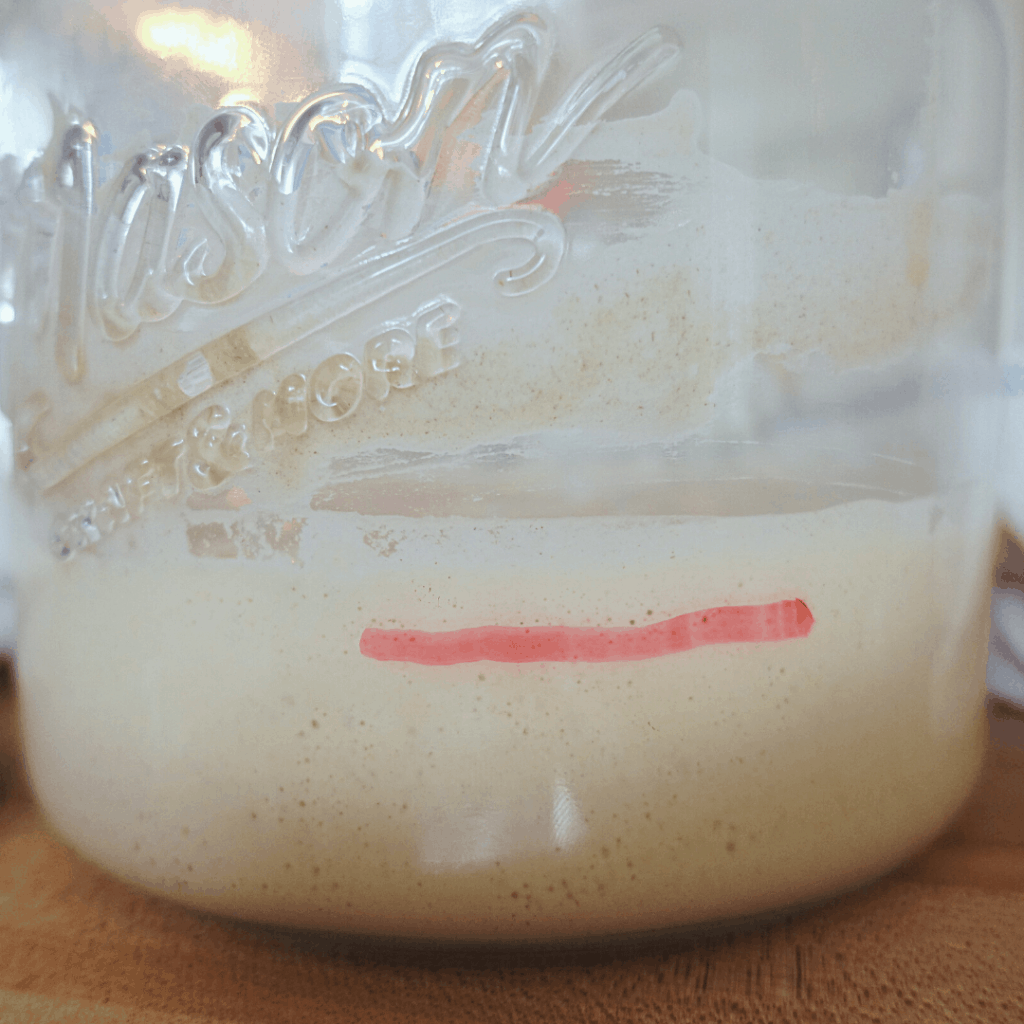
Your starter may be too immature, making the yeast more susceptible to harmful environments (like bleach and chlorine). Immature starters are unstable and the littlest thing could kill off the yeast; mature starters are very resilient and can withstand harmful environmental factors.
dense bread troubleshooting tip
Wait until your sourdough starter has become mature (this could take several weeks, months or even years) to expect a light and fluffy sourdough loaf. The good news is that dense bread isn’t that bad!
In the meantime, make these sourdough discard recipes and remember – the more you use your starter, the more resilient it becomes.
Traditional Sourdough Dumplings
5. Not enough starter

Depending on the health of your sourdough starter (if it is immature or otherwise unhealthy) you may not be using enough of it. There’s not one sourdough bread recipe (unless you created it) that is based on your specific sourdough starter. Because of this, you may need to tweak the recipe.
dense bread troubleshooting tip
Start with increasing the sourdough starter percentage by 5% and see if that helps your bread to lighten up. For example, if the recipe calls for 200 grams sourdough starter, try increasing it to 210 grams.
6. Incorrect flour type
Sometimes people will substitute a different kind of flour than the recipe calls for, but they don’t alter the water content to support that substitution. This is a sure-fire way to end up with some dense bread.
dense bread troubleshooting tip
Every type of flour absorbs water at different rates – be sure you know the type of flour you’re working with and if you’re going to substitute the flour portion of a recipe, be sure you know how to also adjust the water in that recipe.
7. Adding salt too soon
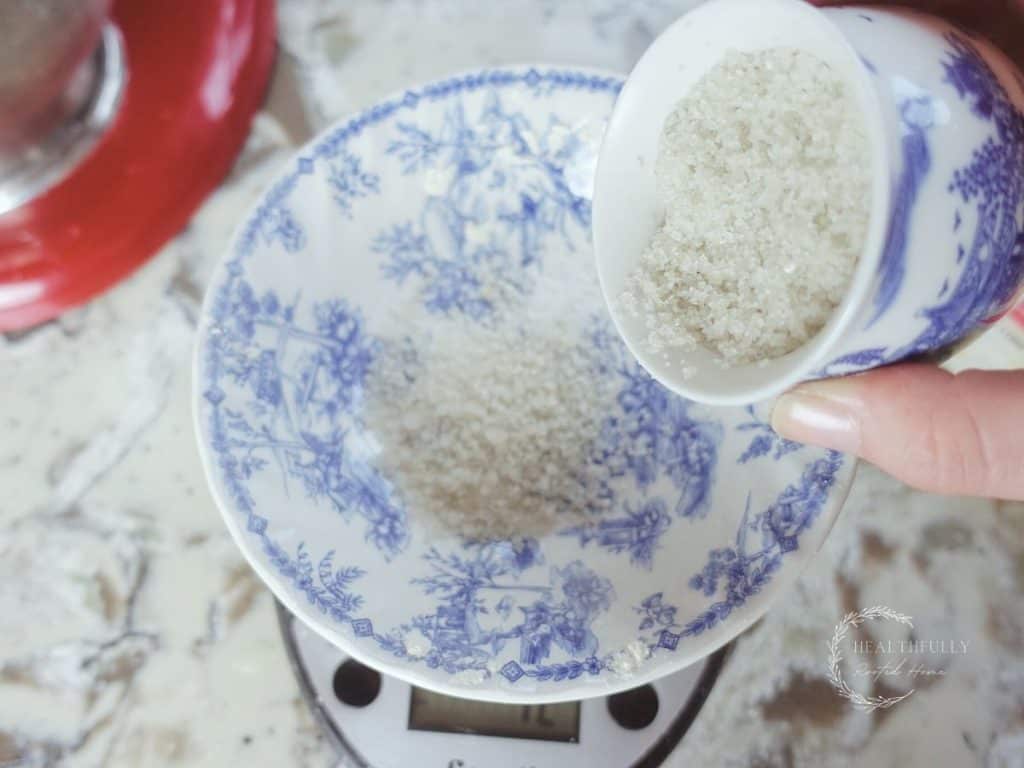
Salt can kill wild yeast in your sourdough starter and result in a bread that is too dense.
dense bread troubleshooting tip
Leave at least a 15-minute gap between adding your sourdough starter and your salt to the dough.
8. Not autolyzing the dough
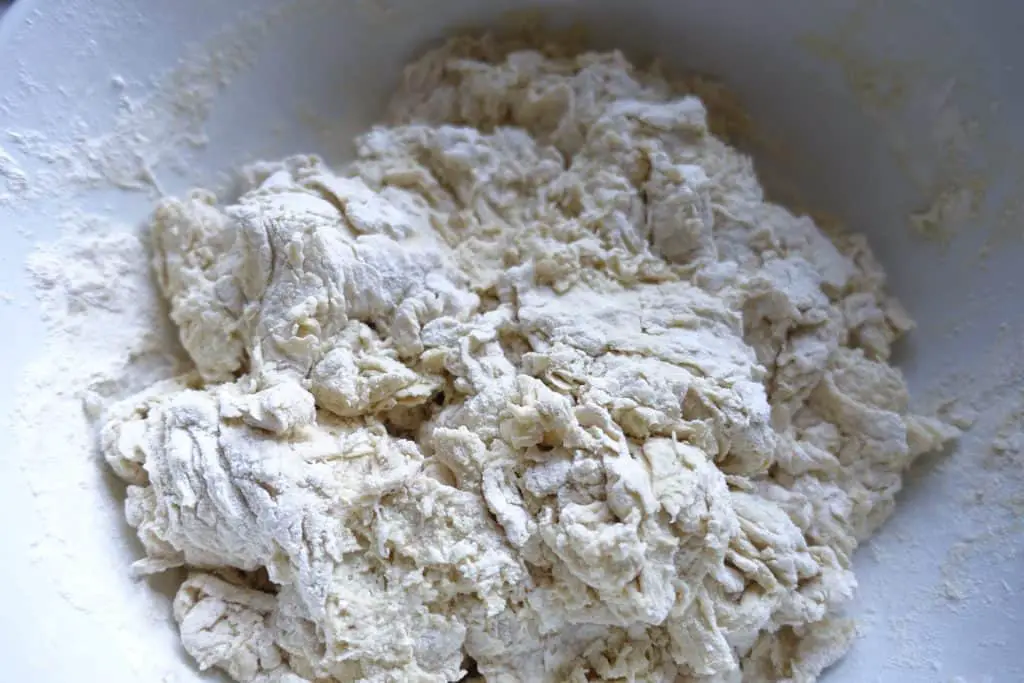
The autolyze process is when you let the flours and water rest to start the gluten formation. This process takes 30-60 minutes and will give you a lighter loaf.
dense bread troubleshooting tip
Once you combine your flours and water, let this rest (autolyze) for at least 30 minutes before adding your sourdough starter.
9. Not enough stretch and folds
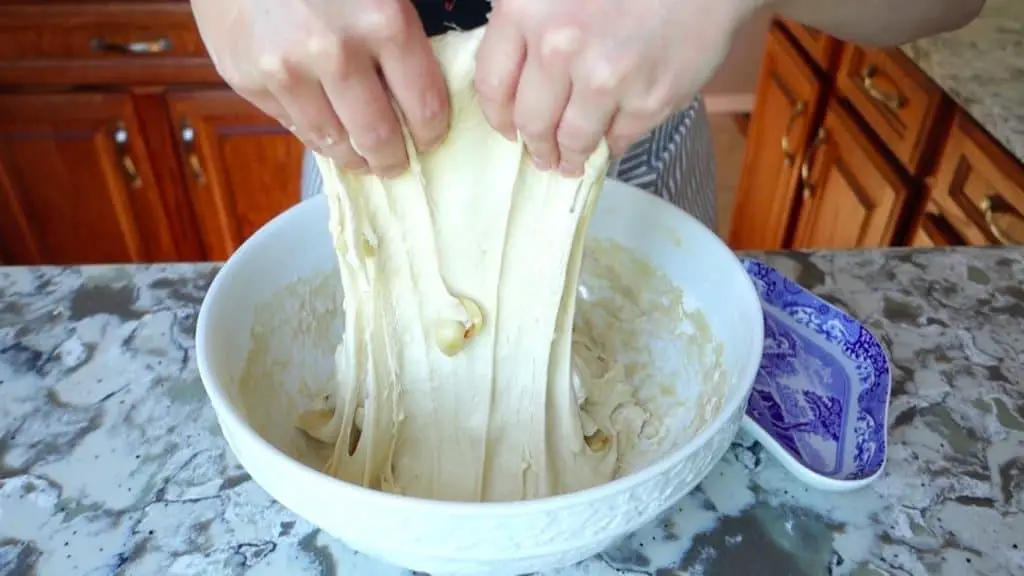
Autolyse starts gluten formation whereas stretches and folds make that gluten stronger which results in a light loaf of sourdough bread. Skimping on the stretch and folds, or doing them too close together will result in a dense loaf of bread.
dense bread troubleshooting tip
Do more stretch and folds, and/or space them further apart. For example, if you were doing 4 rounds of stretches and folds 15 min apart – shoot for 5 rounds at 30 minutes apart.
10. Not scoring your dough
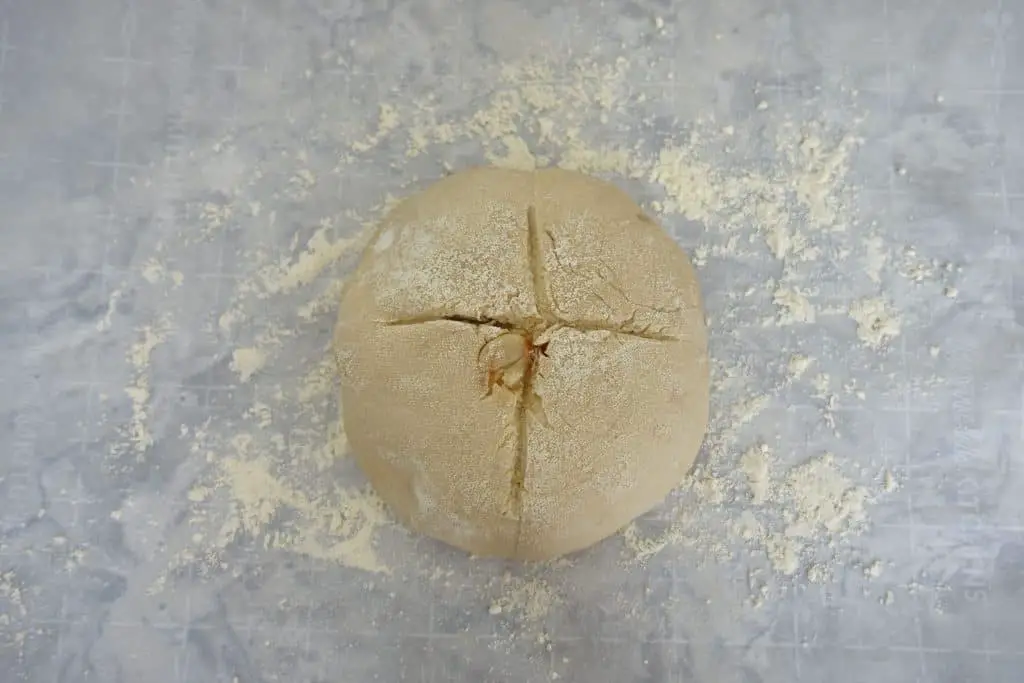
No matter what, your dough is going to crack while being baked due to trapped gasses. You score your dough to prevent the burst from happening in an unpredictable place, causing the bread to be too dense.
dense bread troubleshooting tip
Be sure to score your dough if you aren’t. If you are, try using a sharper blade if what you’re using is too dull. After that, you may need to score deeper. The ideal depth of a scoring pattern is about 1/4-1/2 inches deep.
11. Not shaping evenly
Shaping your dough incorrectly can create dense bread.
dense bread troubleshooting tip
Shape your dough using surface tension and make sure it’s evenly shaped.
how to shape a sourdough boule
- place dough on lightly floured surface
- pull right side out (like a wing) and fold it over the middle of the loaf
- do the same to the left side
- grab the top and pull it up and then down through the middle of the loaf
- dot he same to the bottom while scooping your hand under the loaf, flipping it so the seam is now on the bottom, and create surface tension on the bottom of the dough by spinning the loaf against the counter.
- Turn the dough into a banneton basket seam side up.
12. Baking at an incorrect temperature
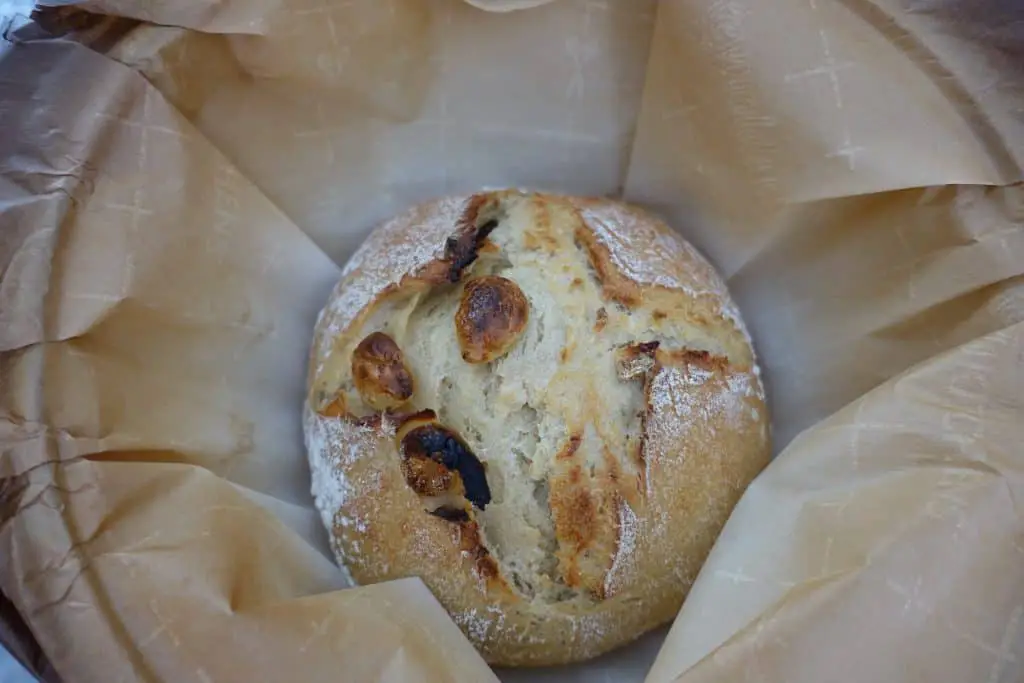
Baking your bread at the right temperature will create that great oven spring, and a light and fluffy loaf. Bake too low and you’ll get dense bread.
dense bread troubleshooting tip
Bake your sourdough bread in a very well preheated dutch oven (lid on) at 500 degrees f for the first 15-20 min. Remove the lid and drop the oven temp down to 475 degrees F for another 15-20 minutes. *note that the times and degrees may vary depending on the recipe.
13. Not using the correct water content
If you don’t have enough water in the recipe you’re using you may end up with dense bread.
dense bread troubleshooting tip
Up your water content in your recipe by 5-10% and see if that helps to lighten your loaf. Be aware that this will make your dough harder to work with, but you’ll get used to it.
14. Using stale flour
If you’re using old flour it may have gone stale or rancid or compacted too much which all result in dense bread.
dense bread troubleshooting tip
First, make sure you’re using fresh flour. Second, try sifting your flour. Third, try using freshly milled flour. I mill mine using my Nutrigrain mill.
15. Not using right baking vessel
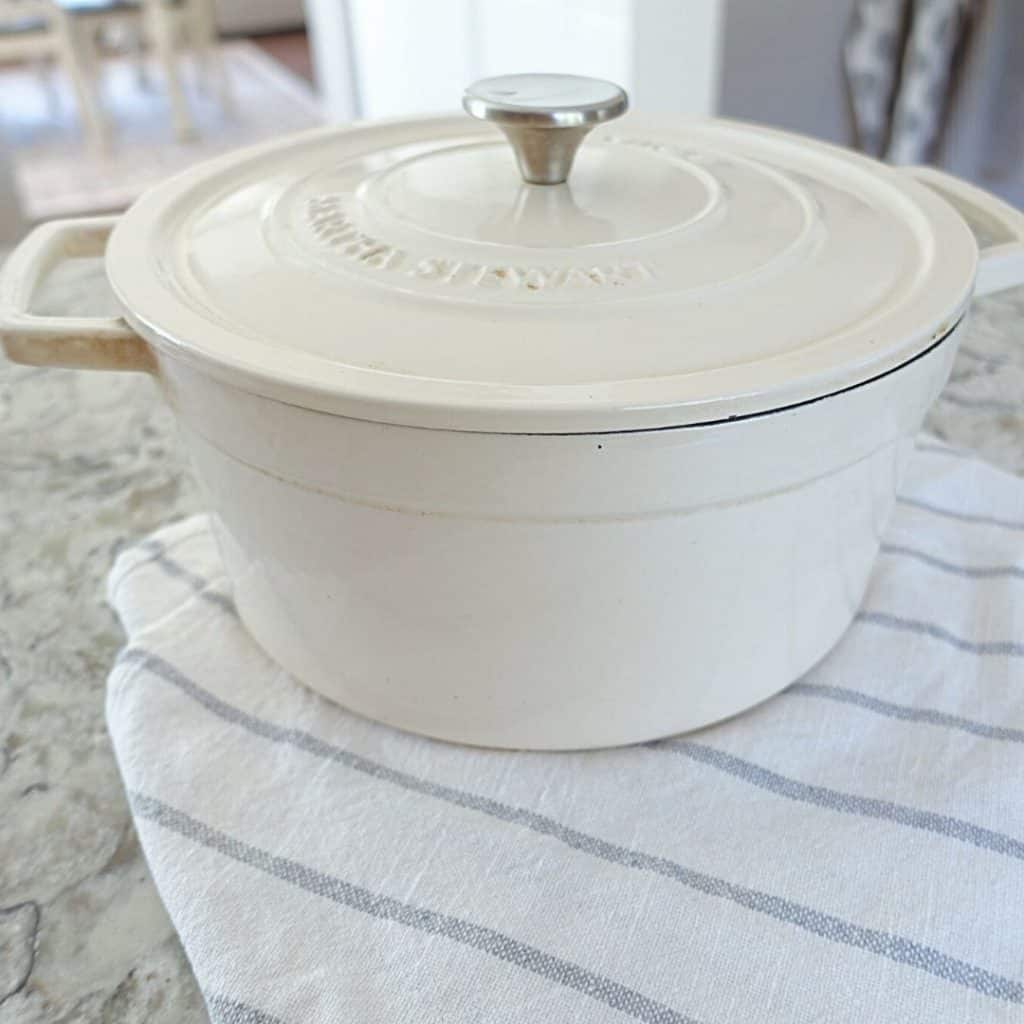
If you’re using an improper baking dish for your sourdough bread, it’ll cook unevenly, possibly creating dense bread.
dense bread troubleshooting tip
Use a dutch oven with a lid for best results. Or, if you have to use something like a pizza stone to bake your sourdough bread, be sure to add a bowl of ice at the bottom rack of the oven while baking to add the needed moisture.
16. Dried-out loaf
Some sourdough bakers like to moisten the top of their loaf to get that really good oven spring, creating a lighter loaf. This is especially important when you aren’t using a dutch oven but could be helpful with a dutch oven too.
dense bread troubleshooting tip
Moisten the top of the bread with some water or egg wash prior to baking – especially if you aren’t using a dutch oven.
17. Overworking the dough
When you go to shape your dough you want to use care so you don’t break up all those bubbles it created during the ferment.
dense bread troubleshooting tip
Be careful, yet confident when shaping your dough. Overworking it will break up all those amazing bubbles.
18. Over-flouring the surface
Over-flouring the surface when shaping could add too much flour to your loaf, thus making it denser.
dense bread troubleshooting tip
Go easy on the flour during the shaping and scoring process.
19. Using cups vs grams
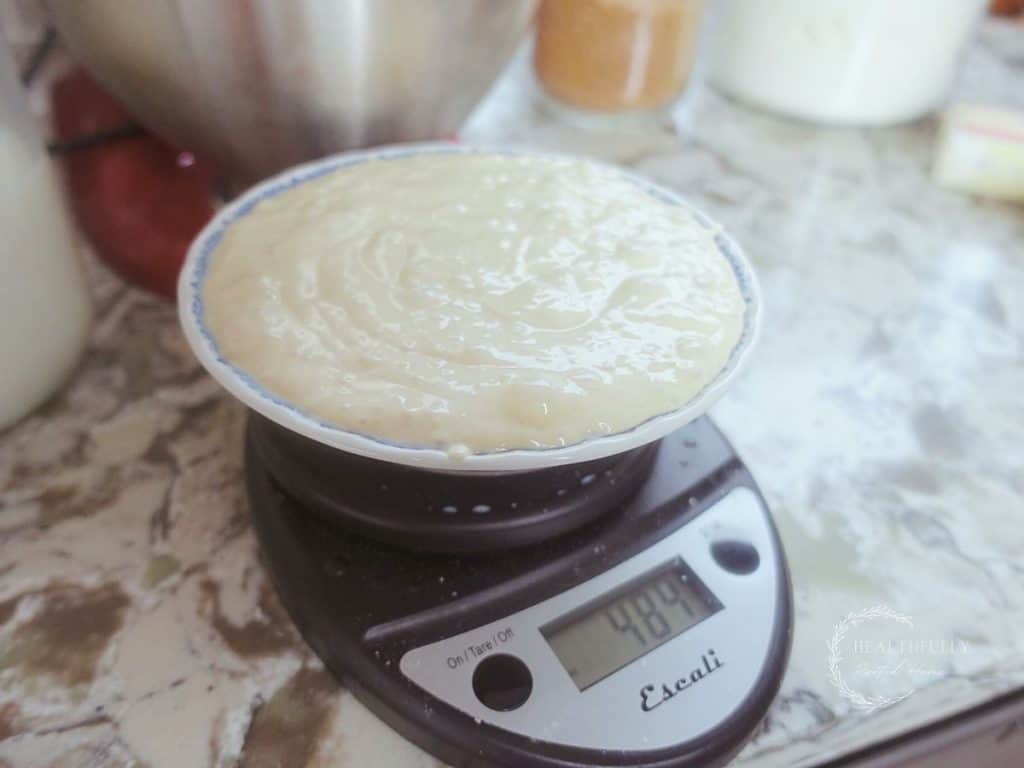
Any good sourdough bread recipe will use grams versus cups. The reason for this is that everyone’s sourdough starter and flour will be different in terms of weight. In other words, one cup of my sourdough starter may weigh 100 grams, whereas, one cup of your sourdough starter may weigh 150 grams.
dense bread troubleshooting tip
Get yourself a kitchen scale and weigh your ingredients when making sourdough bread so you can make sure you’re baking your bread at its full potential!
20. Scoring too soon
If you score your dough too early (before the oven is ready) and let the scored dough sit out, your dough will deflate and your loaf will become too dense.
dense bread troubleshooting tip
Only score your dough right before you plan to put it in the oven. Make sure your oven, and dutch oven, are fully preheated prior to scoring your dough. After scoring, the dough should go directly into the oven.
21. Not letting your bread cool
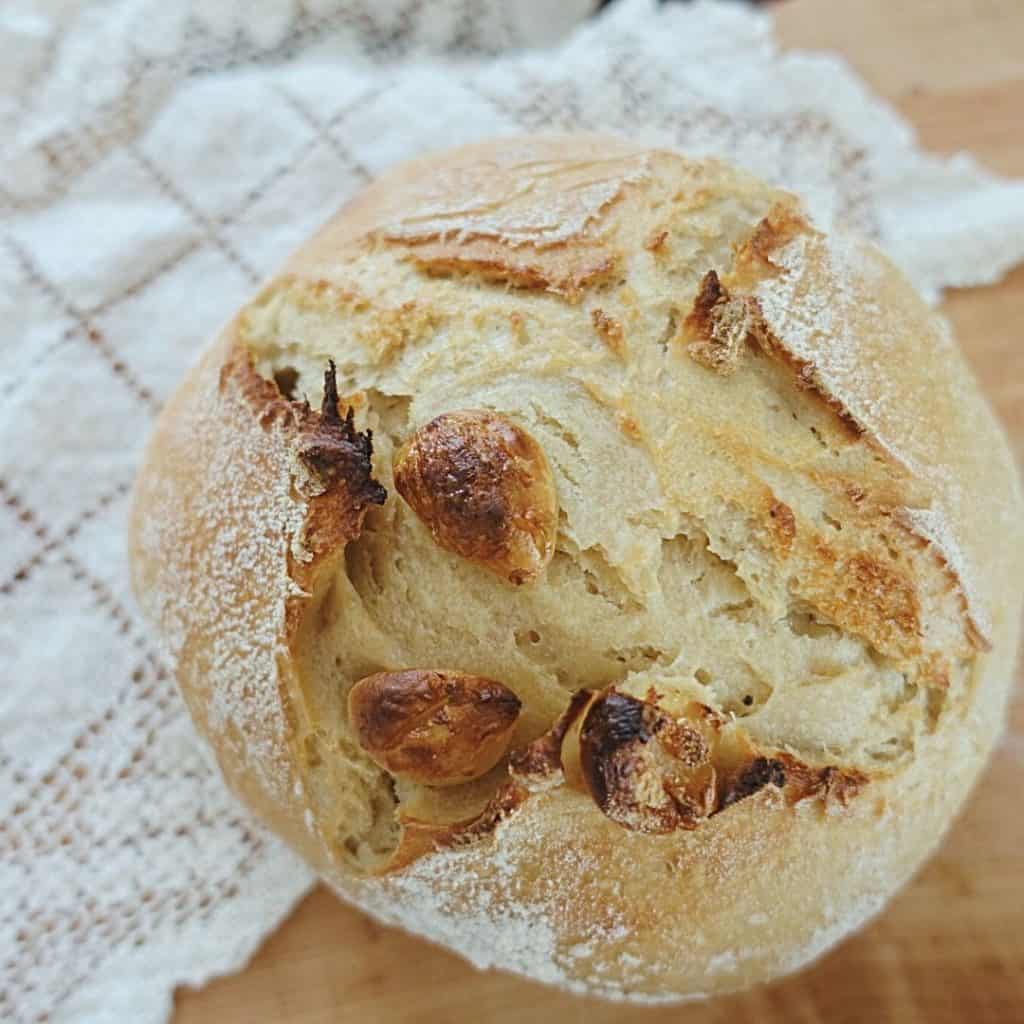
Maybe the worst part of sourdough baking is having to let your steaming hot, crackling loaf of bread cool for a full hour prior to breaking bread. However, you need to do this because the bread is still cooking while it’s resting. Cut too soon and you’ll end up with dense and undercooked bread.
dense bread troubleshooting tip
Cool your bread for a full hour prior to cutting into it.
22. Underproofing dough
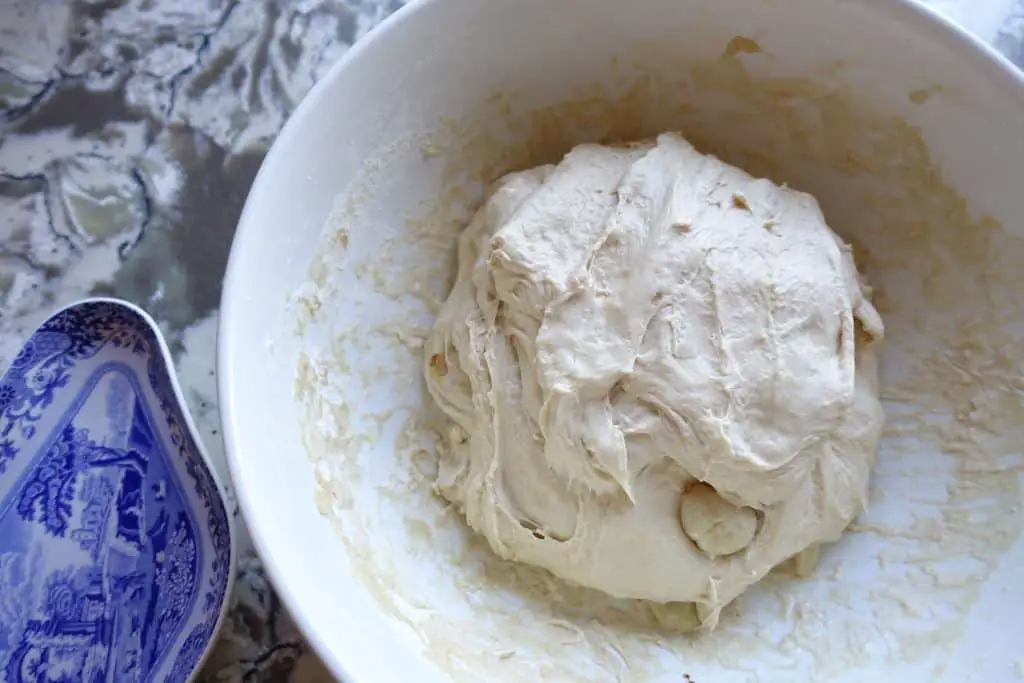
If you underproof your dough, you won’t have enough yeast activity, won’t get a great oven spring (rise on your loaf), and may have dense bread as a result.
dense bread troubleshooting tip
Make sure your dough has at least doubled in size during the bulk ferment stage (I like to use a clear container for this so I can see the rise). You’ll know when your dough has proofed long enough when it has at least doubled and has bubbles that have formed on the surface.
23. Overproofing your dough
Once your dough starts to overproof, the wild yeast you create with the autolyze, stretch and folds and bulk ferment start to die off creating dense bread.
dense bread troubleshooting tip
At this point, there’s not much you can do other than bake the bread anyway. Although your bread will be too dense, it’ll taste great anyway!
How to tell if your dough is over or under proofed
Granted, if your dough is over-proofed, there’s not much you can do except bake it anyway. Yes, it’ll likely be too dense, but it’ll still taste great! However, here’s how you can tell if your dough is either under or over-proofed (or just right).
Poke your finger into your dough after the cold retard (ferment in the fridge)
- If your finger leaves an indent in the dough and bounces back slowly (while ultimately leaving an indent) your dough is perfectly proofed.
- If the dough springs back very quickly and doesn’t leave an indent, your dough is under-proofed and needs more proofing.
- Your dough is over proofed if the indent your finger leaves does not bounce back at all. Bake anyway.
how to fix dense bread
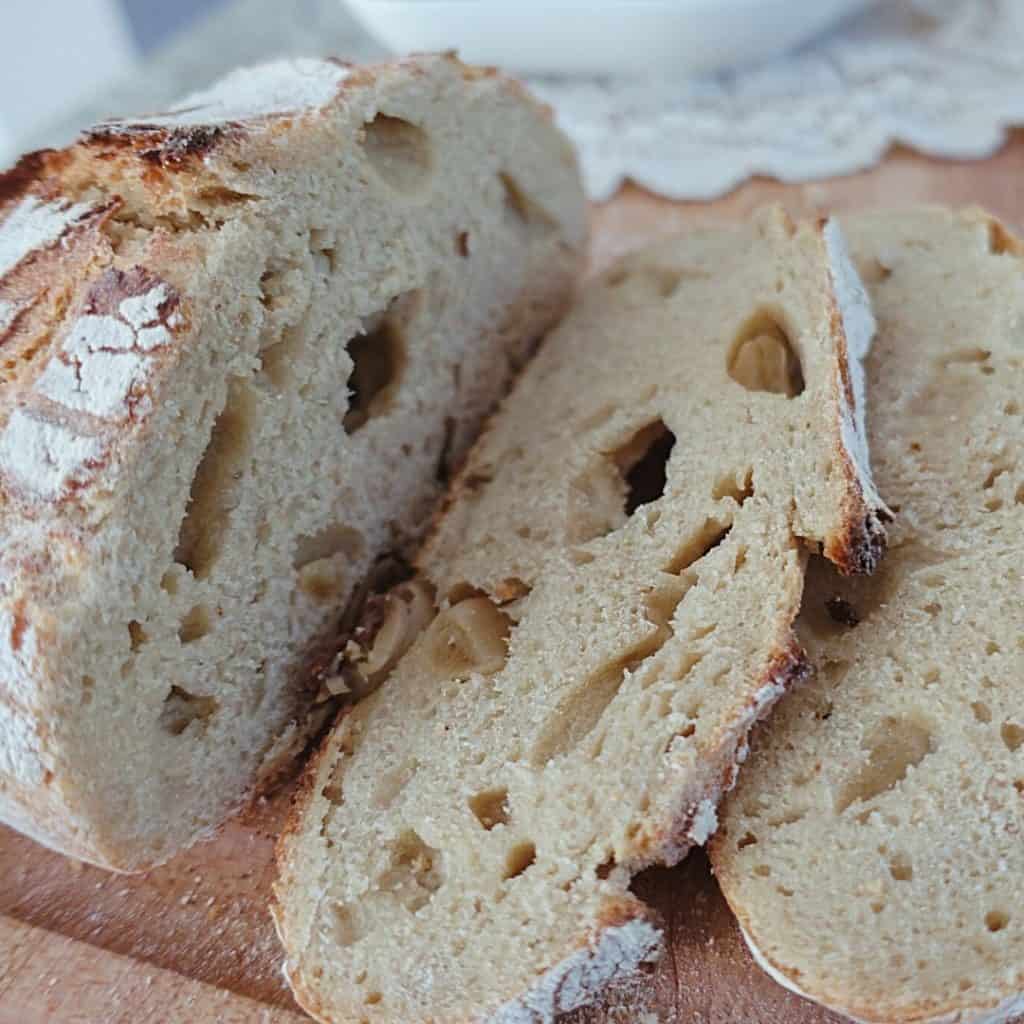
- Adjust one variable at a time.
- Start with the variables you KNOW are an issue. For example, if you know for sure you aren’t letting your bread cool for a full hour, fix that variable first. Those variables are easier than the ones like “is my dough under or overproofed?”
- Learn your starter and what it needs to make a successful loaf. Does it need more hydration? Less? Is the type of flour you use to feed it good quality?
- Be patient. If you have a newer, immature starter, it could take months, even years for it to become mature (and less fragile as a result).
- When all else fails – bake anyway! Dense bread is not the end of the world – it still tastes dang good. So, bake that bread anyway!
shop this post
(These affiliate links help to support this blog at no extra cost to you. Your support means the world to me!)
- Berkey water filter (we use the Royal because we drink an insane amount of water!)
- Thrive Market – 25% off & free gift! (where I get a ton of my ingredients)
- Azure Standard: $25 off your order. Code kyrieluke1
- Dutch oven
- Stand mixer
- Boos Block Butcher Block
- Kitchen scale
- Banneton baskets
- Lame
- Dough scraper
- Grain mill
more sourdough recipes
Pumpkin Sourdough Cinnamon Rolls
dense bread faq
If your sourdough starter does not at least double within 6 hours of feeding using a 1:1:1 ratio of starter, water, and flour, and the room temp is 65-75 degrees F, your sourdough starter isn’t healthy or mature.
Many variables cause homemade bread to be too dense. Over or under proofing are usually the main culprits.
Underproofed sourdough bread is usually the reason for gummy sourdough bread. Another reason for gummy sourdough bread is baking in an oven that is too cool.
To fix dense bread, you must first determine the issue causing it to be too dense. Then you can troubleshoot from there. Change one variable at a time when troubleshooting dense bread.
Related: raw milk kefir tutorial
Pin it for later – dense bread troubleshooting

About Me


